
.avif)
Option 1: Compressing Images using IMagick extension
IMagick is a PHP extension to create and modify images. It is a wrapper for the ImageMagick library.
You can refer to the source code on GitHub and the latest releases and install the extension as per your operating system.
Step 1: Setup the Code Directory
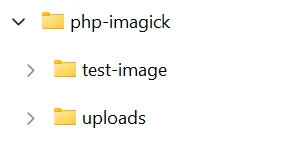
At first, you have to set up the directory structure to arrange the source code and images in a separate path. Create a top-level directory named 'php-imagick' with the following structure.
Step 2: Write the Image Compression Code
Inside the test-image subdirectory, place an image file that you want to compress. Create an empty file named imagewithimagik.php within the php-imagick directory and copy the following code within it:
ini_set('memory_limit', -1);

class ImageWithImagik
{
    // accept image from terminal and save it to a file and also resize using IMagick
    public function handle(array $request)
    {

        $data = $this->parse_argv($request);

        $destination = __DIR__ . '/uploads/';

        // get image from test-image folder
        $image = __DIR__ . '/test-image/';

        $imageName = basename($image);

        // move image to uploads folder
        $uploaded = copy($image, $destination . 'original_' . $imageName);

        if ($uploaded) {
            return print_r($this->resizeImage($image, $data, $destination, $imageName));
        } else {
            echo 'An error occurred!';
        }

        ini_restore('memory_limit');
    }

    private function parse_argv(array $argv): array
    {
        $request = [];
        foreach ($argv as $i => $a) {
            if (!$i) {
                continue;
            }
            if (preg_match('/^-*(.+?)=(.+)$/', $a, $matches)) {
                $request[$matches[1]] = $matches[2];
            } else {
                $request[$i] = $a;
            }
        }

        return array_values($request);
    }

    private function resizeImage($image, $data, $destination, $imageName)
    {
        $result = [];
        $result['oldSize'] = filesize($image) / 1024 . 'KB';
        $result['oldHeight'] = getimagesize($image)[1];
        $result['oldWidth'] = getimagesize($image)[0];

        $image = new \Imagick($image);
        $image->resizeImage($data[0], $data[1], \Imagick::FILTER_LANCZOS, 0);
        $image->writeImage($destination . 'compress_' . $imageName);

        if ($image) {
            $result['newSize'] = filesize($destination . 'compress_' . $imageName) / 1024 . 'KB';
            $result['newHeight'] = getimagesize($destination . 'compress_' . $imageName)[1];
            $result['newWidth'] = getimagesize($destination . 'compress_' . $imageName)[0];
                return $result;
                exit;
            } else {
                return 'An error occured!';
                exit;
        }
    }
}

$compress = new ImageWithImagik();
$compress->handle($argv);
Before saving this file, ensure that you replace the placeholder <image_file_name> with the actual filename of the image file that you placed in the test-image subdirectory.
This code does a simple resizing of the image to reduce its size.
Step 3: Test the Code
Open a command line terminal and change to the php-imagick directory. Run the PHP script using the following arguments.
php imagewithimagik.php height=100 width=100

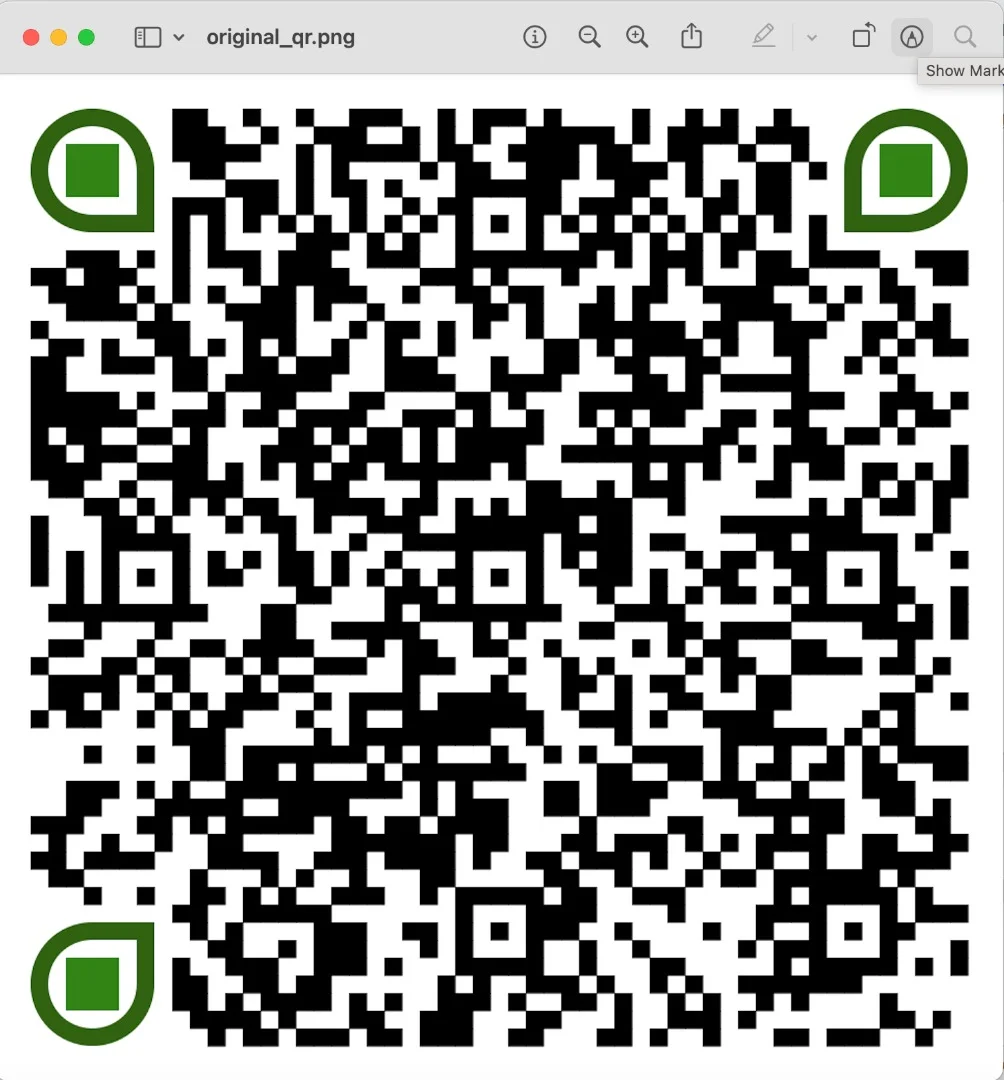
Here is how you can compress a QR code image, by reducing its size.
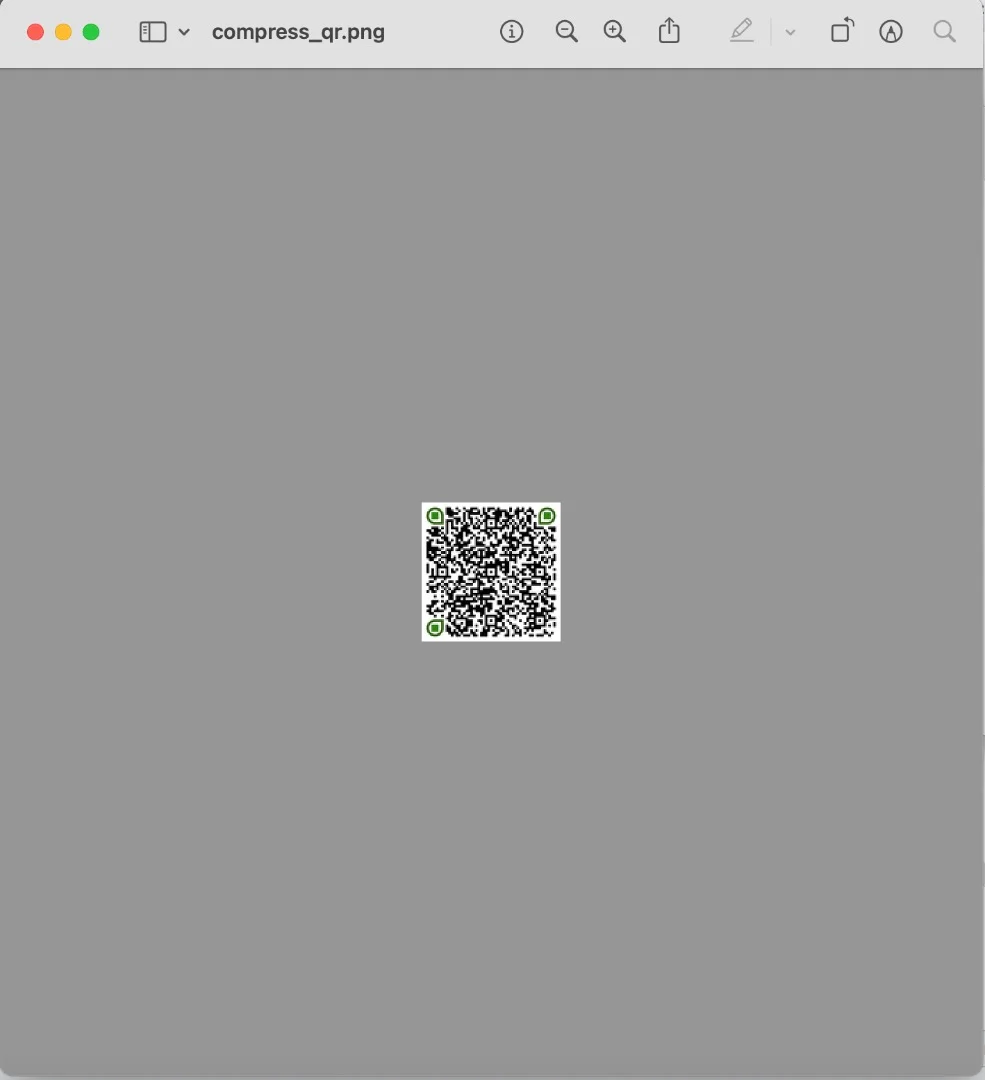
As you can see the resized image is shrunk to a size of 100x100 which also compresses its size.
For gray-scale images like this, resizing images by reducing the size of the image gives you considerable savings in the file size. However, for regular scene images, there is a better approach as you will see next.
Option 2: Compressing Images with the GD library
GD is an open-source code library for the dynamic creation of images by programmers. GD is written in C, with wrappers available for Perl, PHP, Ruby, and many other bindings. We will use the PHP wrapper to show you one more way of compressing the images.
Check out the PHP manual for GD and make sure to refer to the installation and configuration steps as per your operating system.
Step 1: Setup the Code Directory
Similar to the directory structure of php-imagick, create another structure with the top-level directory name 'php-gd'.
Inside the test-image subdirectory, place an image file that will be compressed.
Step 2: Write the Image Compression Code
Create a new file named imagewithgd.php inside the php-gd directory and add the following code:
ini_set('memory_limit', -1);

class ImageWithGd
{
    // accept image from terminal and save it to a file and also resize using gd
    public function handle(array $request)
    {

        $data = $this->parse_argv($request);

        $destination = __DIR__ . '/uploads/';

        // get image from test-image folder
        $image = __DIR__ . '/test-image/';

        $imageName = basename($image);

        // move image to uploads folder
        $uploaded = copy($image, $destination . 'original_' . $imageName);

        if ($uploaded) {
            return print_r($this->compressImage($image, intval($data[0]), $destination, $imageName));
        } else {
            echo 'An error occurred!';
        }

        ini_restore('memory_limit');
    }

    private function parse_argv(array $argv): array
    {
        $request = [];
        foreach ($argv as $i => $a) {
            if (!$i) {
                continue;
            }
            if (preg_match('/^-*(.+?)=(.+)$/', $a, $matches)) {
                $request[$matches[1]] = $matches[2];
            } else {
                $request[$i] = $a;
            }
        }

        return array_values($request);
    }

    function compressImage($image, $outputQuality, $destination, $imageName)
    {
        $result = [];

        $imageInfo = getimagesize($image);

        $result['oldSize'] = filesize($image) / 1024 . 'KB';
        $result['mime'] = $imageInfo['mime'];


        if ($imageInfo['mime'] == 'image/gif') {

            $imageLayer = imagecreatefromgif($image);
        } elseif ($imageInfo['mime'] == 'image/jpeg') {

            $imageLayer = imagecreatefromjpeg($image);
        } elseif ($imageInfo['mime'] == 'image/png') {

            $imageLayer = imagecreatefrompng($image);
        }

        $compressedImage = imagejpeg($imageLayer, $destination . 'compress_' . $imageName, $outputQuality);

        if ($compressedImage) {
            $result['newSize'] = filesize($destination . 'compress_' . $imageName) / 1024 . 'KB';

            return $result;
            exit;
        } else {
            return 'An error occured!';
            exit;
        }
    }
}

$compress = new ImageWithGd();
$compress->handle($argv);
Before saving this file, ensure that you replace the placeholder <image_file_name> with the actual filename of a jpeg image file that you placed in the test-image subdirectory.
This code defines a php function to perform compression based on a quality score that ranges between 0 ( worst quality, smaller size) and 100 (best quality, larger size).
Step 3: Test the Code
To test this code, you can point to the php-gd directory on your command line interface and run the following command to optimize the image.
php imagewithgd.php quality=10
The value of 10 indicates that we want the output image to have a quality score of 10, which provides a reasonably high compression.

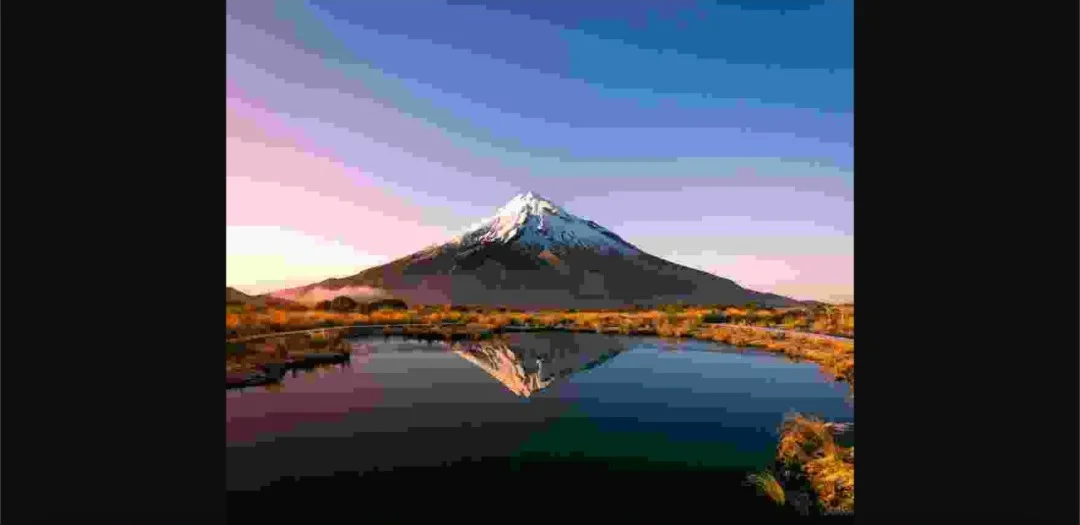
Here is how a scenery image is compressed.
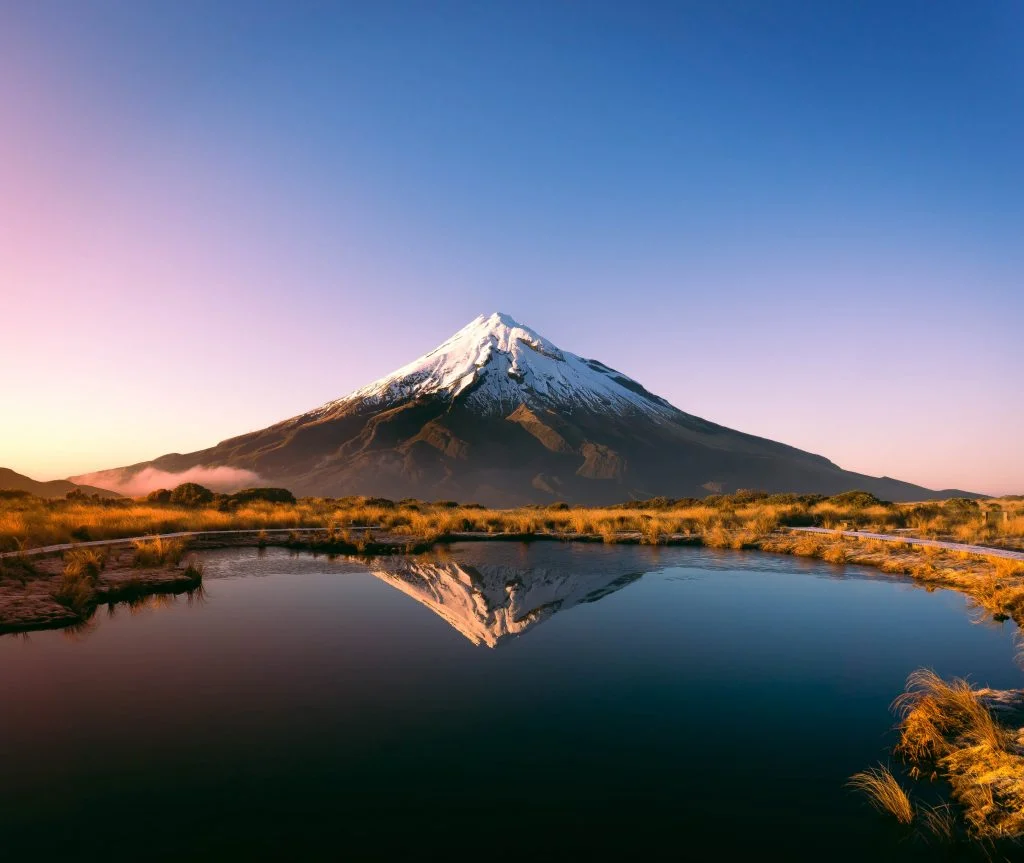
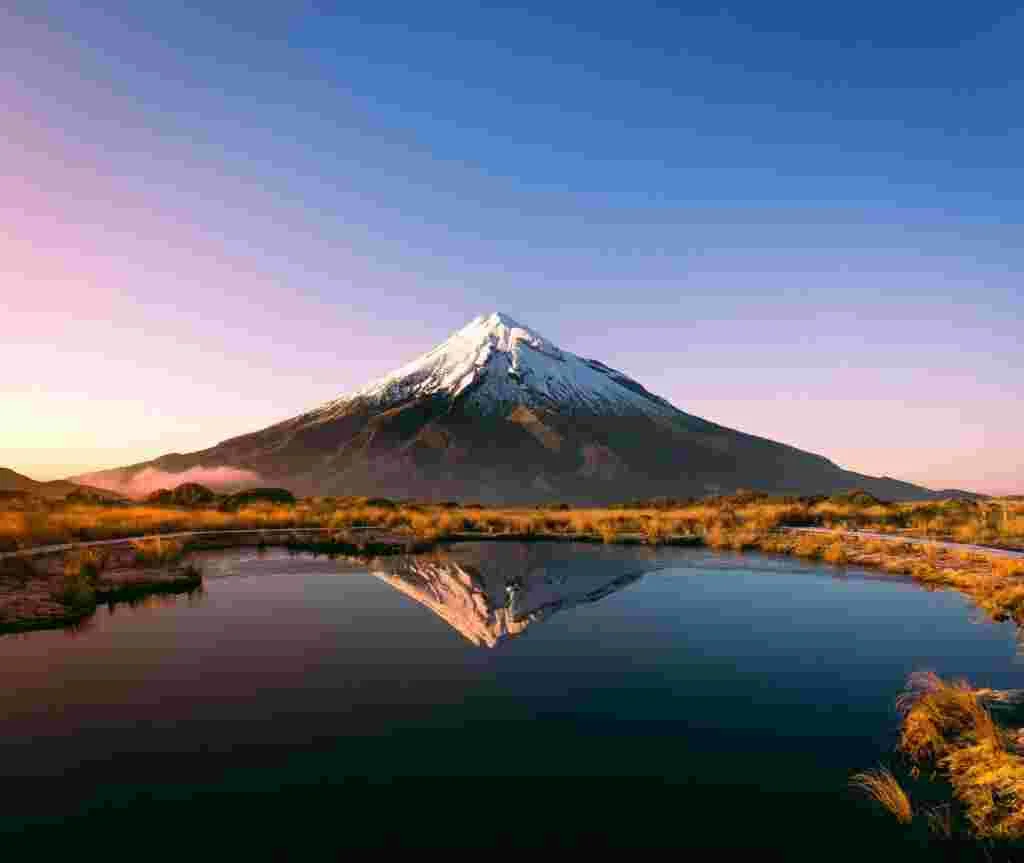
As you can see, the visual perception of the image quality has significantly reduced in the second image after compression. That is the disadvantage of compressing images with a low-quality score. Therefore, you have to choose a quality score that maintains a good balance of image size and quality.
Option 3: Compressing Images using Abstract API's Image Processing and Optimization API.
If you do not want to deal with the overheads of compressing images at the server-side PHP runtime, going the API way is your best bet.
With Abstract Image Processing and Optimization API, it is super easy to integrate image compression operations on a PHP-based application.
Step 1: Setup the Code Directory
Create another top-level directory name as 'php-abstract'.
We do not need the subdirectory here since the images will be stored and accessed via unique URLs, instead of local file paths.
Step 2: Setup Imgur Account for Input Images
In order to handle images with APIs, you have to upload image to a URL. There are many ways to store images using a cloud-hosted service, and Imgur is one of the popular options.
Signup for your Imgur account and register a client application for API access. To do that, open the Imgur registration page:
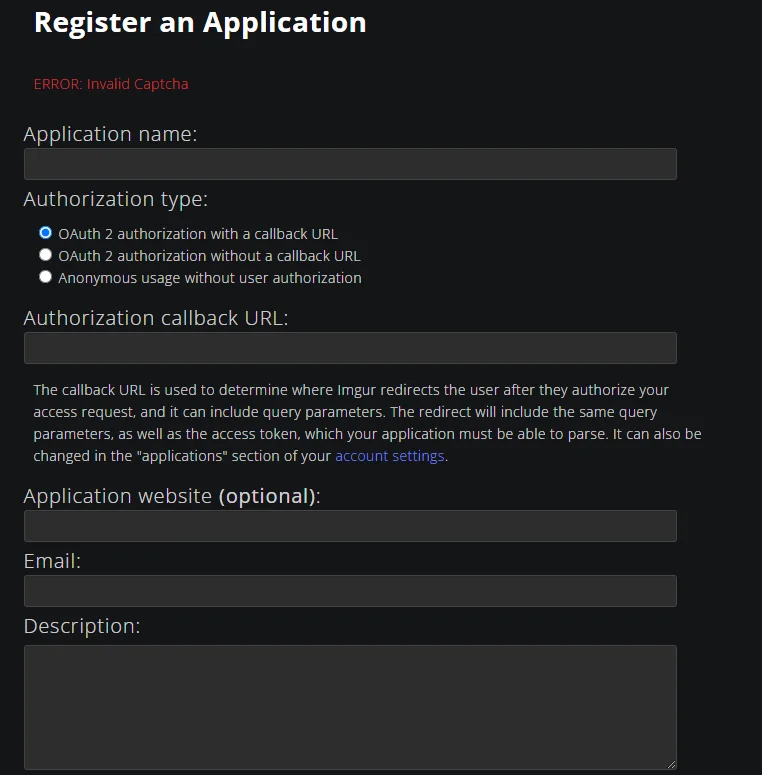
And fill in the following details
Application name: image compress
Authorization: OAuth2 Authorization with a callback URL
Redirect URL: https://int.bearer.sh/v2/auth/callback
Email: Provide any email address
Once submitted, you will get an Imgur Client Id and a secret. Make a note of these two credentials.
Step 3: Signup for Abstract API Account
To use the Abstract Image Processing and Optimization API, signup for your AbstractAPI account and head over to the Images API dashboard, where you can see your API key.
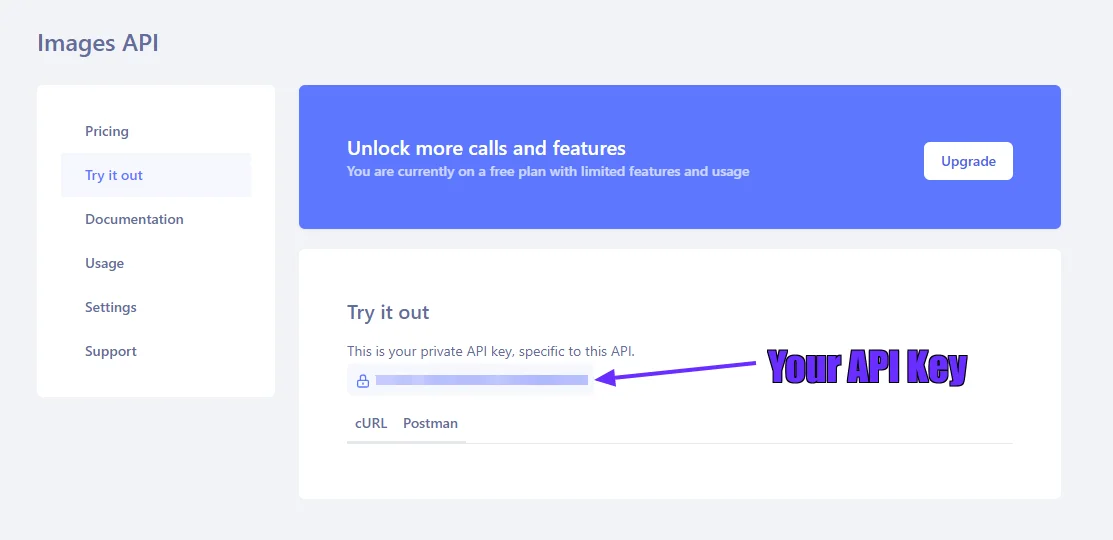
Make a note of this API key.
For compression, this API also supports a quality score of 0 to 100 that can be specified as part of the API request parameters. For complete details on the image manipulation options supported by this API, you can check out the documentation.
Step 4: Write the Image Compression Code
Create a new PHP file named imagewithabstract.php under the php-abstract directory and add the following code:
class ImageWithAbstract
{
   public $imgur_secret = "";

   public $abstract_secret = "";

    public function handle()
    {

        $data = [];
        //get image from request
        $image = $_FILES['image'];
        //get image size
        $imageSize = getimagesize($image['tmp_name']);
        //get image width
        $imageWidth = $imageSize[0];
        //get image height
        $imageHeight = $imageSize[1];

        $imgur = $this->imgur($image['tmp_name']);


        if ($imgur['success'] === true || $imgur['status'] === 200) {
            $data['url'] = $imgur['data']['link'];
            $data['width'] = $_POST['width'] ?? $imageWidth;
            $data['height'] = $_POST['height'] ?? $imageHeight;

            return print_r($this->abstract($data));
            exit;
        }

        echo 'Something went wrong';
        exit;

    }


    private function imgur($image)
    {
        // base64 encode image
        $image = base64_encode(file_get_contents($image));

        $curl = curl_init();

        curl_setopt_array($curl, array(
            CURLOPT_URL => 'https://api.imgur.com/3/image',
            CURLOPT_RETURNTRANSFER => true,
            CURLOPT_ENCODING => '',
            CURLOPT_MAXREDIRS => 10,
            CURLOPT_TIMEOUT => 0,
            CURLOPT_FOLLOWLOCATION => true,
            CURLOPT_HTTP_VERSION => CURL_HTTP_VERSION_1_1,
            CURLOPT_CUSTOMREQUEST => 'POST',
            CURLOPT_POSTFIELDS => array('image' => $image),
            CURLOPT_HTTPHEADER => array(
                'Authorization: Client-ID ' . $this->imgur_secret
            ),
        ));

        $response = curl_exec($curl);

        curl_close($curl);

        return json_decode($response, true, JSON_THROW_ON_ERROR);

    }

    private function abstract(array $data)
    {
        $data = [
            'api_key' => $this->abstract_secret,
            'quality' => $data['quality'],
            'url' => $data['url'],
            'lossy' => true,

        ];

        $curl = curl_init();

        curl_setopt_array($curl, array(
            CURLOPT_URL => 'https://images.abstractapi.com/v1/url/',
            CURLOPT_RETURNTRANSFER => true,
            CURLOPT_ENCODING => '',
            CURLOPT_MAXREDIRS => 10,
            CURLOPT_TIMEOUT => 0,
            CURLOPT_FOLLOWLOCATION => true,
            CURLOPT_HTTP_VERSION => CURL_HTTP_VERSION_1_1,
            CURLOPT_CUSTOMREQUEST => 'POST',
            CURLOPT_POSTFIELDS => $data,
            CURLOPT_HTTPHEADER => array(
                'Authorization: Client-ID ' . $this->imgur_secret,
                "Content-Type" => "application/json",
                "Accept" => "application/json"
            ),
        ));

        $response = curl_exec($curl);

        curl_close($curl);

        return json_decode($response, true, JSON_THROW_ON_ERROR);
    }

}

$abstract = new ImageWithAbstract();
$abstract->handle();
Before saving this file, replace the placeholders <imgur_key> and <abstract_key> with your Imgur client secret and the Abstract API key that you received as part of the account creation for Imgur and Abstract API respectively.
This code runs as a PHP web server and accepts the uploaded image as Imgur URL. It then makes a call to the Abstract API for resizing the image based on the height and width parameters passed.
Step 5: Test the Code
Before testing this code, make sure that the cURL library is enabled in your PHP runtime.
Open a command line terminal and change to the php-abstract directory. Run the PHP web server as follows.
php -S localhost:8000
Then open another terminal and type the following command to check the image upload status.
curl --form "image=@" --form "quality=30" "http://localhost:8000/imagewithabstract.php"

You can check the screenshot of image compressed successfully.
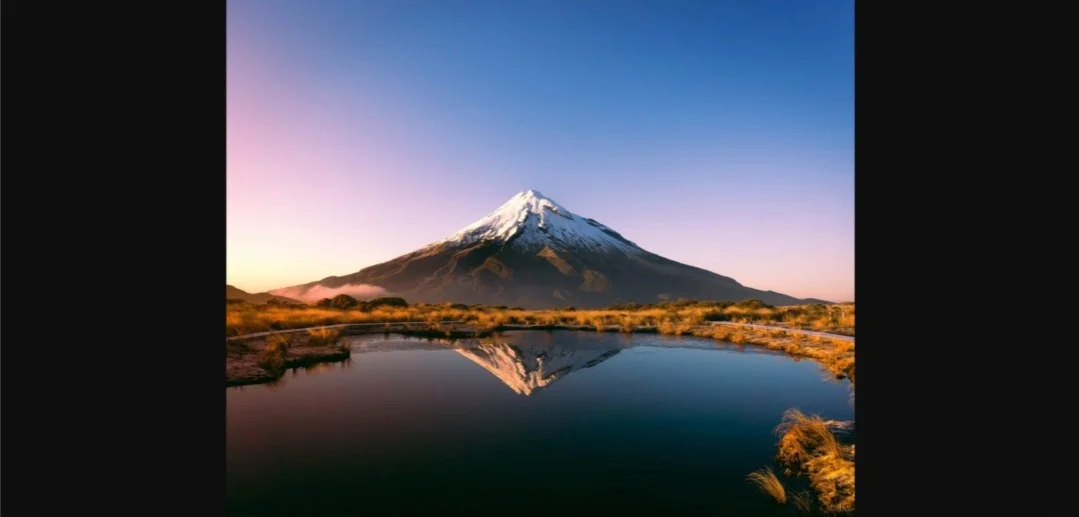
From the screenshot you see we are able to compress our image by choosing a quality score of 30. However, we face a similar problem of reduced visual perception of the image quality.
Try to test this code by increasing the quality score to anywhere between 50 to 75 and you should see a better result.
FAQs
How to reduce the size of images in PHP?
To compress images, PHP has some built-in options using the Imagick extension and the GD library wrapper. Both libraries can be enabled in the PHP runtime to import image manipulation functions, including performing resizing operations. However, manipulating images can take up a sizable CPU load. If you do not want to burden your PHP runtime to handle images then you have the option to go the API way. Abstract API Image Processing and Optimization API offers some nifty options to perform standard image manipulation operations including resizing, which allows you to select a smaller dimension for the image, thereby reducing the image file size.
How to compress image size while uploading in PHP?
PHP has a number of libraries for supporting image manipulation tasks. One option is to use the built-in GD library wrapper. Additionally, you can also use the Imagick extension that works with the ImageMagick tool. Both libraries can be enabled in the PHP runtime to import image manipulation functions, including performing compression operations. However, manipulating images can take up a sizable CPU load. If you do not want to burden your server-side PHP code to handle images, you have the option to go the API way. Abstract API Image Processing and Optimization API offers some nifty options to perform standard image manipulation operations including compression.
How do I compress an image?
Image compression can be achieved by choosing a quality score that represents the pixel information of an image file info. This quality score is represented by a number ranging between 0 to 100. A value of 100 indicates that the image is of the highest quality and retains all the color and transparency-related options for each pixel. Reducing the quality score eliminates some of the information to compress the image. But reducing it to a low value of 25 or below can also impede the visual perception of the image quality. Using APIs like the Abstract API Image Processing and Optimization API, you can test the compression results to find out which quality score works best for your images. As a standard rule of thumb, a quality score ranging from 50 to 75 should give you the best balance of compression and visual quality of an image.
Frequently Asked Questions
What is the difference between lossy and lossless image compression in PHP?
Lossless compression retains all original image data, while lossy compression discards some data to achieve a higher reduction in file size. For PHP projects, lossy compression works well for photographs and complex images, whereas lossless is better suited to logos and images with flat colors or sharp edges.
How do I compress an image using PHP's GD Library?
Use functions like imagecreatefromjpeg() to load the image, then save it with imagejpeg() passing a quality value between 0 and 100. A quality score between 50 and 75 is generally recommended as a good balance between file size and visual quality. GD is bundled with most PHP installations, making it the easiest starting point.
When should I use IMagick instead of the GD Library for PHP image compression?
IMagick, which wraps the ImageMagick library, tends to perform better for grayscale and technical images, while GD is more suited to photographic content. If your application handles a wide variety of image types or needs finer control over compression settings, IMagick's setImageCompressionQuality() method gives more granular options. The trade-off is that IMagick requires a separate PHP extension to be installed.
What quality score should I use when compressing images in PHP?
The recommended range for most use cases is between 50 and 75 on a 0–100 scale, where 0 means smallest file at lowest quality and 100 means best quality at largest size. Testing across that range before deploying to production is advised, since the acceptable threshold varies depending on the image content and your application's requirements.
What are the server-side performance implications of compressing images in PHP?
Both GD and IMagick perform compression on your web server, which can consume significant CPU and memory — especially at scale or with large images. Setting ini_set('memory_limit', -1) is a common workaround, but it can lead to resource exhaustion in high-traffic environments. For applications that process many images, offloading to a cloud-based image processing API removes that server burden entirely.
When does it make sense to use a cloud API for PHP image compression instead of a server-side library?
A cloud API is a good fit when your server resources are limited, when you're serving images across multiple geographic regions, or when you want to avoid managing PHP extensions like IMagick. The trade-off is added network latency per request compared to local processing with GD or IMagick.
