

Before you touch DNS: two things to verify
DMARC enforces alignment between SPF and DKIM. If either is missing or misconfigured, a p=reject policy will discard mail you want delivered.
1. Verify SPF is passing.
Run this from your terminal:
dig +short TXT example.com
You should see a record starting with v=spf1. If you don't, set up SPF before continuing. On Windows: nslookup -type=TXT example.com.
2. Verify DKIM is signing for every sending source.
This is the step most teams underestimate. You likely have more sending sources than you realize. Audit all of them before proceeding:
- Primary marketing ESP (Mailchimp, Klaviyo, Braze, etc.)
- Transactional email provider (SendGrid, Postmark, AWS SES, etc.)
- Support platform (Zendesk, Intercom, Freshdesk)
- CRM (Salesforce, HubSpot)
- Billing and invoicing tools
Every source sending email from your domain needs a DKIM key published in DNS. Confirm with each provider's documentation or support team before moving on. If you're seeing unexpected DKIM failures at this stage, the SPF violations guide covers how to diagnose authentication failures across your sending infrastructure — the same diagnostic approach applies to DKIM alignment issues.
3. Create a dedicated inbox for reports.
Use something like dmarc-reports@example.com. Major receivers — Google, Microsoft, Yahoo — send aggregate reports as XML files, usually daily. They will overwhelm a personal inbox fast.
Step-by-step setup
Step 1: Build your starter record
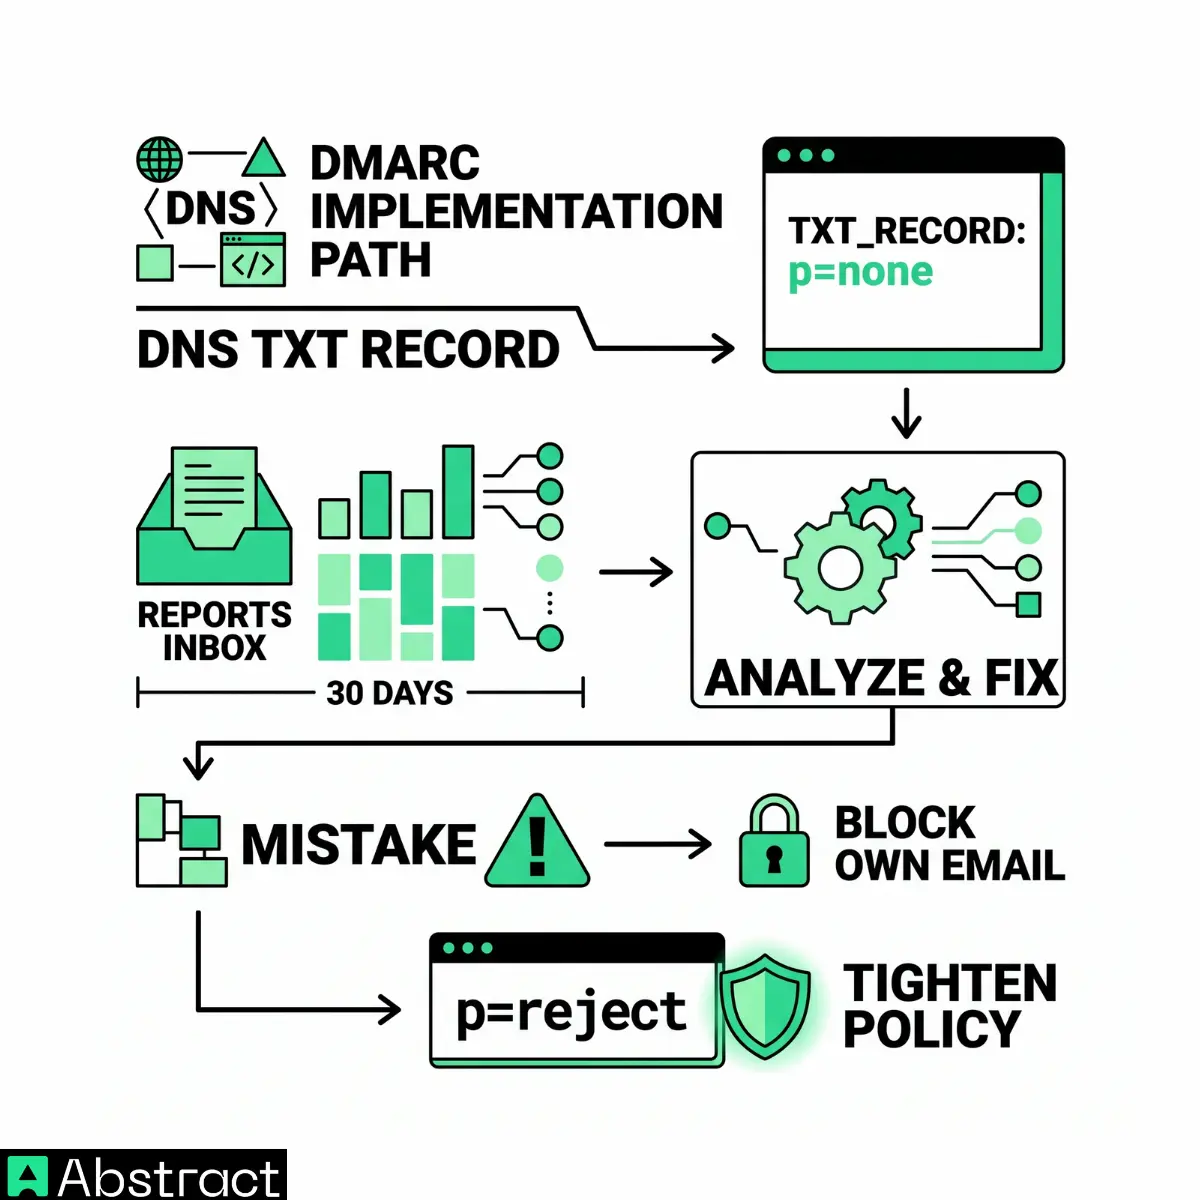
Your first DMARC record uses p=none. This collects reports without affecting deliverability — the right place to start.
v=DMARC1; p=none; rua=mailto:dmarc-reports@example.com; pct=100
What each field does:
FieldValueWhat it doesvDMARC1Identifies this as a DMARC recordpnoneMonitor only, no enforcement ruayour report addressWhere aggregate reports are sentpct100Apply policy to 100% of messages
Step 2: Publish the record in DNS
DMARC records go at _dmarc.yourdomain.com — not at the domain apex. Publishing at the wrong location is the most common placement mistake.
Cloudflare
Go to your domain > DNS > Records > Add record. Type: TXT. Name: _dmarc. Content: paste your full DMARC record. TTL: Auto. Save.
AWS Route 53
Open the hosted zone > Create record. Record name: _dmarc. Type: TXT. Value: paste your full record (include surrounding quotes if Route 53 requires them). TTL: 300. Save.
GoDaddy
My Products > DNS > Add. Type: TXT. Host: _dmarc. TXT Value: paste your record. TTL: 1 Hour. Save.
Google Domains / Squarespace DNS
DNS > Custom records. Host name: _dmarc. Type: TXT. Data: paste your record. Save.
Step 3: Verify the record published
Propagation usually takes a few minutes. Check with:
dig +short TXT _dmarc.example.com
You should see your record returned verbatim. If nothing comes back, wait 10 minutes and try again. On Windows: nslookup -type=TXT _dmarc.example.com.
Step 4: Wait for your first reports
Aggregate reports arrive within 24 hours from major receivers. Google, Microsoft, and Yahoo are the most consistent and most valuable — those providers handle the majority of consumer and business email.
If reports don't arrive, check that you actually sent email from your domain during that period. Send a test message from each of your sending sources to trigger the first round.
Step 5: Read your first report
Aggregate reports are XML. A typical entry looks like this:
xml
<record>
  <row>
    <source_ip>198.51.100.42</source_ip>
    <count>143</count>
    <policy_evaluated>
      <dkim>pass</dkim>
      <spf>pass</spf>
    </policy_evaluated>
  </row>
  <identifiers>
    <header_from>example.com</header_from>
  </identifiers>
  <auth_results>
    <dkim>
      <domain>example.com</domain>
      <result>pass</result>
    </dkim>
    <spf>
      <domain>example.com</domain>
      <result>pass</result>
    </spf>
  </auth_results>
</record>
What to look for:
source_ip: The IP that sent the mail. Map this back to a sending source.count: How many messages came from that source in the reporting period.dkimandspfinpolicy_evaluated: Both should bepass. Afailhere means that source will be affected when you move to enforcement.auth_results: The raw SPF and DKIM results before alignment is applied.
Most teams use a DMARC reporting tool — Postmark's free analyzer, MXToolbox, or Valimail — to parse the XML into a readable dashboard. The raw XML is useful for debugging specific records; a dashboard is faster for spotting patterns across hundreds of reports.
Your goal during the monitoring phase: every legitimate sending source showing pass on both SPF and DKIM before you move to enforcement.
Step 6: Move to enforcement
After 30 days of clean reports, move to p=quarantine first:
v=DMARC1; p=quarantine; rua=mailto:dmarc-reports@example.com; pct=100
If you want to roll out gradually, use pct= to apply the policy to a percentage of failing mail:
v=DMARC1; p=quarantine; rua=mailto:dmarc-reports@example.com; pct=10
Increase by 10–20 percentage points every few days while monitoring reports.
After 30–60 days at quarantine with clean reports, move to p=reject:
v=DMARC1; p=reject; rua=mailto:dmarc-reports@example.com; pct=100
p=reject is the end goal. It tells receivers to discard mail that fails DMARC outright — the only level that fully protects your domain from spoofing.
Common mistakes
Wrong record location. The record must be at _dmarc.example.com, not example.com. If you publish at the apex, receivers won't find it.
Multiple DMARC records on the same domain. You can only have one. Two records at _dmarc.example.com causes receivers to treat the domain as if it has no DMARC record at all.
Jumping to p=reject before monitoring. Any sending source that isn't DKIM-signing or SPF-aligned will have its mail discarded silently. No bounce notification. Your users stop getting password resets and you have no way to know why until someone complains. Spend the 30 days.
Forgetting subdomains. If you send from mail.example.com or notifications.example.com, those subdomains inherit the parent policy unless you set sp= explicitly:
v=DMARC1; p=reject; sp=quarantine; rua=mailto:dmarc-reports@example.com; pct=100
sp=quarantine applies quarantine to subdomain failures while your root domain is at p=reject — useful during the transition.
Using a personal inbox for reports. You'll miss failures in the noise. Use a dedicated inbox or route reports directly to a parsing tool.
Publish, monitor, enforce
The mechanics are straightforward. Publish the record, watch what the reports show you, fix the sources that are failing, then move to enforcement in two steps.
The 30-day monitoring phase isn't wasted time — it's where you find the sending sources you forgot existed. One misconfigured integration failing silently at p=reject is worse than taking the extra month.
Authentication stops spoofing. It doesn't protect your sender reputation from the other direction: bounces, spam complaints, and invalid addresses that degrade your engagement metrics over time. Email Validation catches those before they become a problem — verify addresses at the point of collection, before a single message is sent. For a broader look at how authentication fits into deliverability overall, see What is Email Deliverability.
Related: What is a DMARC Record | DKIM vs DMARC: What Each One Does and Why You Need Both | SPF Violations: A Developer's Guide
