


What is SMTP?
SMTP (or Simple Mail Transfer Protocol) is the network communication layer that manages email communications. SMTP outlines how emails should be sent and received, the same way HTTP (Hyper Text Transfer Protocol) outlines how data packages should be sent and received on the web.
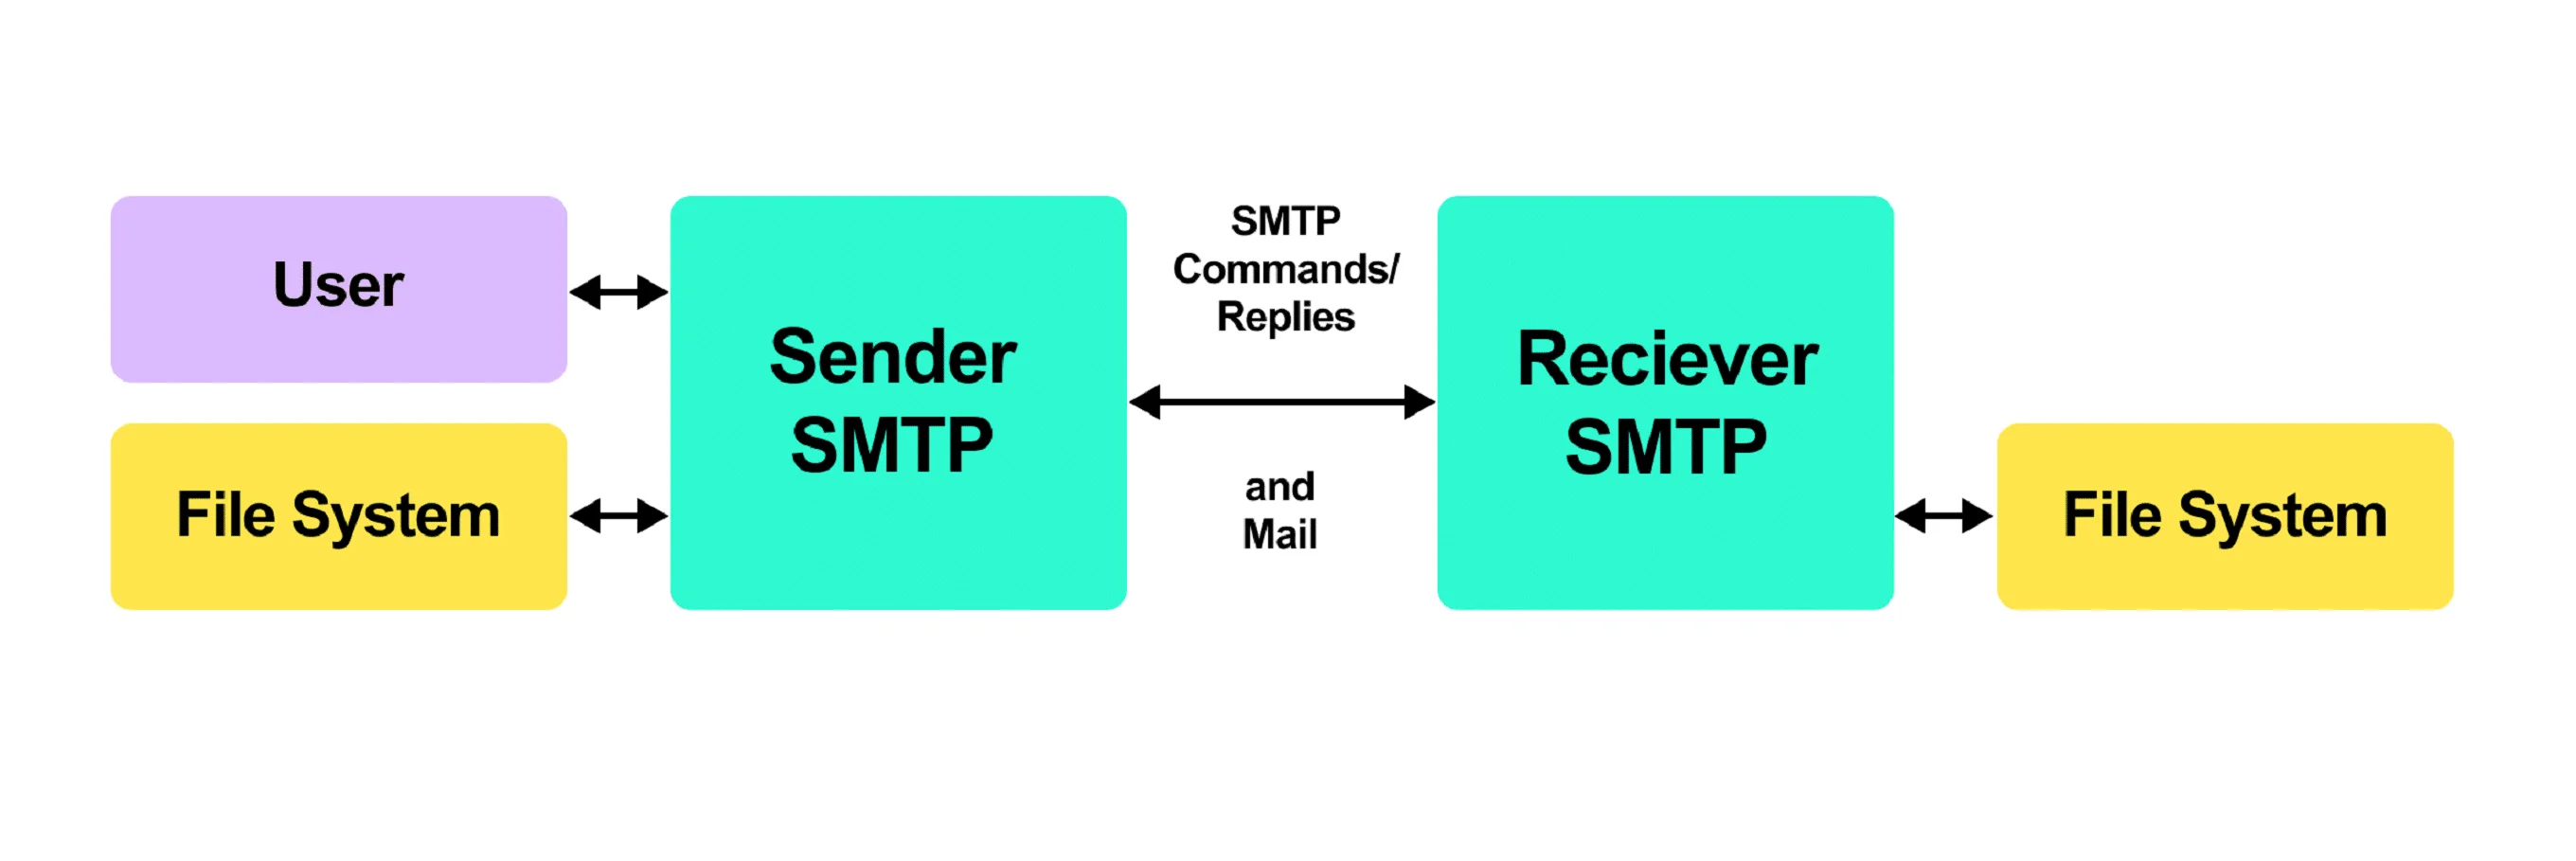
An SMTP server handles SMTP traffic. Emails are sent from email clients to SMTP servers, which handle the transferring of emails to other SMTP servers and ultimately to other email clients.
SMTP servers are important for preventing spam. They also provide security and prevent hackers and other bad actors from invading our emails and ruining our days.
Here's a brief overview of the process of sending an email through SMTP:
- The server receives email information from a client (usually on Port 25.) The client is the email service from which you send email, like a Gmail account or a Yahoo account.
- It breaks the address of both sender and recipient into two parts: the username and the domain.
- For example, in the address abstractapi@gmail.com, the username is abstractapi and the domain is gmail.com
- It examines the domain of the sender and the domain of the recipient. If both are under the same domain (i.e. gmail.com) it sends the email via that domain’s preferred method (i.e. POP or IMAP.)
- If the domain of the sender and recipient are different, the server checks to see that the sender’s email address is an active and valid email. This prevents spam.
- If the sender’s address is valid, the server sends the email data to the recipient’s SMTP server. That server handles delivering the email to the recipient.
SMTP can only be accessed by backend servers. You cannot make an SMTP request from a frontend Javascript client directly.
That's because apps that runs in the browser aren't allowed access to Port 25. This is to prevent Javascript and other frontend apps from being able to spam people. If you're running a serverless frontend like a Gatsby site, you'll need to send your email data to an SMTP server or transactional email service.
If you run your own backend, you can configure your own server with an SMTP port.
Sending Emails Using Nodemailer and Mailtrap
Nodemailer is a lightweight module that makes sending emails from your application straightforward. It has been around since 2010, so it's well documented and supported. There are zero dependencies, and the module emphasizes security, putting a heavy focus on RCE vulnerabilities.
Nodemailer supports emojis, HTML content, attachments and embedded images. You can autogenerate test accounts for development purposes through Ethereal.email.

Mailtrap is a fake SMTP server that you can use during development and testing to avoid cluttering your real SMTP service with test data. Once you finish setup and testing, you can swap out the credentials in the Nodemailer module with the real credentials for your Sendgrid, Mailgun or Mailchimp API.

Let's dive in to the installation and setup. We'll assume you already know how to spin up a Node application. If you don't, this article has a pretty good walkthrough that will get you started with Node and Express.
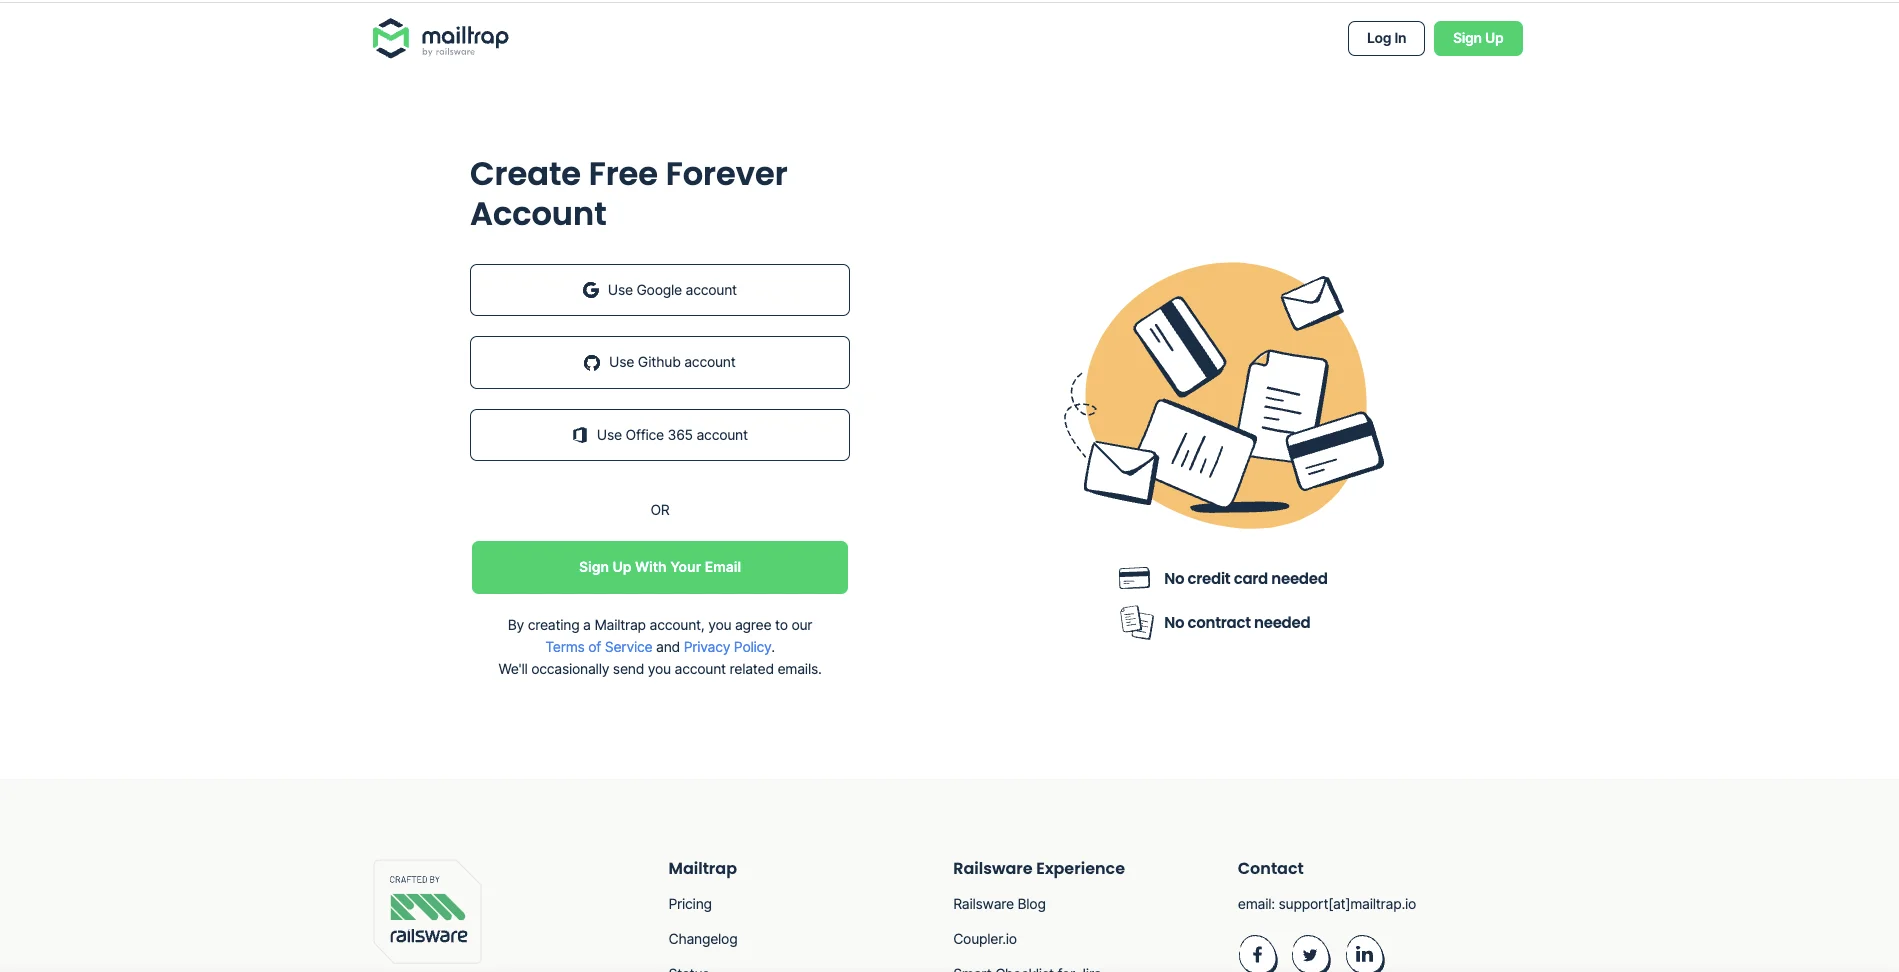
Get a Mailtrap Account
Go to the Mailtrap homepage and click "Sign Up for Free." You get 500 test emails per month with a free account. From there, pricing increases to $9/month if you need higher send limits or additional users.
On the next page, choose your preferred sign-in method to create an account.
Once you finish the sign up process, you'll be taken to your Mailtrap dashboard. You'll see a code snippet for a curl request to test the API, which will include your user number and the SMTP url.
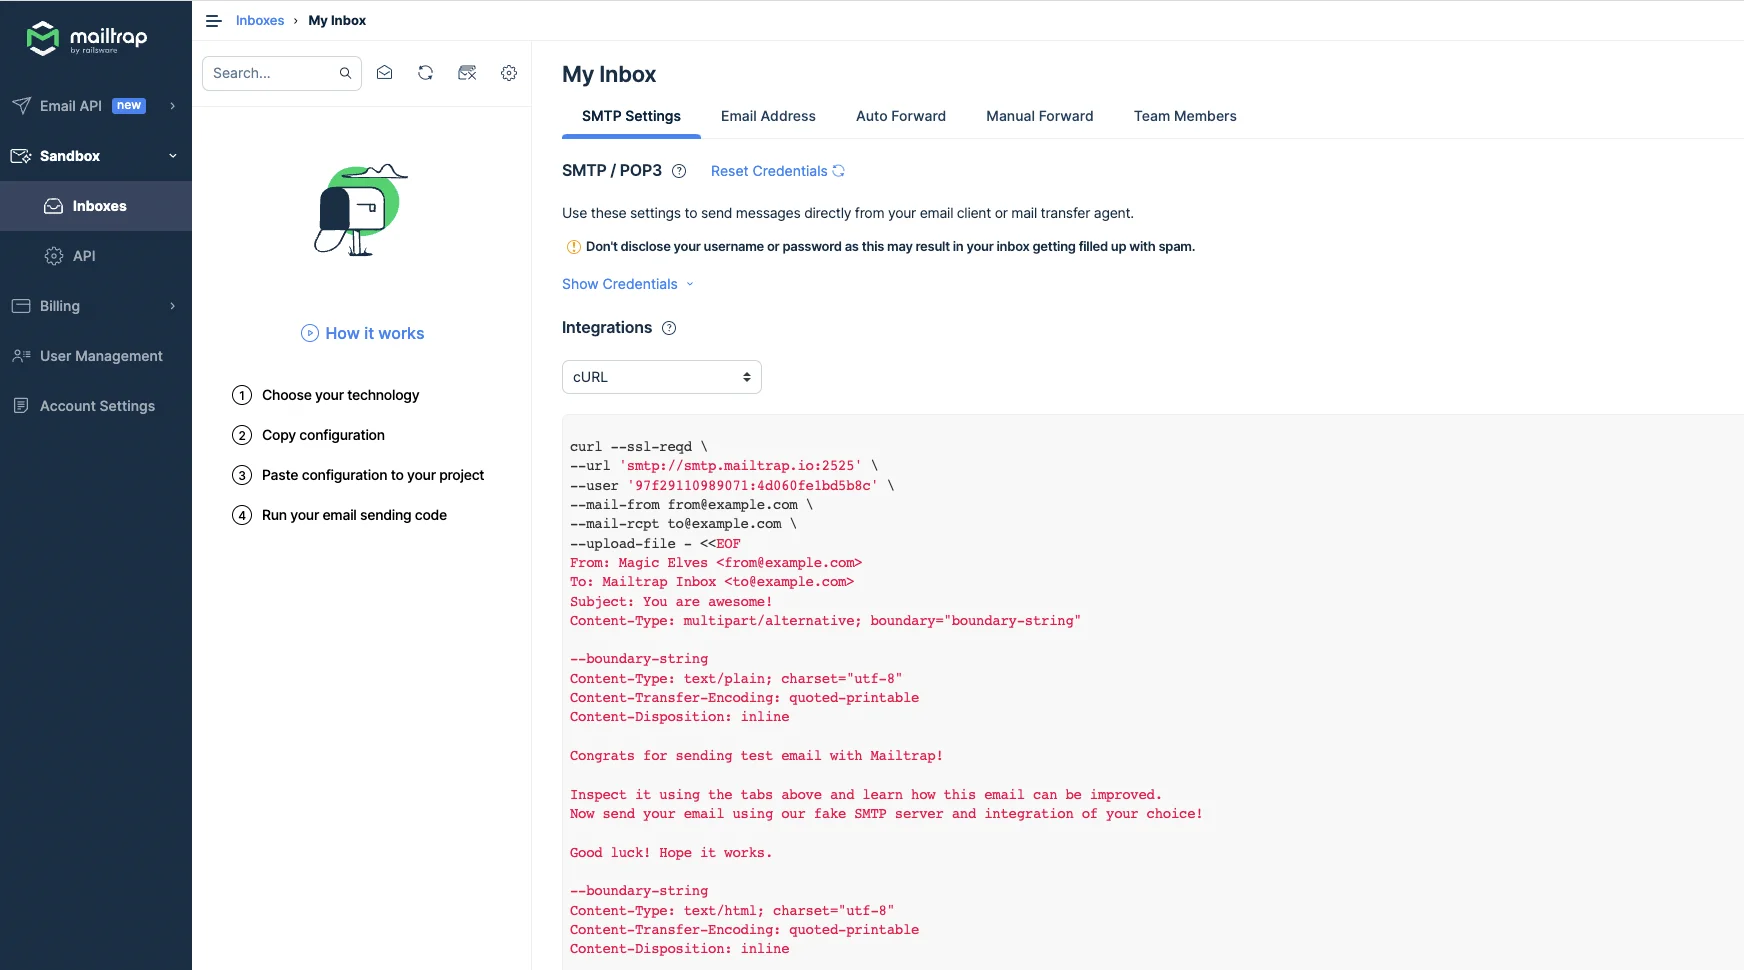
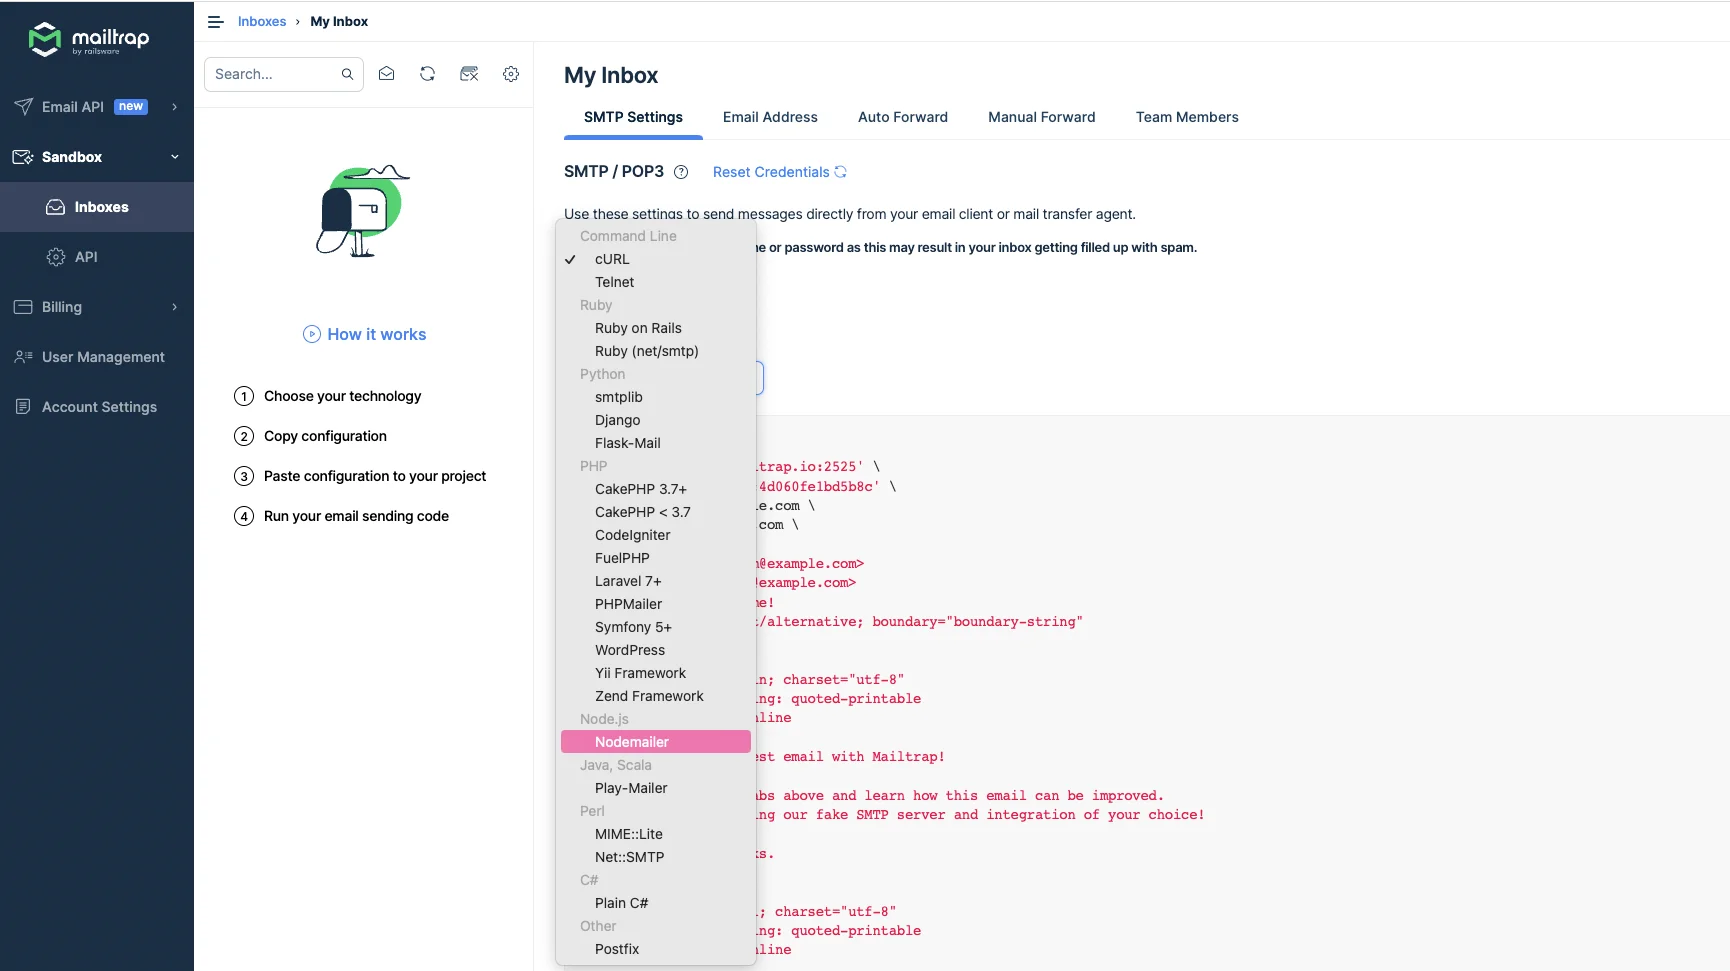
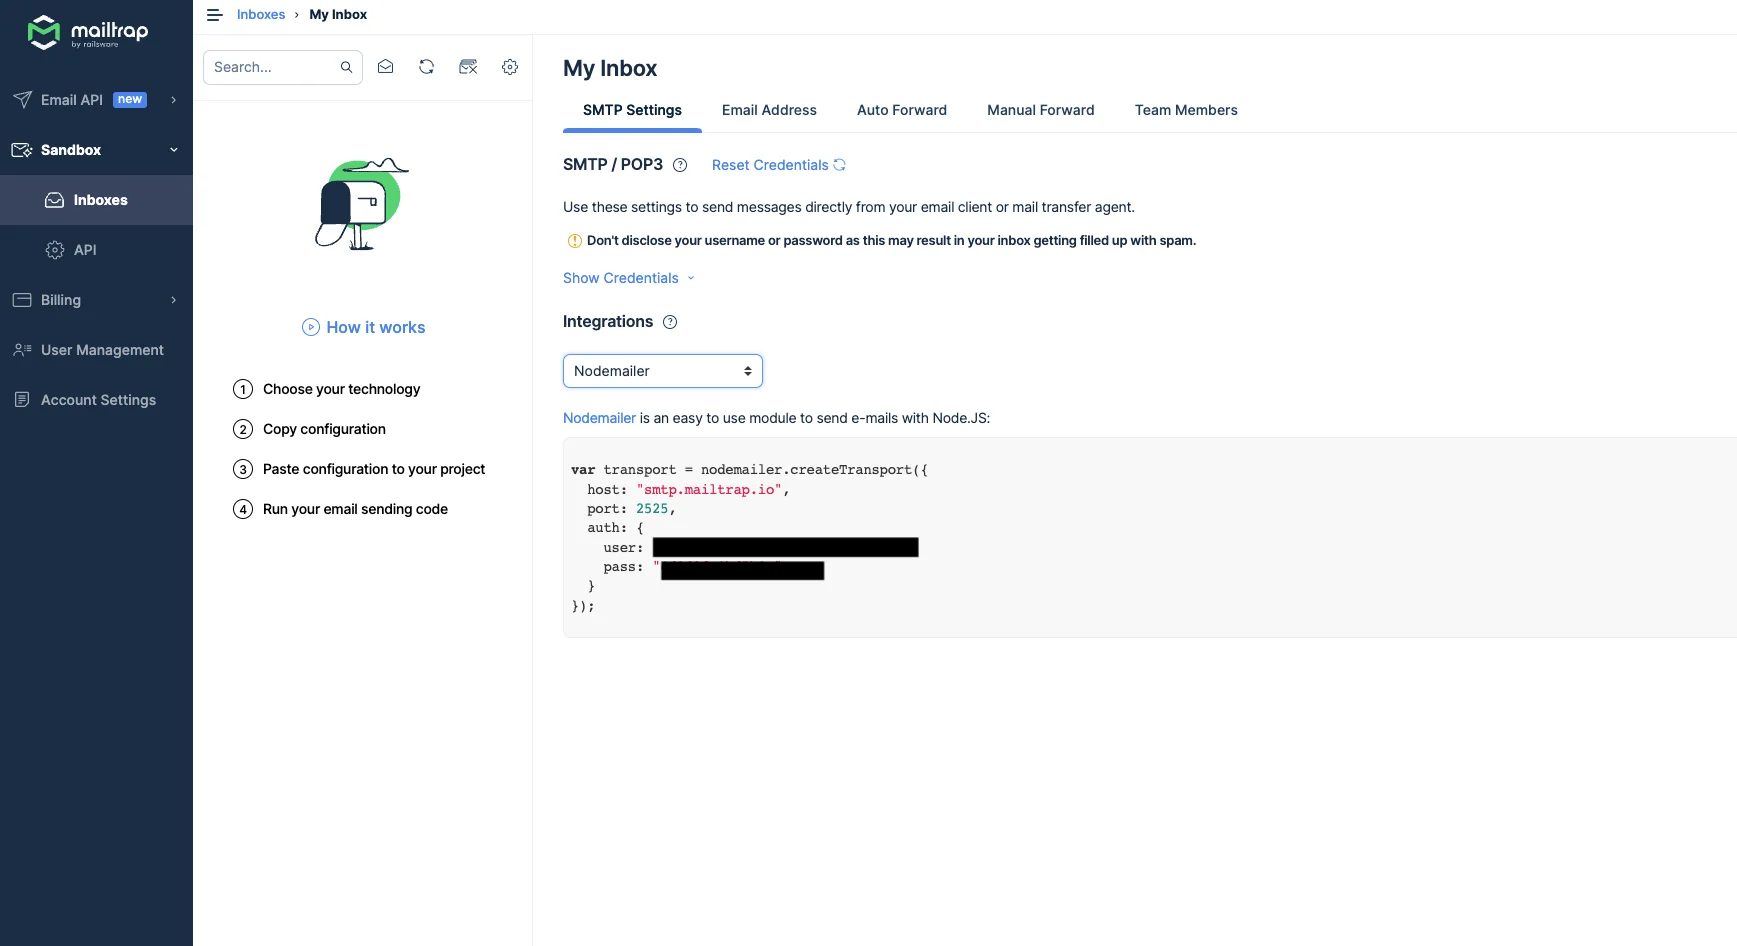
You won't need the API key for this tutorial. Instead, click on the "Integrations" dropdown menu and select "Nodemailer."
You'll now see the credentials you need for your Nodemailer setup. Copy this somewhere for the next step.
Install Nodemailer
Add the Nodemailer dependency using your preferred package manager. The following command uses NPM install.
Create the Nodemailer Transporter Object
Create a new js file called email.js in the project directory. This will be where we keep all our email service logic. Pull in nodemailer and copy the code snippet provided by Mailtrap.
Create a Message Object
Next, we need to create a message to test the transporter object. This will contain the information about our sender email and receivers, subject, and the email body.
The transporter object has a sendMail method that accepts an email message and sends it to the intended recipient.
We can easily test the sendMail method by running the following command in the terminal
If you've set everything up correctly, you should see the following output in your terminal:
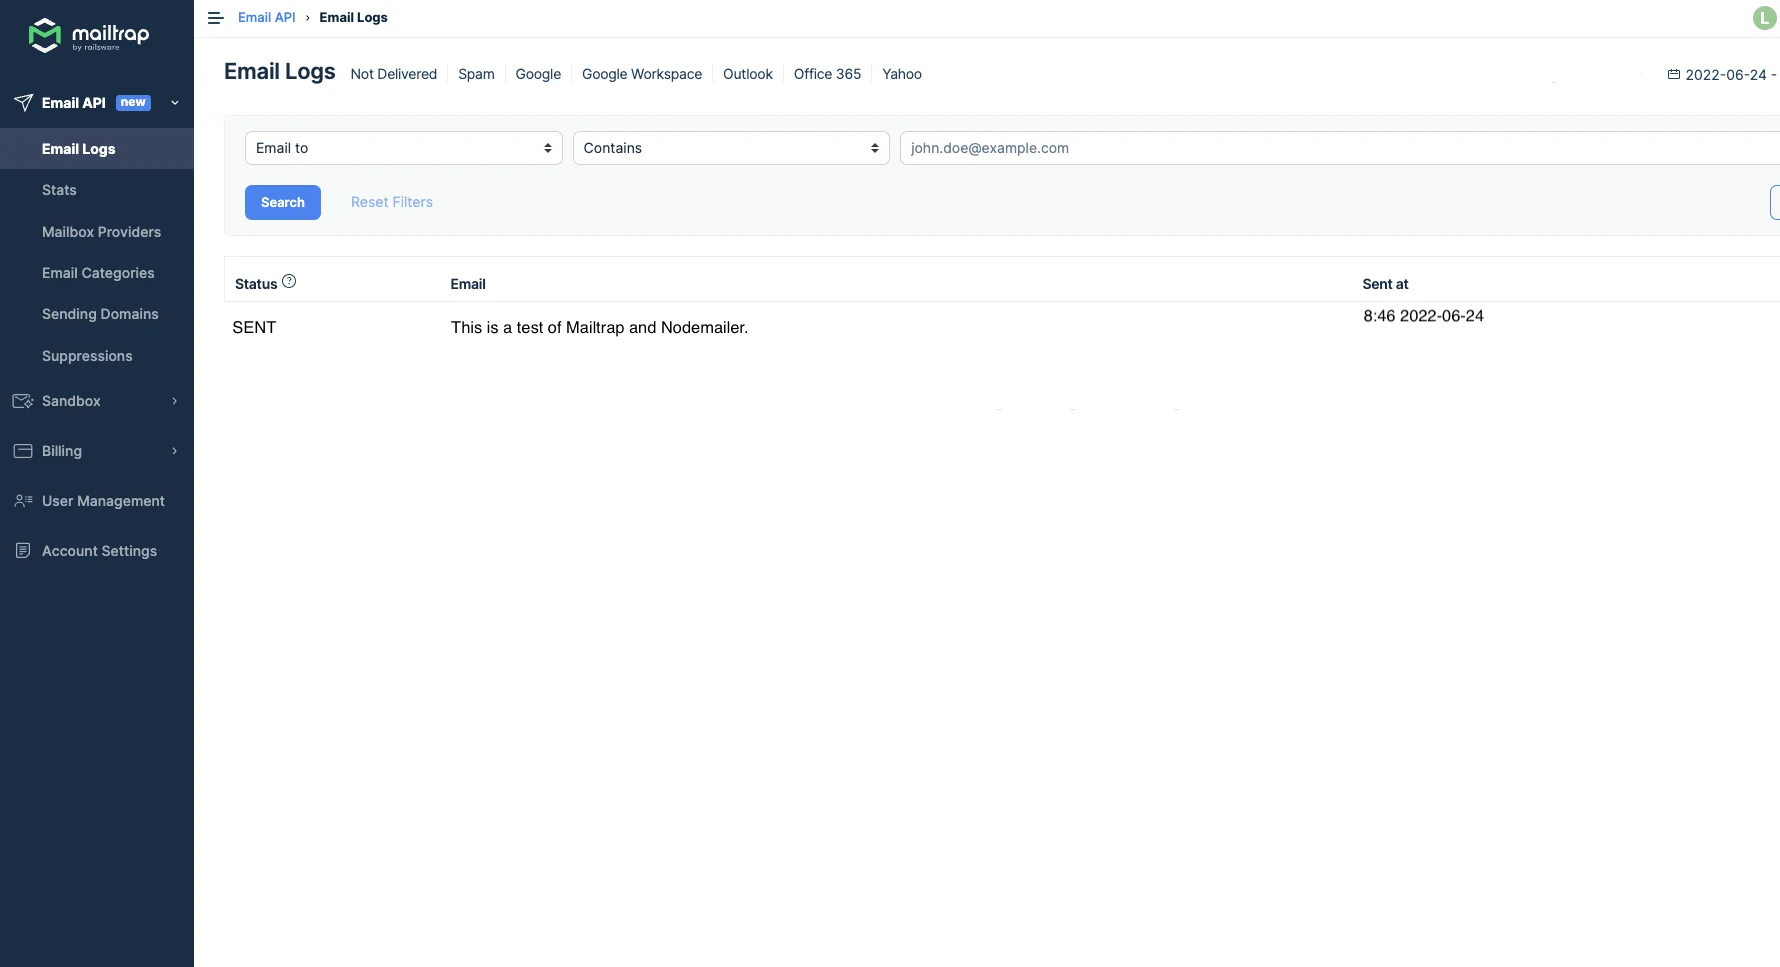
Go to your Mailtrap account and click on "Email Logs" to see the information about the sent email.
Add Email Validation with AbstractAPI
While SMTP does a great job of managing spam, it's always a good idea to add a validation or verification step to your email sending procedure. A service like AbstractAPI provides free validation for up to 100 requests.
AbstractAPI checks for syntax errors and misspelled domains, checks MX records, look for role-based accounts, free email accounts, and disposable accounts, and does a deep-level SMTP check.
Let's add a validation step to our email.js file.
Acquire an API Key
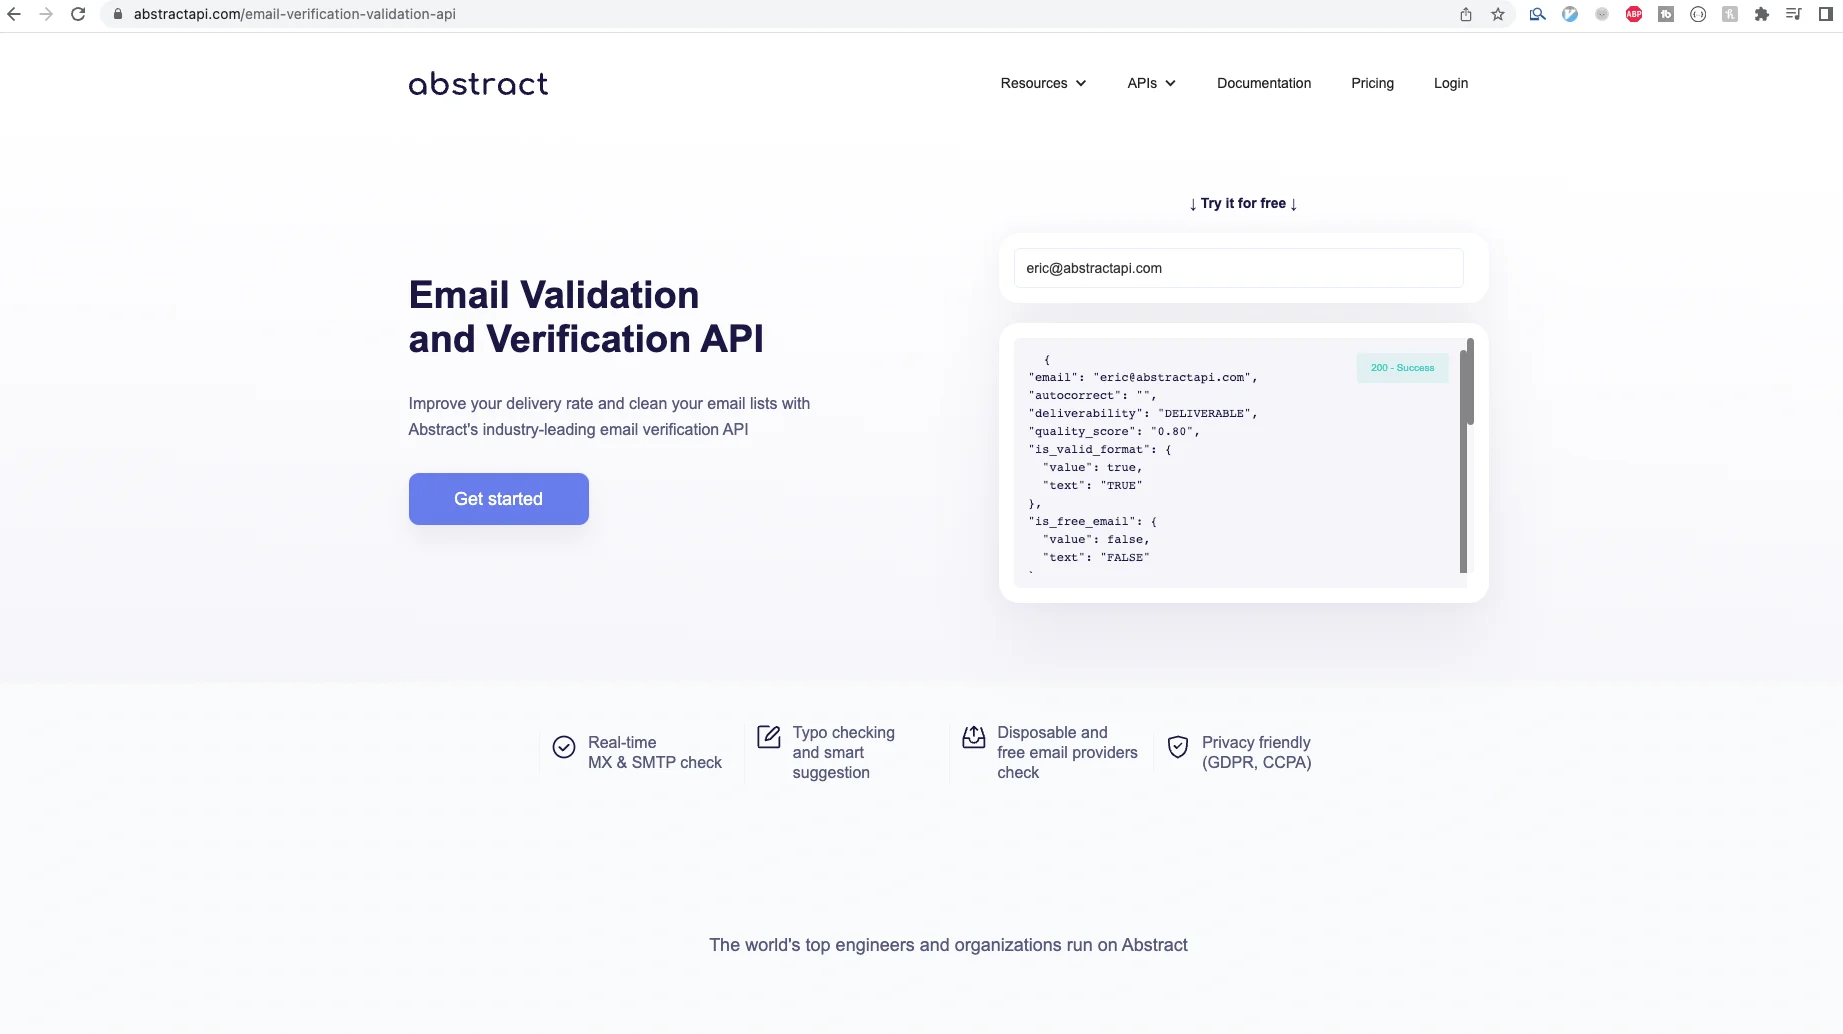
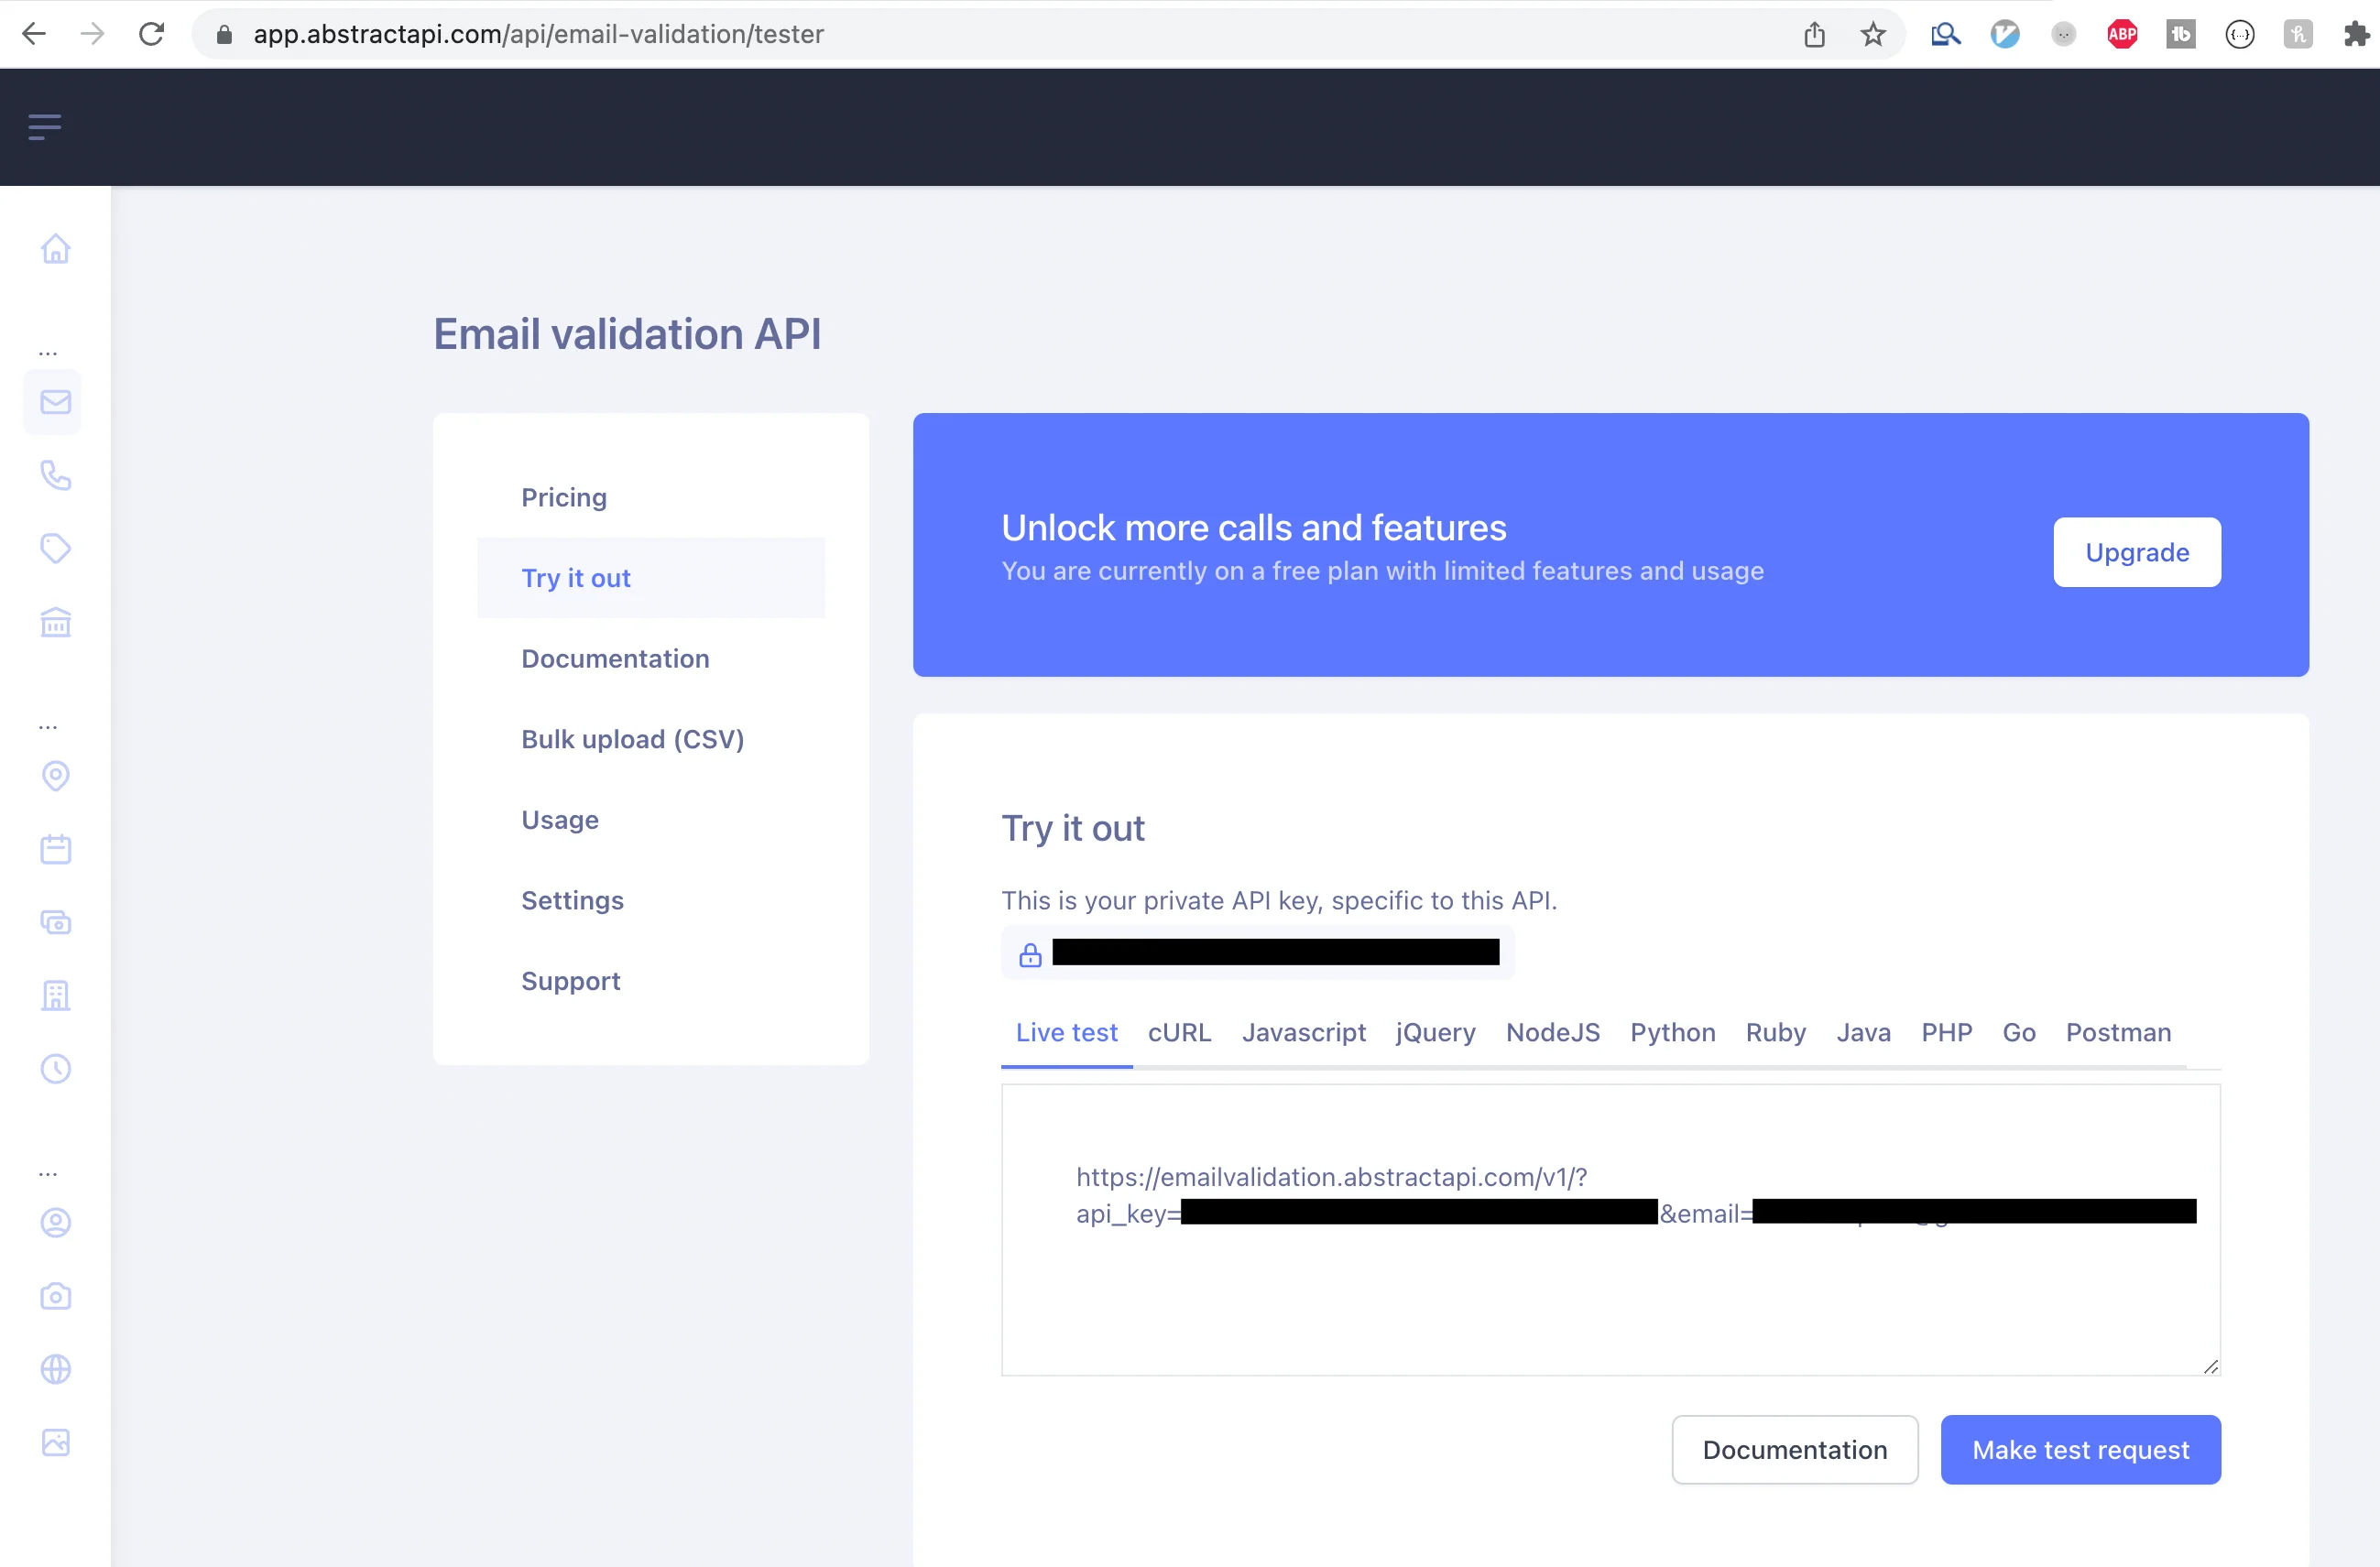
Navigate to the AbstractAPI Email validator homepage and click on the blue "Get Started" button.
You’ll be asked to sign up by providing a valid email address and password. If you've already signed up, you may need to log in. Once you’re in, you’ll land on the API’s dashboard, where you’ll see your API key and links to documentation and pricing.
Use Your API Key to Send a Request to the API
We'll use Fetch to send a GET request to the AbstractAPI endpoint. Fetch is now available as a global in Node, just like it is in Javascript that runs in the browser.
Write a function called sendEmailValidationRequest that accepts an email as a parameter and sends it to the API.
Next, let's add this step to our code before we send the request to Mailtrap. Since we're now going to be doing some conditional logic and a couple of steps, let's wrap everything in a closing main() function to keep stuff tidy and out of the global scope.
The following code demonstrates.
Note that in this example, we're only checking the value of the is_valid_format field that we get back from AbstractAPI. That means that the only criteria we want the email to meet is that it doesn't have any syntax errors.
The JSON response object that AbstractAPI returns to us has much more information in it that we could use. The complete object looks something like this:
To do a more thorough validation check, we could use all of the fields in the returned JSON object to determine whether we think the email is valid or not. We can write a helper function to run this check for us and return a boolean value.
The following code demonstrates this.
Now, replace our validation step with our new helper function
That's it! We've now validated the sender's email address and used the result of that validation check to determine whether or not we should use it to send emails.
Conclusion
In this article, we looked at how to use Nodemailer and Mailtrap to send emails from a back end. We also incorporated the AbstractAPI Free Email Validation API to validate the sender's email before using it.
There is a lot we can do to improve this setup and make it more robust, including improving our error handling or allowing for retries using something like a refresh token.
There are also more configuration options for Nodemailer and Mailtrap that we haven't explored. And remember, Mailtrap is only intended for testing emails. You'll need to swap emails out for a real email service to send emails in production.
This is a good start at getting your web applications set up to handle sending and receiving emails.
FAQs
Can Node JS Send Email?
Yes, you can send mail from a web application that uses Node JS on the back end. While it's not recommended to try and run your own SMTP server, you can easily integrate with a transactional email service that will provide an SMTP server for you.
Many of the best email services, like Mailgun and Sendgrid, have their own SDKs. If you happen to be using a service that doesn't have its own SDK, you can use Nodemailer to send emails to the service.
How do I Send an Email With Attachment: Node?
Use Nodemailer or an SMTP provider like Mailgun or Sendgrid to send email data from your back end. The Nodemailer module has an attachments field that allows you to add attachments to any email you send through the service. SMTP provider SDKs also include an attachments option.
Make sure to check your SMTP provider to see what the attachment limits are. Most providers will limit attachment size at the free tier, but you can increase attachment limits by paying per month.
How Do I Use SMTP in Node JS?
It is possible to configure and run your own SMTP server for a web application, however, it's recommended to rely on a service like Sendgrid or Mailgun to do this part for you. Sendgrid and Mailgun allow you to spin up an SMTP server and then request it from your back end.
You can use Nodemailer to send the email requests to Sendgrid, or you can use the Sendgrid SDK.