


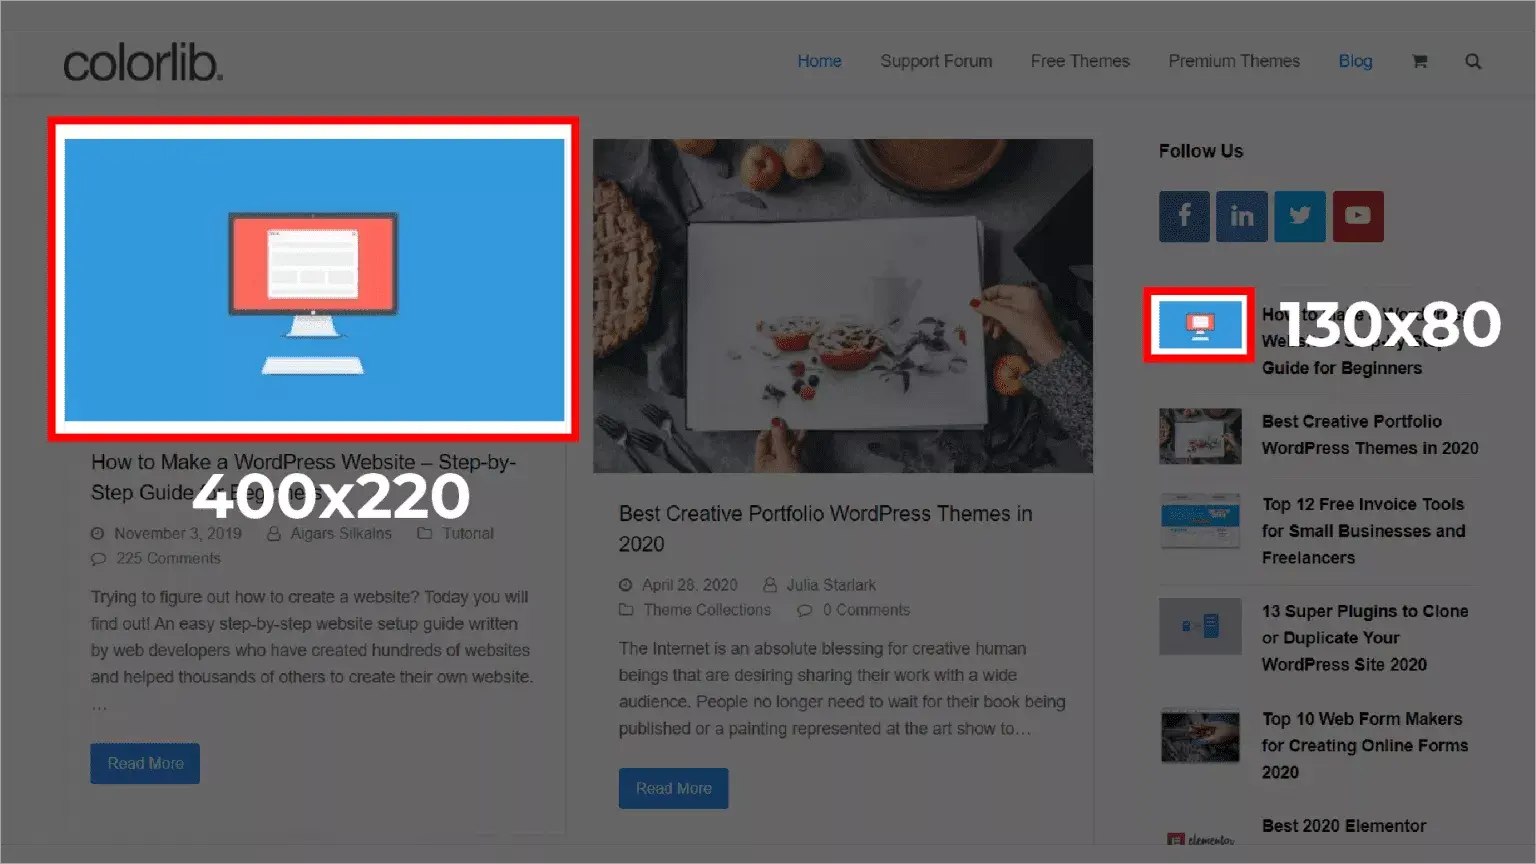
WordPress creates these default image sizes so you don't have to continually resize images manually every time you upload images. Each image size is used in a different location. Thumbnail-size images should be used in blog previews, for example, while larger images can be blog headers.
Some WordPress theme options have slightly different default image sizes or may offer more default image sizes than those listed here.
Changing Default Image Sizes
You can adjust the default WordPress image sizes yourself by going to your WordPress media settings. These can be found in your WordPress dashboard. Once you're in the dashboard, click on "Settings -> Media" and enter new numeric values for the four size options in the media settings panel.
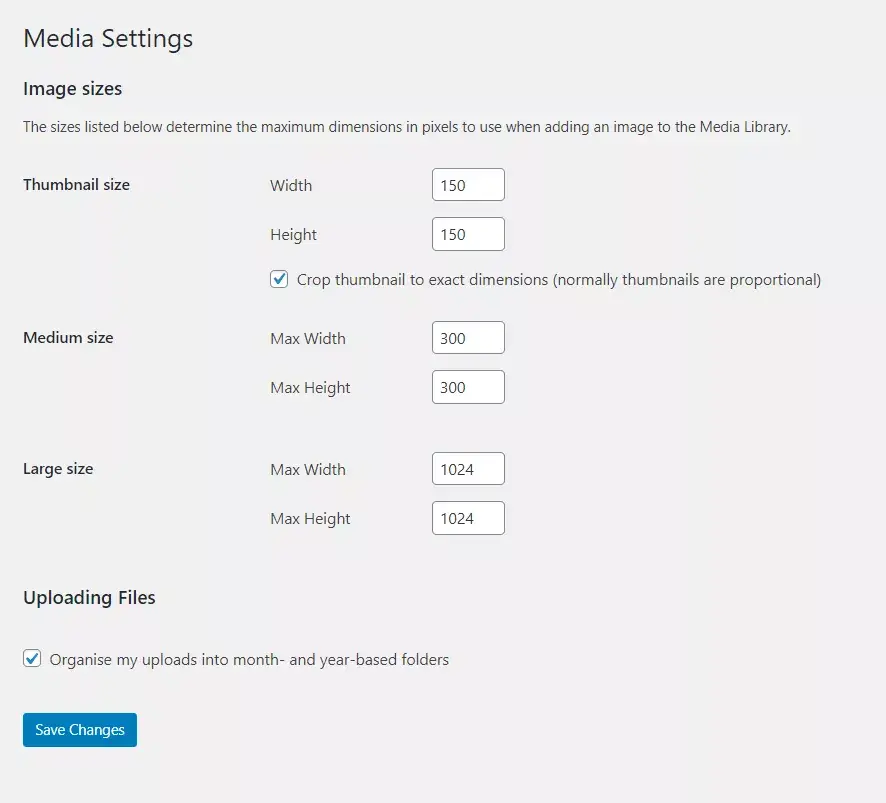
Adjusting the default image sizes is not recommended, as those sizes are picked by WordPress to fulfill specific needs that WordPress understands very clearly. Modifying the default image size could result in small or blurry images.
Add Custom Image Sizes in WordPress
Adding custom image sizes in WordPress is not as easy as adjusting the default image sizes. In order to create your own custom image sizes to use wherever you see fit, you'll need to create your own theme or modify the theme files of your chosen theme.
If that is something you're able to do, read on to learn how to add custom image sizes.
Register Additional Image Sizes
Add the following line of code to your theme's functions.php file:
add_theme_support( 'post-thumbnails' );
Once you've added this, you can create new custom image sizes by using the add_image_size function:
add_image_size('name-of-new-image-size', width, height, crop-type);
For example, to create a new custom image size called 'Thumb-Sidebar' we could do the following:
add_image_size('thumb-sidebar', 120, 120, true );In this example, we've used the "Hard Crop Mode" to tell WordPress to crop the image to exactly the dimensions specified. We set Hard Crop Mode by supplying the true value after the width and height values.
Display New Custom Image Sizes
After you've added the new custom image size to the functions.php file, you can render it in your theme file using the following code:
Add additional styling here.
Best practices for Image Optimization in WordPress
In general, all the images you upload for display on a website should be optimized. Optimizing images ensures a better user experience because images load more quickly and render better. Here's how to best optimize WordPress images for better performance on your site.
Choose the Right Image File Formats
Most people are aware of the different types of image file format: JPEG, GIF, PNG, SVG, etc. However, most people don't really understand how and when to use each format.
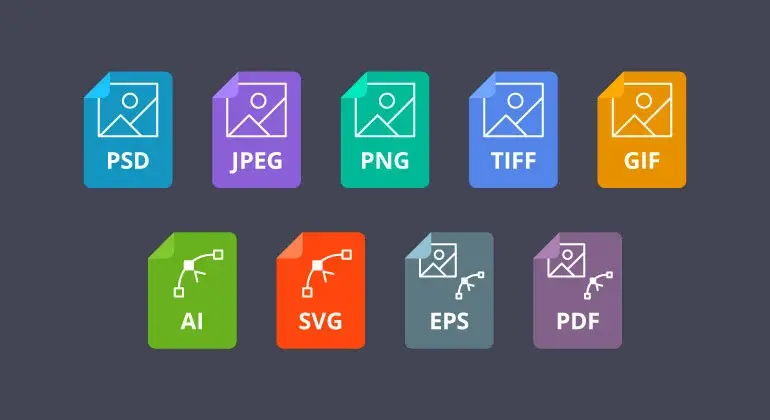
In general, you should use JPEGs for photos and SVGs or PNGs for logos and vector images.
Shrink Image File Size
In general, image files can be compressed without affecting the image quality too much. You might think that a 50% reduction in file size would create a 50% reduction in quality, but that is not the case. The image file size is one of the largest factors in website performance.
There's no point in having large image file sizes if it's not necessary.
Take a look at this example of a full-size image and compressed versions of the same image:
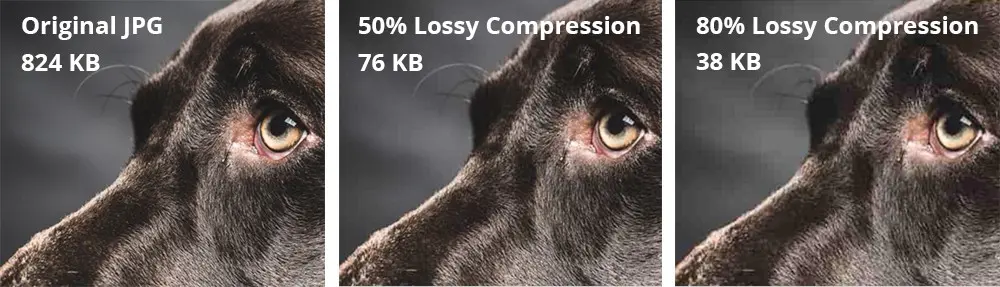
As you can see, the quality reduction has not affected the visible image very much, but the file size has shrunk considerably. Compress every image file before you upload to WordPress to ensure better performance. As a general rule of thumb, WordPress image file sizes should be larger than about 150kb, except for very large photos.
Use the Best Image Size for the Location
WordPress images should adhere to certain size constraints, depending on what location they appear on your site or blog. If you upload large photos that need to be scaled down significantly to reach the default WordPress image sizes, your site will run more slowly.
The best sizes for WordPress images are as follows:
- Blog post (1200 x 630 pixels)
- Header (banner size 1048 x 250 pixels)
- Featured images portrait (1200 x 900 pixels)
- Featured image landscape (900 x 1200 pixels)
- Background images (1920 x 1080 pixels)
- Logo image (200 x 100 pixels)
- Thumbnail image (150 x 150 pixels)
This means that the largest images you should upload should be no larger than 1200 x 1200 pixels. If your original images are much larger than this, use a separate tool to scale them down before uploading to WordPress.
Use AbstractAPI to Optimize WordPress Images
AbstractAPI is a simple solution to help you resize your existing images to make sure your WordPress image sizes are fully optimized. The API exposes a simple REST endpoint that allows you to upload images.

The API then resizes or compresses those images according to the parameters you specify and returns a link to the new image, hosted in a cloud bucket.
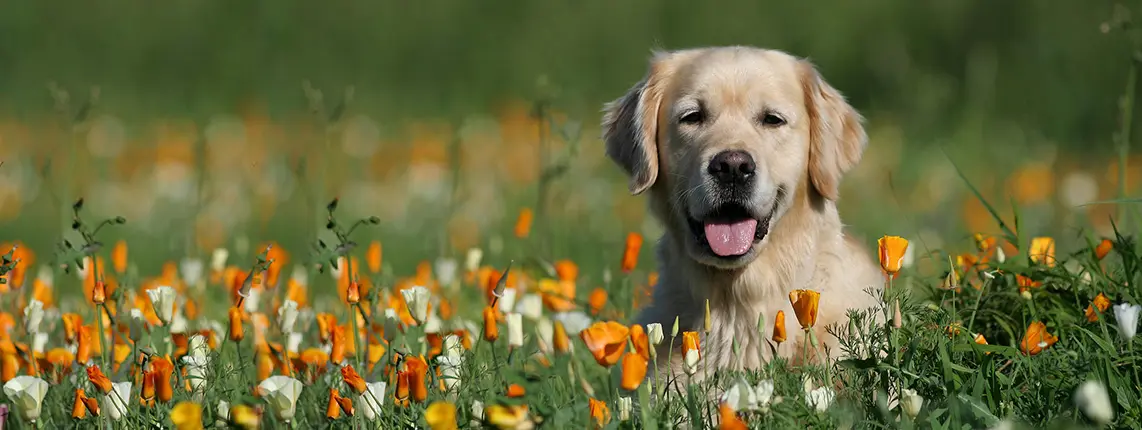
Let's take a look at how to use AbstractAPI to resize the following image:
https://s3.amazonaws.com/static.abstractapi.com/test-images/dog.jpg
How to Resize an Image Using AbstractAPI
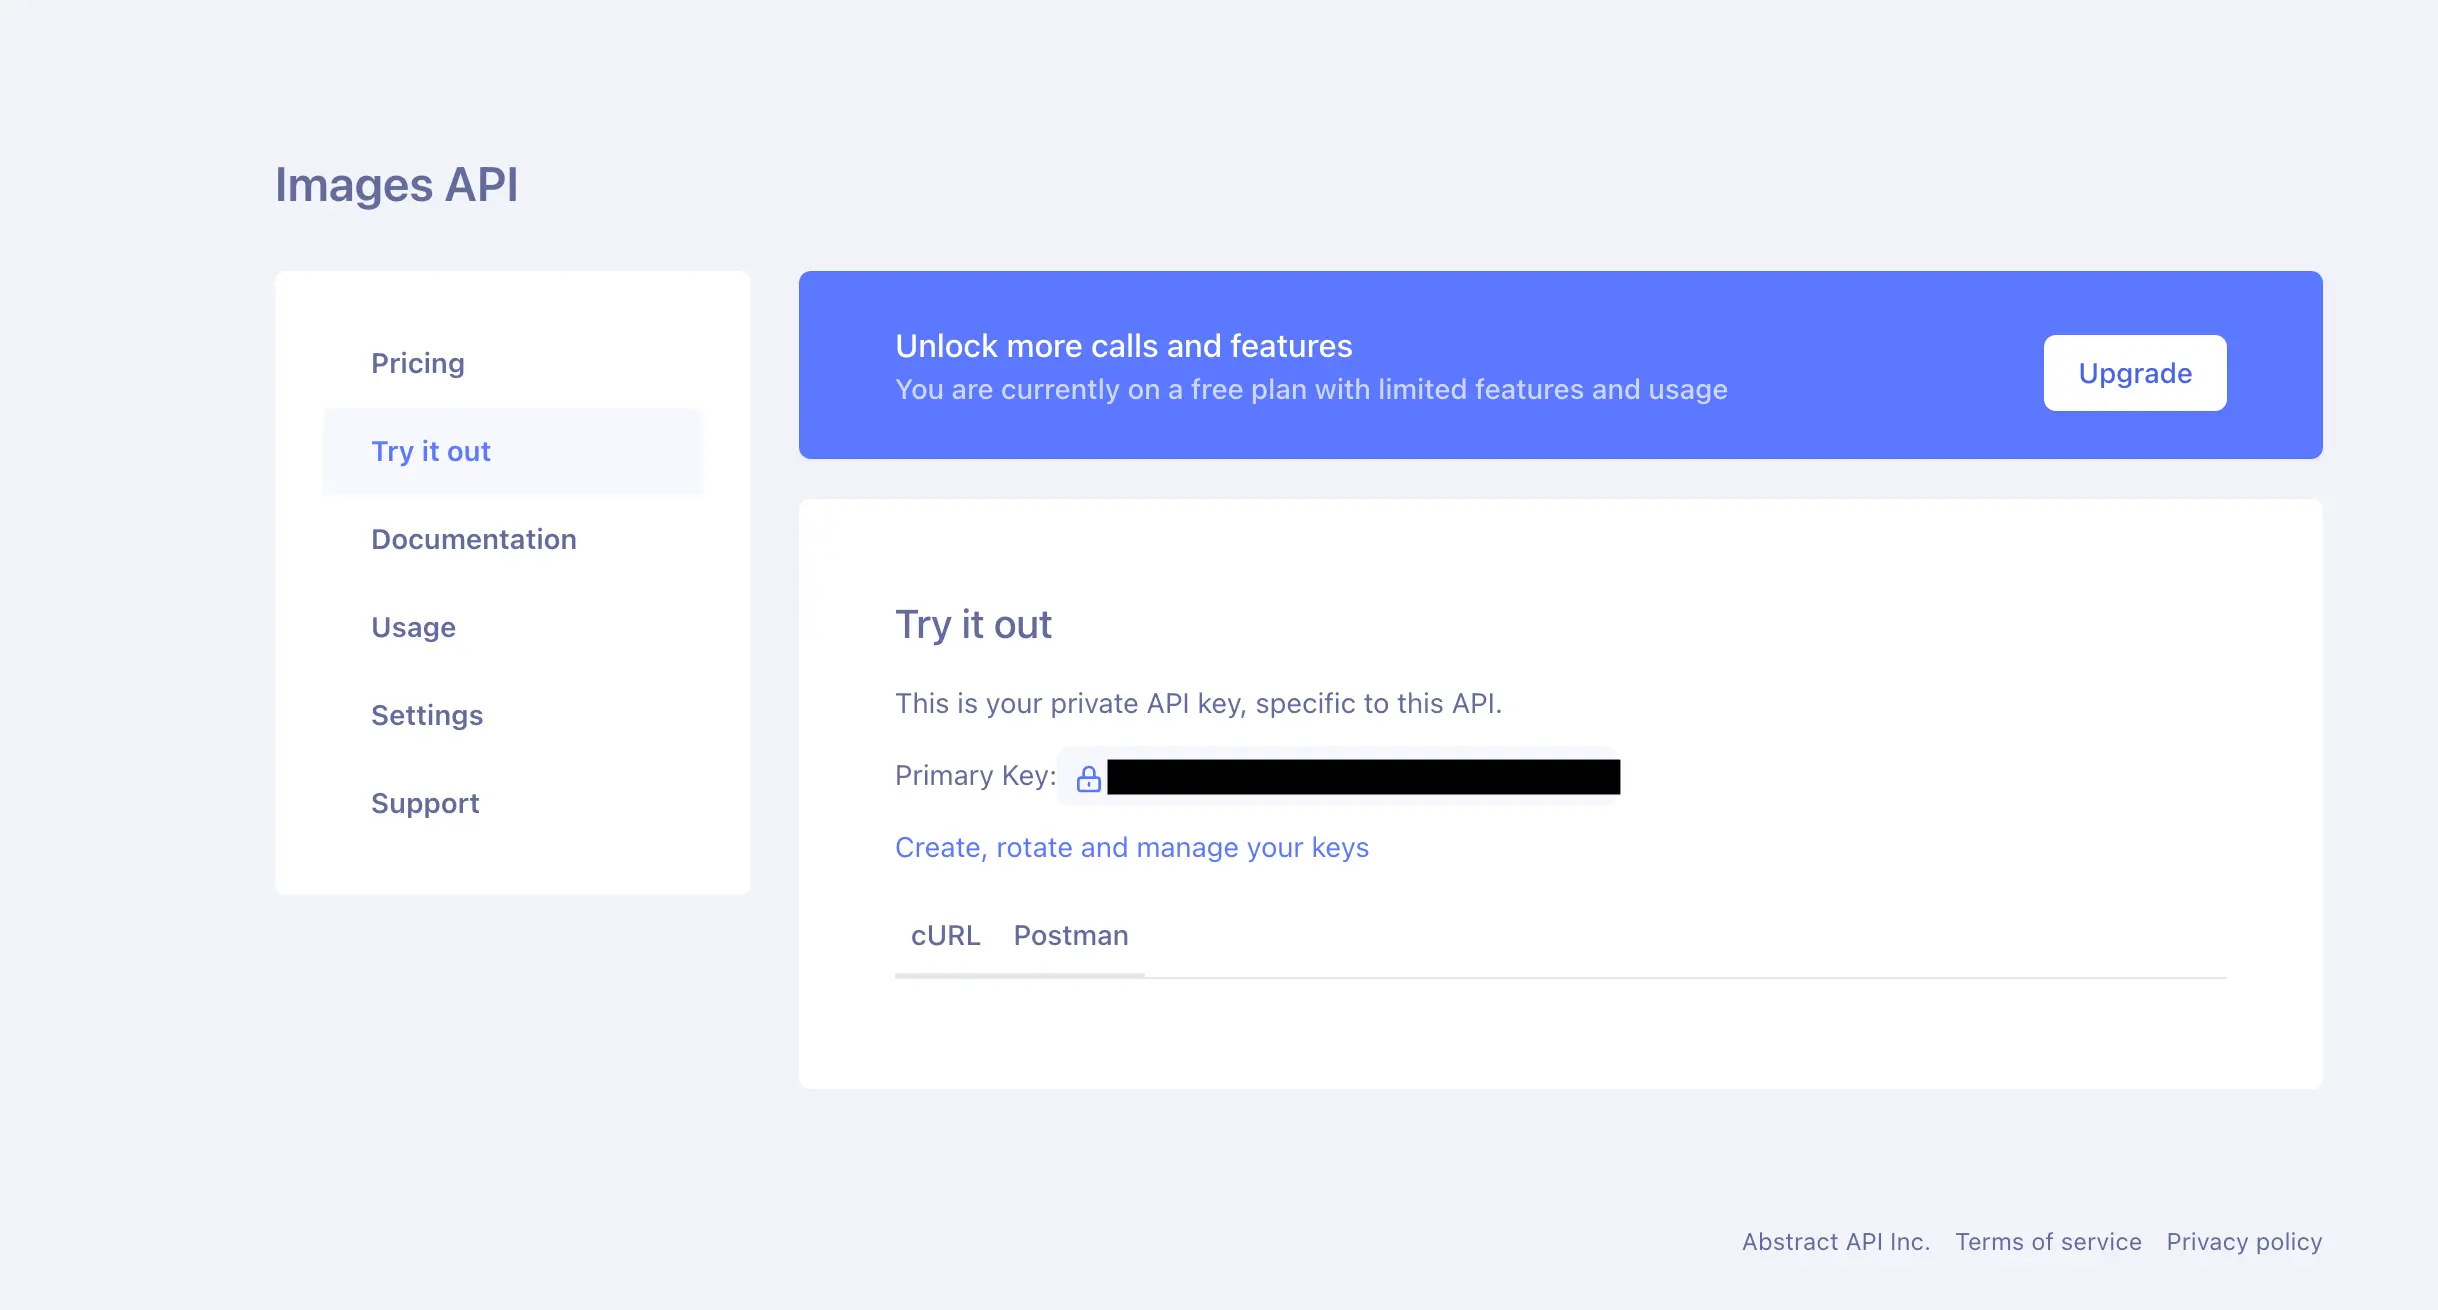
Go to the API Homepage and click the blue Get Started button to be taken to the API dashboard. If you haven't used AbstractAPI before you'll be asked to sign up for a free account with your email and a password.

On the dashboard page, you'll find your API key, plus links to documentation, pricing, support, and settings.
Abstract API provides two endpoints for image optimization: a multipart form upload endpoint that accepts image files; and a POST endpoint that accepts a data object containing a URL to the hosted image.
Since our example image is a hosted image, we'll use the POST endpoint and send a data object that looks like this:
{
   api_key: “YOUR_API_KEY”,
   url: 'https://s3.amazonaws.com/static.abstractapi.com/test-images/dog.jpg',
   resize: {
      "width": 100,
      "height": 75,
      "strategy": "exact"
}
 }
Resizing Images
To resize the image, include a resize field in your data object. This field should contain another object with your desired resize specifications. Check the documentation for resizing options. In the example above, we've told the API to resize the image to 100 x 75, and use the exact strategy.
Using the exact strategy tells the API to ignore the original image's aspect ratio and rescale to the exact width and height. Other strategies like landscape or portrait tell the API to maintain the aspect ratio.
Compressing Images
To compress an image file using the API, set the lossy option to true, instead of supplying resize options. This tells the API to use lossy compression to compress the image file size without changing the rendered visual size of the image.
{
   api_key: “YOUR_API_KEY”,
   url: 'https://s3.amazonaws.com/static.abstractapi.com/test-images/dog.jpg',
   lossy: true
 }
Making the Request
The complete request, which you can make by opening a terminal on your laptop and sending a CURL request, would look like the following:
curl https://images.abstractapi.com/v1/url/ -X POST -H "Content-Type: application/json" -H "Accept: application/json" -d '{"api_key": "76078450b851448fa93036bbd72f726e", "lossy": true, "url": "https://s3.amazonaws.com/static.abstractapi.com/test-images/dog.jpg"}'
The response you get from the API will look like this:
{
   "original_size":205559,
   "original_height":430,
   "original_width":1142,
   "final_size":75101,
   "bytes_saved":130458,
   "final_height":75,
   "final_width":100,
   "url":"https://abstractapi-images.s3.amazonaws.com/8f2dd6392c524bc98313a89a24012b1f_dog.jpg"
}
This JSON object contains information about both the original image and the resized or compressed image. It also provides a URL with a link to the newly hosted image in an Amazon S3 bucket.
Conclusion
In this article, we explored the different WordPress image sizes and looked at how to adjust the default WordPress image sizes, as well as how to define custom image sizes in a WordPress theme, and best practices for image optimization in WordPress.
We also learned how to use AbstractAPI's image optimization features to do image compression and image resizing before images are uploaded to WordPress.
Working with WordPress image sizes and optimizing your images for the web are important skills to learn. Images are a huge part of user experience, and poorly optimized or rendered images will hurt your SEO according to rank tracking tool insights and kill your web traffic. Take the time to get it right!
