Oops! Something went wrong while submitting the form.
No credit card required
Image resizing is crucial to any frontend web app or mobile app. Image files are larger than ever, and users expect a lightning-fast web browsing experience. Serving optimized images decreases load times and makes your site or app snappy and responsive. Reducing file sizes for upload decreases upload times and makes for a smoother user experience.
These days, there are many ways to implement image resizing in React. Plenty of libraries exist for this purpose, including react-image-file-resizer and browser-image-compression. With the prevalence of serverless architecture, low-code and no-code operations, and API-based solutions, image-resizing APIs have also become very popular.
In this tutorial, we'll learn how to create rescaled local images in a frontend React app. We'll look at two different methods: using react-image-file-resizer, and using the AbstractAPI Image Processing API. This article won't go in-depth into how to build a basic React app. If you need help getting started with React, we suggest reading the docs or checking out this tutorial.
Resize an Image Using React Image File Resizer
React image file resizer is a React module that allows you to rescale and resize images from the device's file system. It does basic resizing and compression, including adjusting the image's width, height, quality, rotation, and format. Images are returned as a base64 URI or Blob.
Getting Started With React Image File Resizer
To install the module, use NPM or Yarn.
npm install -s react-image-file-resizer
yarn add react-image-file-resizer
You can then import the module into you app js file or wherever you need it, and use it as follows
The file, maxWidth, maxHeight, compressFormat, quality, rotation and responseUriFunc arguments are all required. The rest are optional
Resize Images Using the Library
Pass the URI to the file you wish to resize as the file argument, pass the desired height, width, rotation, and quality parameters, and pass a callback function to the responseUriFunc argument.
The callback function will receive the URI to the new image file as an argument. From there, you can do what you need to do with it.
To compress a file using the library, simply pass a lower quality option and leave the height and width options as they are in the original file. You can use the image metadata to find out what the original width and height of the image are, then pass those to the function.
Here, we've lowered the image quality to 75% but left the size of the image alone. This will cause lossy compression to be performed on the file, reducing the file's size and causing a small reduction in image quality.
Resize an Image Using AbstractAPI
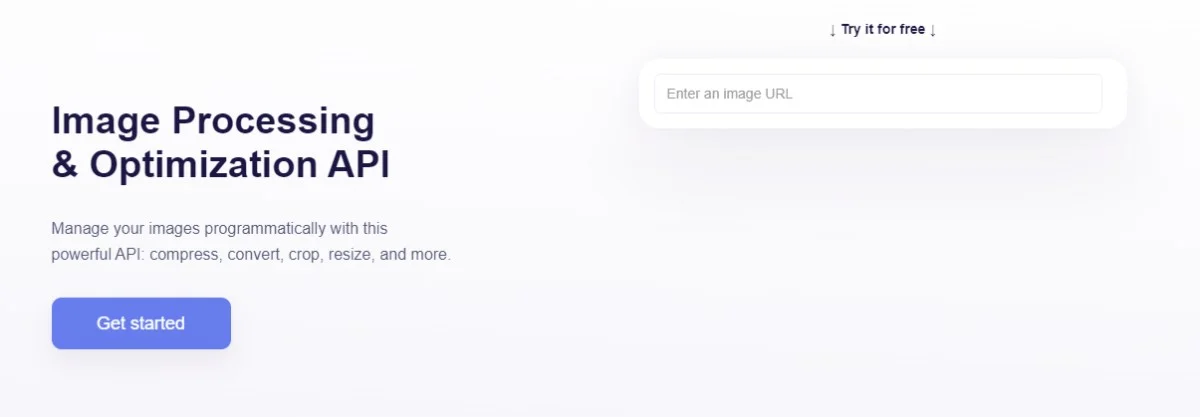
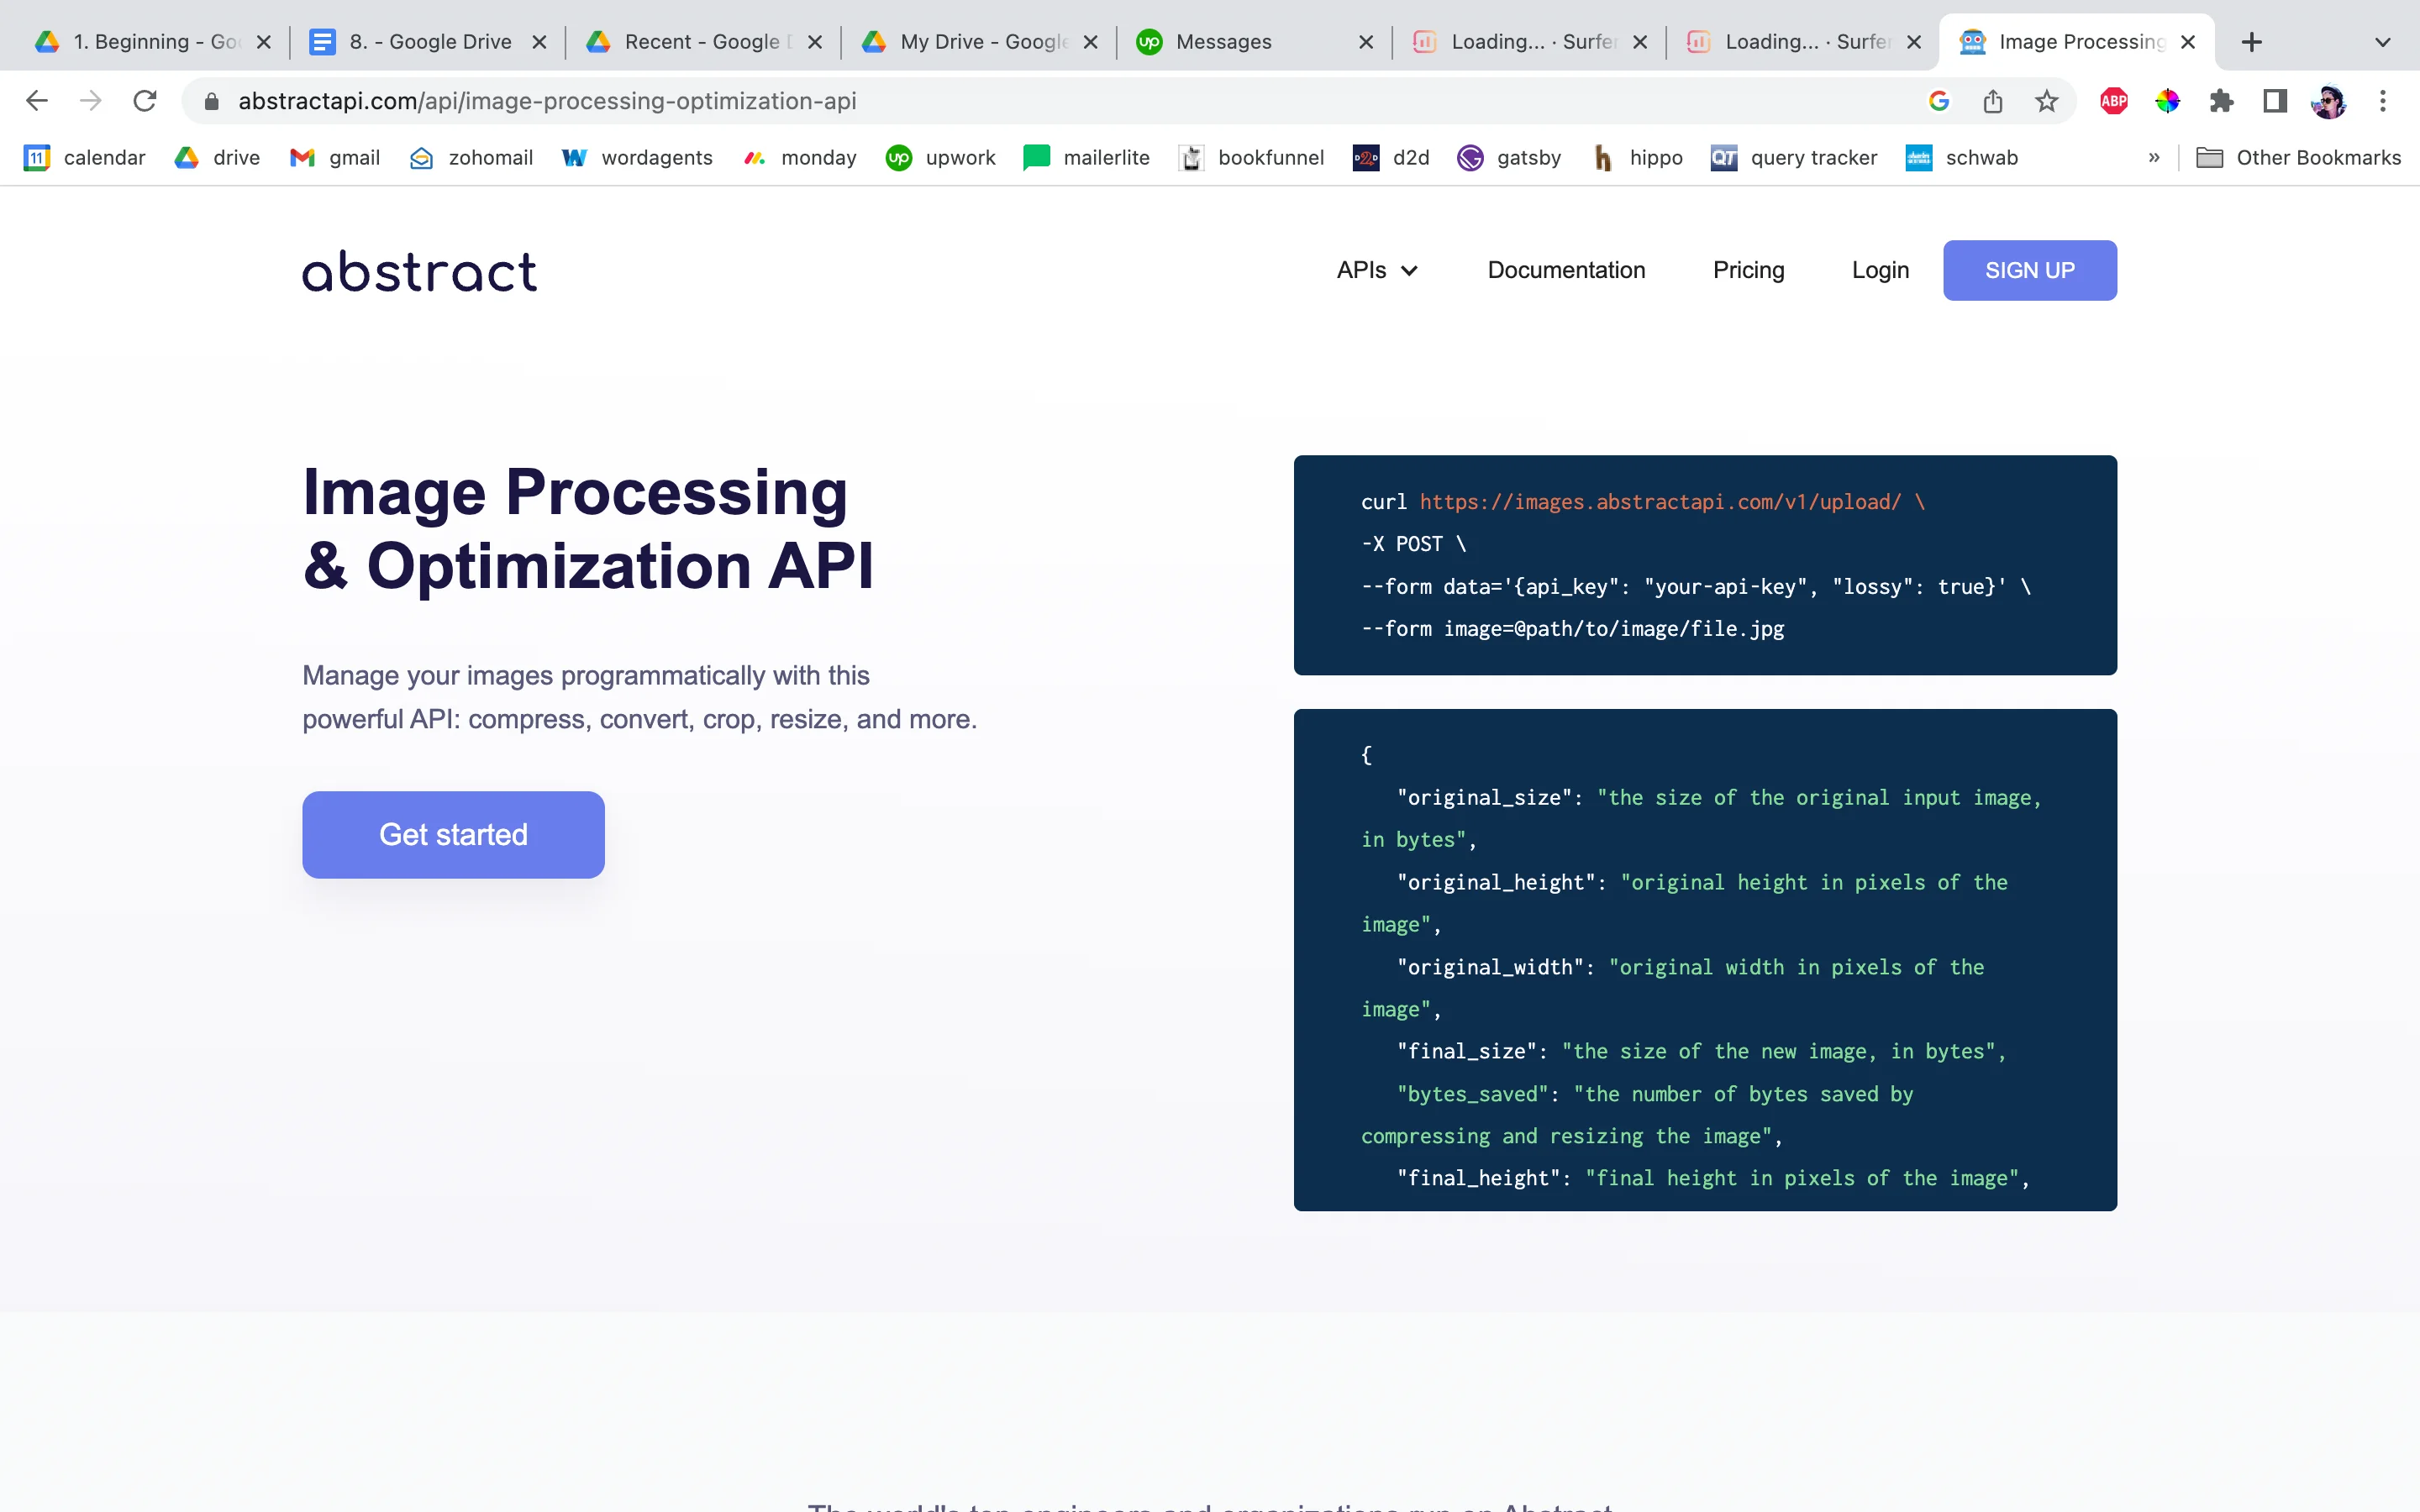
The AbstractAPI Image Processing API provides a secure REST endpoint where you can compress, convert, resize, and crop your images. There are two methods for working with an image file in the API: direct upload through multipart form data, or a POST request with the URL for a hosted image contained in the request options. The API returns resized image's URL at a hosted endpoint.
To gain access to the secure API, you'll need an API key. Navigate to the Image API homepage and click "Get Started."
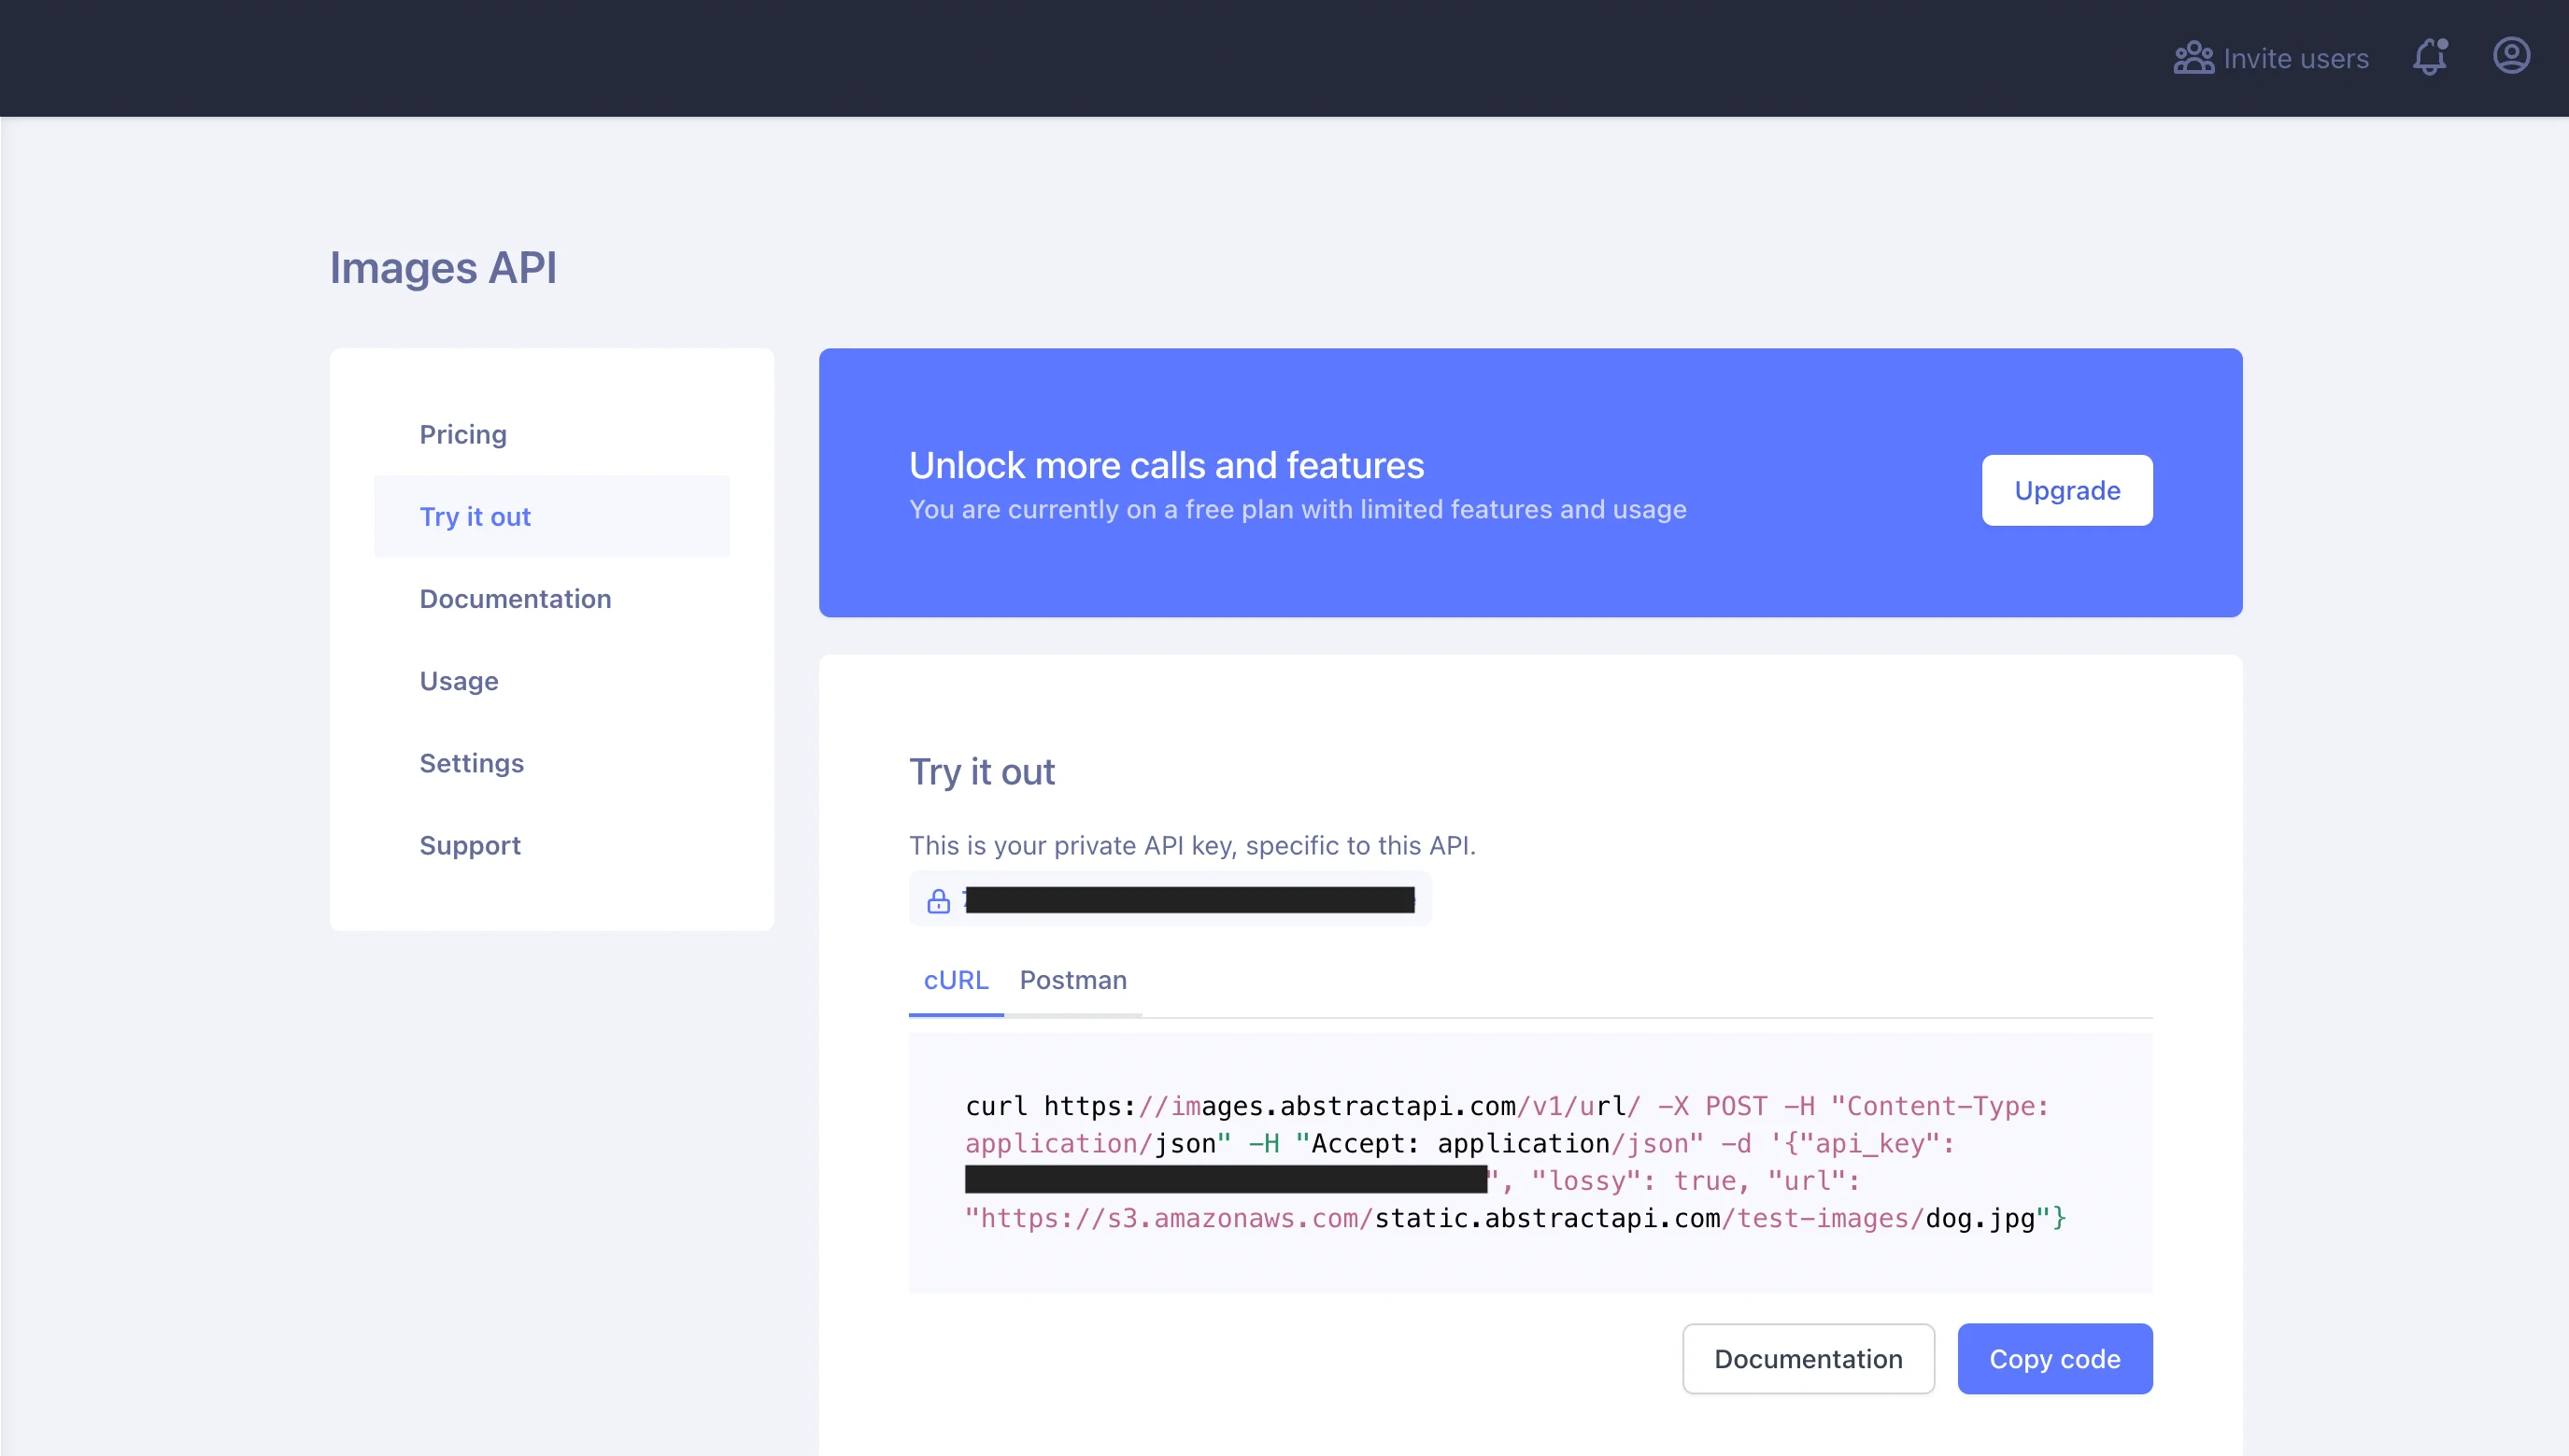
You may need to create a free account by providing an email address and a password. If you've used AbstractAPI before, you may need to log in. Once you've logged in, you'll land on the API dashboard.
The dashboard displays links to documentation and pricing, settings and usage reports, as well as your API key. The API is free to use for up to 100MB per month.
Resize Images Using the API
Resizing an image using the API is as simple as sending a POST request with some options parameters. To make the request from your React app, the code might look something like this:
When you log the data object to the console, you'll see the following:
{
"original_size": "the size of the original input image, in bytes",
"original_height": "original height in pixels of the image",
"original_width": "original width in pixels of the image",
"final_size": "the size of the new image, in bytes",
"bytes_saved": "the number of bytes saved by compressing and resizing the image",
"final_height": "final height in pixels of the image",
"final_width": "final width in pixels of the image",
"url": "url of the image hosted by Abstract API for you to download. Images are available for 1 day.",
}
By setting the resize options to change image's width and using the auto strategy, we told the API to resize the image to the specified width and maintain the aspect ratio. You could also use the exact strategy to resize the image to an exact height and width, without maintaining the aspect ratio, or use the fit strategy to crop the image to fitinto a given width and height.
Compress an Image Using the API
You can also pass a lossy option to tell the API to use lossy compression to compress the file size. When omitted, this option defaults to false, so image quality will not be affected, however, file size will still shrink slightly (about 10-20%.)
Let's use lossy image compression to compress the image using the endpoint. Update the request from the previous example to request image compression instead of resizing.
We set the lossy boolean to true and told the API to maintain an image quality of 75%. AbstractAPI recommends that you don't mess with the quality option unless you're sure you know how the output image will be affected. When the quality option is not provided, the API determines the quality output intelligently, so it's generally best to let the API handle this.
Specifying a quality of more than 95 may result in a larger image than the original. Anything less than 25 could result in an unusably low-quality image.
When you log the output, you'll see something like this:
When you compare the original_width and final_width and original_height and final_height, you can see there has been no reduction in image size. However, there has been a decrease of about 130458 bytes in the size of the file.
There are several ways to resize an image in React. You could use a library like react-image-crop or react-image-file-resizer. These packages expose numerous methods for working with images. They install quickly and don't increase your bundle size too much.
If you'd rather not install any additional packages to your React app, you could use a third-party API like the AbstractAPI Image Processing and Optimization API. This API exposes an endpoint where you can upload image files and receive a response containing a URL to the newly resized, hosted image.
How Can I Fit an Image Into a Div in React?
The easiest way to fit an image into a div in React is to specify that the image's width and height automatically assume the width and height of the parent div. You can do this by setting the CSS width and height properties on the image element to 100% and using the object-fit property.
The object-fit property tells the image how it should shrink, expand, crop, or otherwise fill the available space of the parent div. There are several options, including cover, fill, contain, scale-down, and none.
How Do I Change the Size of My Logo In React?
Changing the size of a logo is the same as changing the size of any other image in React. If you need to physically change the size of the image file itself, you can use a library like react-image-file resizer, or an API like the AbstractAPI Image Processing and Optimization API.
If you simply need to fit the logo into a div for display, adjust the image elements width and height, or adjust the width and height of the parent div. Read up on the object-fit property to learn how images are auto-scaled to fill available div space.
Frequently Asked Questions
What is the easiest way to resize an image in React?
The simplest approach is to use CSS: set width and height attributes directly on the img tag, or apply styles via className or inline style props. For actual file resizing before upload, the react-image-file-resizer library lets you set target dimensions, output format, and quality in a single function call.
How do I use react-image-file-resizer to resize an image?
Install the package via npm or yarn, then call Resizer.imageFileResizer() passing the file, desired width and height, output format (e.g. JPEG or PNG), quality (0-100), rotation, and a callback that receives the resized image as a base64 URI or Blob. You can then set that result as the src of an img element or send it to your backend.
What quality setting should I use to avoid degrading image quality?
For lossy compression, avoid going below a quality value of 25. Images compressed that aggressively become noticeably degraded and unusable. Equally, setting quality above 95 can produce output files that are larger than the original, so a range of 60-90 is usually the practical sweet spot.
What is the difference between lossy and lossless image compression in React?
Lossy compression permanently discards some image data to achieve smaller file sizes, which is ideal for photos where a small quality reduction is invisible to the eye. Lossless compression reduces file size without discarding any data, making it better for images that need to stay pixel-perfect, such as logos or screenshots.
When should I use an image processing API instead of a client-side library?
An API-based approach like Abstract's Image Processing API is useful when you want to offload processing from the browser or need server-side transformations before storing images. You send a POST request with an image URL or file upload and receive a processed image URL in the response, with no additional JavaScript dependencies required on the client.
How do I maintain the aspect ratio when resizing an image in React?
In CSS, set only one dimension (width or height) and use auto for the other so the browser scales proportionally. When using react-image-file-resizer, calculate the target dimension based on the original file's aspect ratio before passing it to Resizer.imageFileResizer(), so the image is not stretched or cropped unexpectedly.
React image file resizer is a React module that allows you to rescale and resize images from the device's file system. It does basic resizing and compression, including adjusting the image's width, height, quality, rotation, and format. Images are returned as a base64 URI or Blob.
Getting Started With React Image File Resizer
To install the module, use NPM or Yarn.
npm install -s react-image-file-resizer
yarn add react-image-file-resizer
You can then import the module into you app js file or wherever you need it, and use it as follows
The file, maxWidth, maxHeight, compressFormat, quality, rotation and responseUriFunc arguments are all required. The rest are optional
Resize Images Using the Library
Pass the URI to the file you wish to resize as the file argument, pass the desired height, width, rotation, and quality parameters, and pass a callback function to the responseUriFunc argument.
The callback function will receive the URI to the new image file as an argument. From there, you can do what you need to do with it.
To compress a file using the library, simply pass a lower quality option and leave the height and width options as they are in the original file. You can use the image metadata to find out what the original width and height of the image are, then pass those to the function.
Here, we've lowered the image quality to 75% but left the size of the image alone. This will cause lossy compression to be performed on the file, reducing the file's size and causing a small reduction in image quality.
Resize an Image Using AbstractAPI
The AbstractAPI Image Processing API provides a secure REST endpoint where you can compress, convert, resize, and crop your images. There are two methods for working with an image file in the API: direct upload through multipart form data, or a POST request with the URL for a hosted image contained in the request options. The API returns resized image's URL at a hosted endpoint.
To gain access to the secure API, you'll need an API key. Navigate to the Image API homepage and click "Get Started."
You may need to create a free account by providing an email address and a password. If you've used AbstractAPI before, you may need to log in. Once you've logged in, you'll land on the API dashboard.
The dashboard displays links to documentation and pricing, settings and usage reports, as well as your API key. The API is free to use for up to 100MB per month.
Resize Images Using the API
Resizing an image using the API is as simple as sending a POST request with some options parameters. To make the request from your React app, the code might look something like this:
When you log the data object to the console, you'll see the following:
{
"original_size": "the size of the original input image, in bytes",
"original_height": "original height in pixels of the image",
"original_width": "original width in pixels of the image",
"final_size": "the size of the new image, in bytes",
"bytes_saved": "the number of bytes saved by compressing and resizing the image",
"final_height": "final height in pixels of the image",
"final_width": "final width in pixels of the image",
"url": "url of the image hosted by Abstract API for you to download. Images are available for 1 day.",
}
By setting the resize options to change image's width and using the auto strategy, we told the API to resize the image to the specified width and maintain the aspect ratio. You could also use the exact strategy to resize the image to an exact height and width, without maintaining the aspect ratio, or use the fit strategy to crop the image to fitinto a given width and height.
Compress an Image Using the API
You can also pass a lossy option to tell the API to use lossy compression to compress the file size. When omitted, this option defaults to false, so image quality will not be affected, however, file size will still shrink slightly (about 10-20%.)
Let's use lossy image compression to compress the image using the endpoint. Update the request from the previous example to request image compression instead of resizing.
We set the lossy boolean to true and told the API to maintain an image quality of 75%. AbstractAPI recommends that you don't mess with the quality option unless you're sure you know how the output image will be affected. When the quality option is not provided, the API determines the quality output intelligently, so it's generally best to let the API handle this.
Specifying a quality of more than 95 may result in a larger image than the original. Anything less than 25 could result in an unusably low-quality image.
When you log the output, you'll see something like this:
When you compare the original_width and final_width and original_height and final_height, you can see there has been no reduction in image size. However, there has been a decrease of about 130458 bytes in the size of the file.
There are several ways to resize an image in React. You could use a library like react-image-crop or react-image-file-resizer. These packages expose numerous methods for working with images. They install quickly and don't increase your bundle size too much.
If you'd rather not install any additional packages to your React app, you could use a third-party API like the AbstractAPI Image Processing and Optimization API. This API exposes an endpoint where you can upload image files and receive a response containing a URL to the newly resized, hosted image.
How Can I Fit an Image Into a Div in React?
The easiest way to fit an image into a div in React is to specify that the image's width and height automatically assume the width and height of the parent div. You can do this by setting the CSS width and height properties on the image element to 100% and using the object-fit property.
The object-fit property tells the image how it should shrink, expand, crop, or otherwise fill the available space of the parent div. There are several options, including cover, fill, contain, scale-down, and none.
How Do I Change the Size of My Logo In React?
Changing the size of a logo is the same as changing the size of any other image in React. If you need to physically change the size of the image file itself, you can use a library like react-image-file resizer, or an API like the AbstractAPI Image Processing and Optimization API.
If you simply need to fit the logo into a div for display, adjust the image elements width and height, or adjust the width and height of the parent div. Read up on the object-fit property to learn how images are auto-scaled to fill available div space.
Frequently Asked Questions
What is the easiest way to resize an image in React?
The simplest approach is to use CSS — set width and height attributes directly on the img tag, or apply styles via className or inline style props. For actual file resizing before upload, the react-image-file-resizer library lets you set target dimensions, output format, and quality in a single function call.
How do I use react-image-file-resizer to resize an image?
Install the package via npm or yarn, then call Resizer.imageFileResizer() passing the file, desired width and height, output format (e.g. JPEG or PNG), quality (0–100), rotation, and a callback that receives the resized image as a base64 URI or Blob. You can then set that result as the src of an img element or send it to your backend.
What quality setting should I use to avoid degrading image quality?
For lossy compression, avoid going below a quality value of 25 — images compressed that aggressively become noticeably degraded and unusable. Equally, setting quality above 95 can produce output files that are larger than the original, so a range of 60–90 is usually the practical sweet spot.
What is the difference between lossy and lossless image compression in React?
Lossy compression permanently discards some image data to achieve smaller file sizes, which is ideal for photos where a small quality reduction is invisible to the eye. Lossless compression reduces file size without discarding any data, making it better for images that need to stay pixel-perfect, such as logos or screenshots.
When should I use an image processing API instead of a client-side library?
An API-based approach like AbstractAPI's Image Processing API is useful when you want to offload processing from the browser or need server-side transformations before storing images. You send a POST request with an image URL or file upload and receive a processed image URL in the response — no additional JavaScript dependencies required on the client.
How do I maintain the aspect ratio when resizing an image in React?
In CSS, set only one dimension (width or height) and use auto for the other so the browser scales proportionally. When using react-image-file-resizer, calculate the target dimension based on the original file's aspect ratio before passing it to Resizer.imageFileResizer(), so the image is not stretched or cropped unexpectedly.