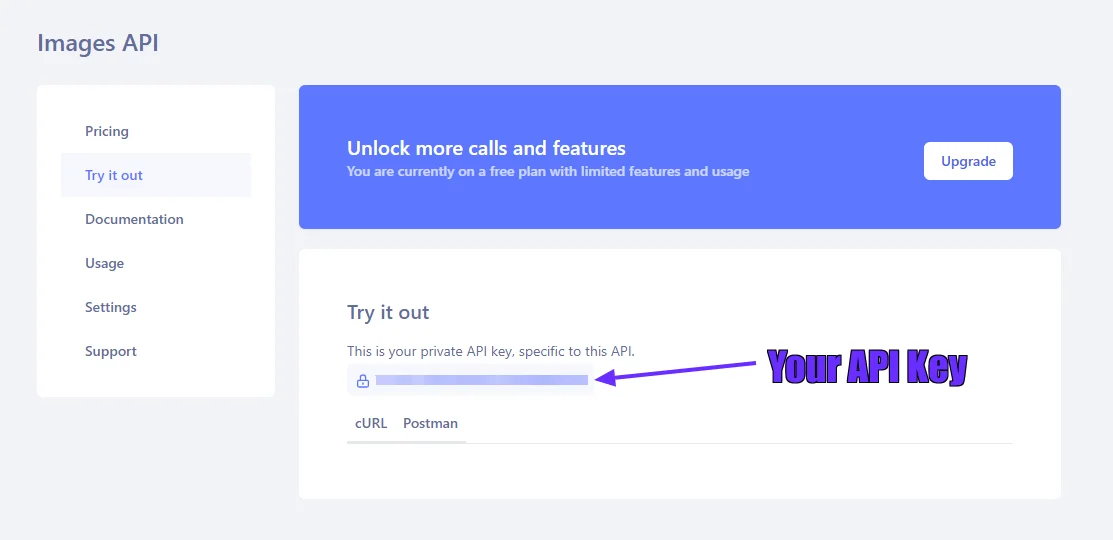
Building the Demo App for PHP Image Upload and Optimization
This demo app demonstrates image file upload operation via an HTML form and also allows the user to perform resize or compress operations. Both the original uploaded image and the optimized image are shown on the UI with their respective file sizes.
The app is built on the Laravel PHP framework and leverages the Abstract API behind the scenes, to process the images. The HTML view of the app takes the user inputs for uploading the image file and presents a form to input further parameters based on the desired action, “Resize” or “Compress”.
Before proceeding further, here are a few prerequisites for the development environment for building this demo app in PHP code.
Prerequisites
- PHP and Laravel: Make sure you have a PHP 8 runtime available with Laravel. You can install Laravel with the composer package manager.
- Imgur Account: You will need an Imgur account to host the uploaded file for images to be processed. Signup for an account on Imgur. You will also need the Imgur API access by registering a client application. To do that, open the Imgur registration page:
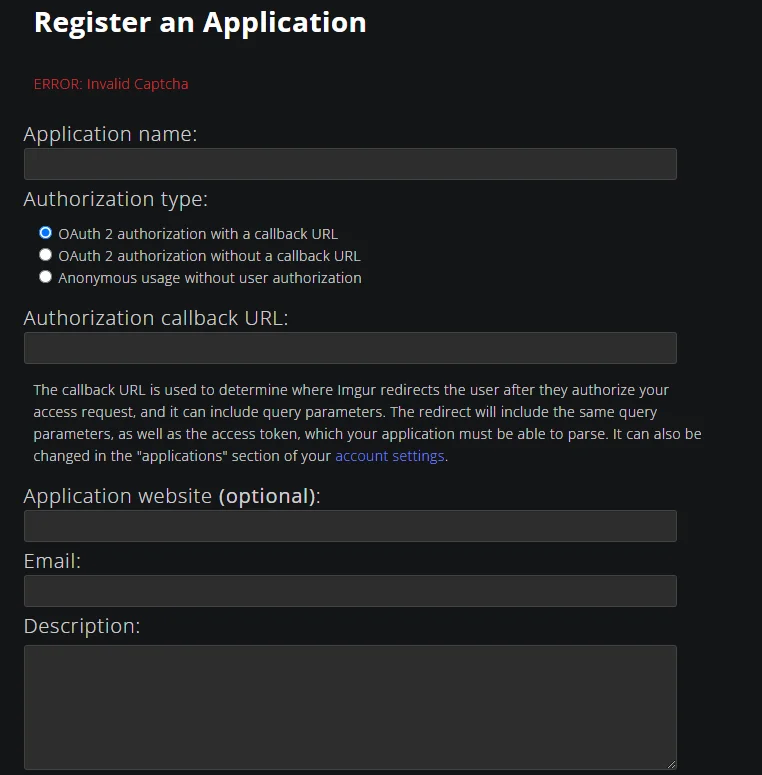
- And fill in the following details
- Application name: image upload
- Authorization: OAuth2 Authorization with a callback URL
- Redirect URL: https://int.bearer.sh/v2/auth/callback
- Email: Provide any email address
Once submitted, you will get an Imgur Client Id and a secret. Make a note of these two credentials.- Create a new Laravel project named image-resize with this composer command executed from a terminal
- composer create-project --prefer-dist laravel/laravel image-upload
- This will create a directory named image-upload under the present working directory where the command is executed. This is the project directory of this demo app containing all the boilerplate code and dependencies. Make sure to change to this directory for executing all further commands from the terminal.
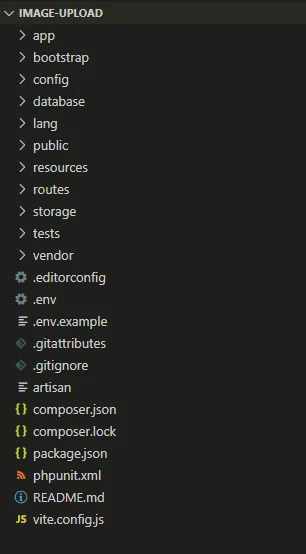
- Open your favorite IDE and check out the directory structure of the project directory
Step 1: Test the Default Laravel App
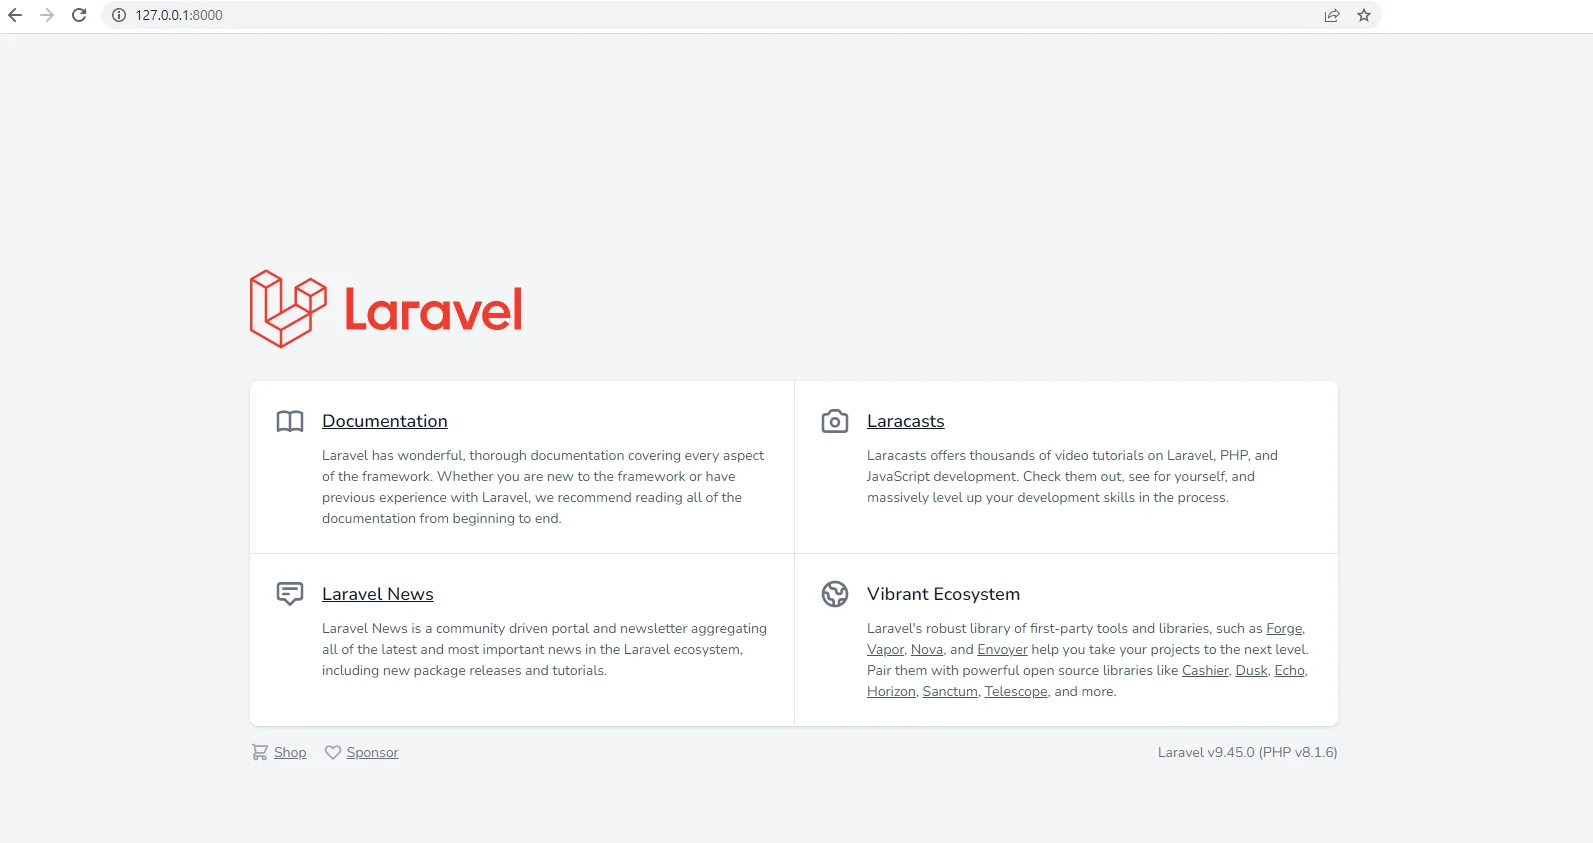
Following the prerequisites, you should be able to test the default Laravel by launching it from the terminal.
This will start a development web server that hosts the default Laravel app at https://127.0.0.1:8000
Step 2: Add the API Keys for Demo App
Open the environment file for the project and add two new environment variable entries for the Imgur Client ID and Abstract API key.
File: .env
Step 3: Add the HTTP helper classes for Imgur and Abstract API
Create two helper classes, Imgur.php and AbstractAPI.php under the Http subdirectory.
File: app/Http/Helpers/Imgur.php
File: app/Http/Helpers/AbstractAPI.php
These two helper classes handle the API calls for Imgur and AbstractAPI respectively.
The Imgur.php php file uploads an image from the demo app to host it as an URL. This URL is input to AbstractAPI.php php file which calls the Image Processing and Optimization API. This API returns the resized or compressed image in the API response as per the action chosen by the user. The optimized image is available as another URL hosted by Abstract API.
Step 4: Add a New Controller Named ImageController
From the terminal, add a new controller named ImageController.
This will create a new PHP script file app/Http/Controllers/ImageController
Replace the default content of the file with the following code:
This controller defines a custom API endpoint called upload. This API accepts the image from the UI and calls Imgur and AbstractAPI sequentially to return the optimized image.
This controller also defines the home page view for the UI.
Step 5: Update the App Routes
You must register the routes for the demo app in Laravel. There are only two routes, ‘/’ and ‘/upload’ for displaying the web page for demo app and uploading the images, respectively.
Replace the content of the routes definition under routes/web.php.
Step 6: Create the HTML and JavaScript for the Demo App UI
At this point, all the backend PHP logic is built for the demo app. Now the last thing is the HTML page. You can use the default HTML view of the Laravel app under resources/view/welcome.blade.php and replace its content with:
This is a Bootstrap based HTML upload form that lets the user upload an image. Further, it offers two actions for resizing and compressing the images.
With this, all the code changes for the demo app are done. Make sure to save all the files.
Step 7: Relaunch the Laravel Server
Relaunch the Laravel development server and now you should see the demo app UI.

Step 8: Test the Demo App
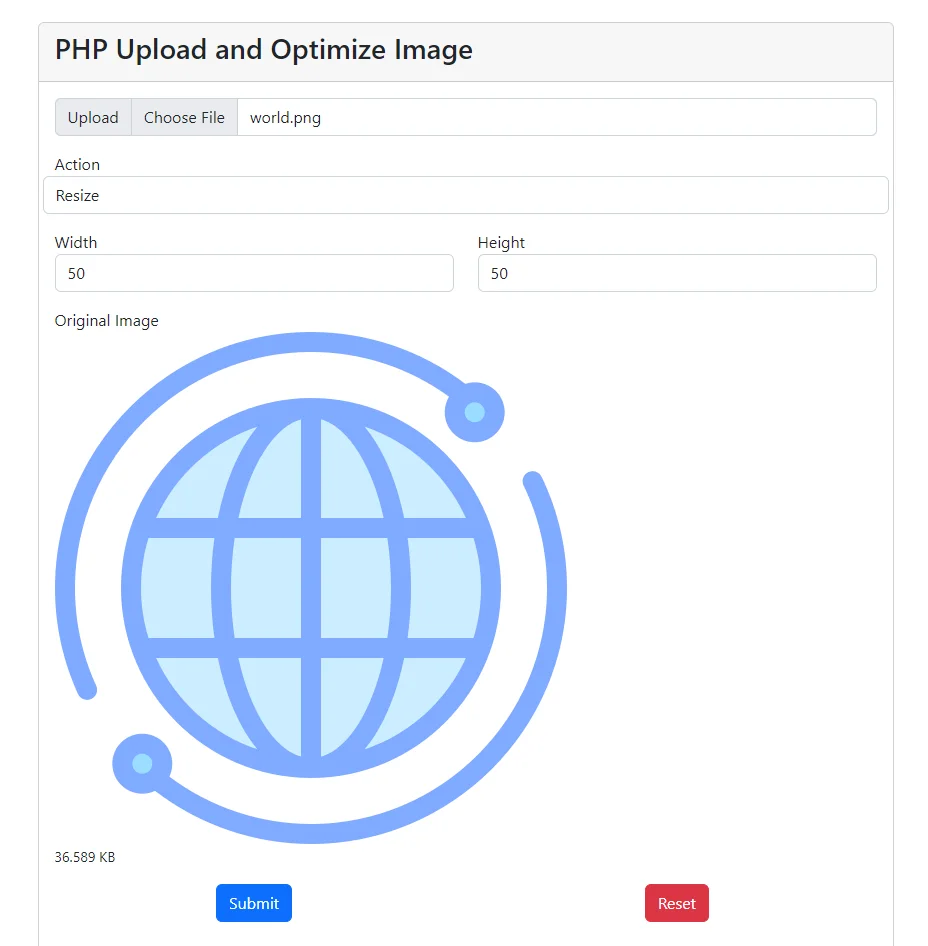
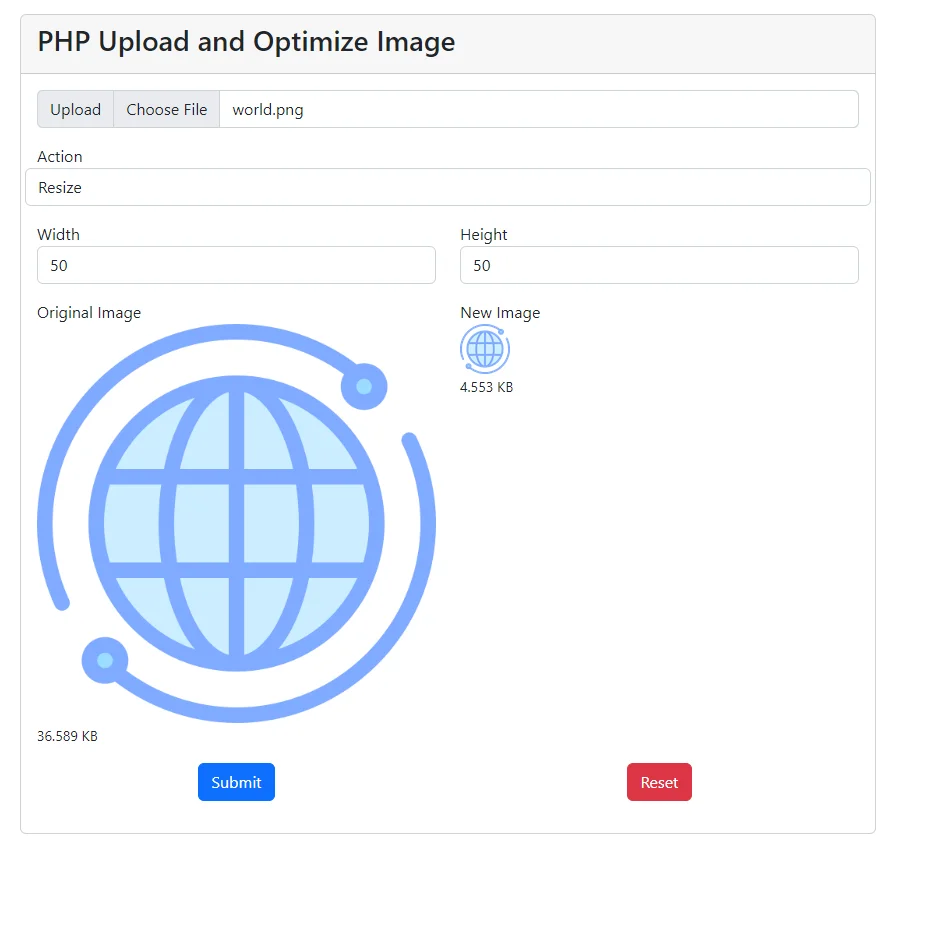
Now you are ready to test the app. Upload any images from your computer and submit the form by choosing the “Resize’ action and specifying the desired width and height.
Once the Abstract API processes the image, the newly resized image will be displayed along with the target image size.
Similarly, you can also choose the “Compress” action and specify a quality score. By choosing a low score, you can achieve high compression of the image.
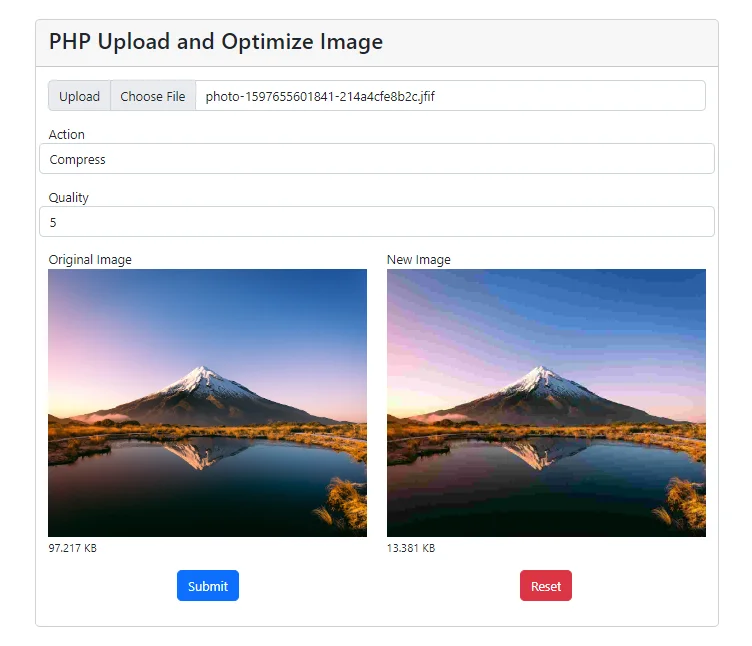
However, you may notice a slight deterioration of the image quality. Therefore, you have to choose the quality score that optimally balances the image size and the visual perception of the image quality.
We are done!
We set out to build this demo app to enable any PHP Laravel based web application to perform image resizing and compression on its own. And we have achieved it now.
The AbstractAPI Image Processing and Optimization API is a great alternative to the built-in PHP image processing libraries and does the job pretty well, while seamlessly integrating with the app logic and frontend UI.
FAQs
How do I compress an image file in PHP?
You can achieve image file compression in PHP using one of the built-in extensions such as Imagick or the GD library. However, if you want to offload the burden of image processing from your server-side application logic, then it’s best to use an image compression API. Abstract API Image Processing and Optimization API is best suited for this job. This API supports image compression through the standard quality score that ranges from 0 to 100. You can signup for Abstract API and try out this API for free to test its features.
How to upload images in Laravel?
Laravel is a PHP framework and it supports the default PHP image upload features. For uploading files, you would typically use the POST method to submit an HTML form with <input> element that contains the file path and read it at the PHP end using $_FILES. Alternatively, you can use a cloud-hosted service API to upload an image file to one of the services such as Amazon S3 or Imgur.
How to resize an image file in PHP?
You can achieve image resizing in PHP using one of the built-in extensions such as Imagick or the GD library. However, if you want to offload the burden of image processing from your server-side application logic, then it’s best to use an image compression API. Abstract API Image Processing and Optimization API is best suited for this job. This API supports image resizing through the height and width parameters and also allows you to set the aspect ratio. You can signup for Abstract API and try out this API for free to test any jpeg or png file.


.avif)
