

Get Started
First, download the package from NPM.
npm install --save browser-image-compression
Next, import the module into your React component.
import imageCompression from 'browser-image-compression';
Compress an Image File
Add the following code block to your component to use browser image compression in an async/await context.
// React compress image component

async function handleImageUpload(event) {

  const imageFile = event.target.files[0];

  const options = {
    maxSizeMB: 1,
    maxWidthOrHeight: 1920
  }
  try {
    const compressedFile = await imageCompression(imageFile, options);
    console.log(compressedFile.size/1024/1024);
  } catch (error) {
    console.log(error);
  }

}
As you can see, the image compressor logic is very straightforward. Simply pass the image file to be compressed, along with an object specifying the options for image quality and image size. The compressed file can then be uploaded to a server, saved, or forwarded to another image manipulation function.
The options object allows you to specify multiple different extensions for the image compressor, including whether or not to use web workers, a callback function to run once compression is complete, a signal to indicate whether the process has been completed or has been aborted, and advanced configuration options.
The complete options API is as follows:
const options: Options = {
  maxSizeMB: number,
  maxWidthOrHeight: number,
  onProgress: Function,
  useWebWorker: boolean,
  signal: AbortSignal,
  maxIteration: number,
  exifOrientation: number,
  fileType: string,
  initialQuality: number,
  alwaysKeepResolution: boolean
}
The only required parameters are maxSizeMB or maxWidthOrHeight.
Compress an Image File Using AbstractAPI
Libraries and packages are great, but they do add to your bundle size and ultimately make your app larger. If you're looking for a way to compress an image file without installing an additional package, consider using an API service.
Image compression APIs expose endpoints that allow you to upload an image, specify the way an uploaded image should be compressed, and then return either the compressed image or a link to a hosted image file.
Let's look at one such API: the AbstractAPI Image Processing and Optimization API.
Get Started
To use the API, you'll need to sign up for a free account and get an API key. All of the Abstract API endpoints are secured by HTTPS and protected by API keys. They are all free to use and signing up for an account will not add you to any mailing or spam lists.
Acquire an API Key
Go to the API home page and click "Get Started." If you've never used AbstractAPI before, you'll need to input an email and password to create an account. If you have an account, you may need to log in.
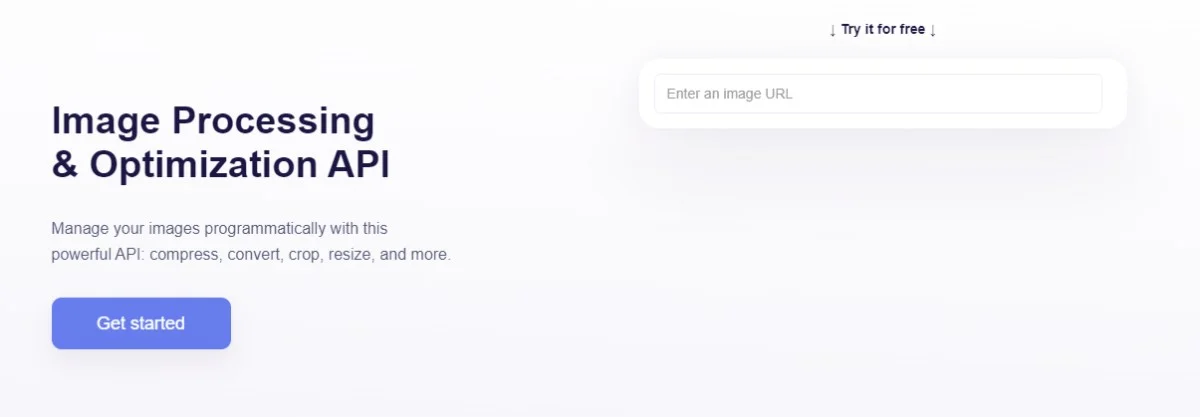
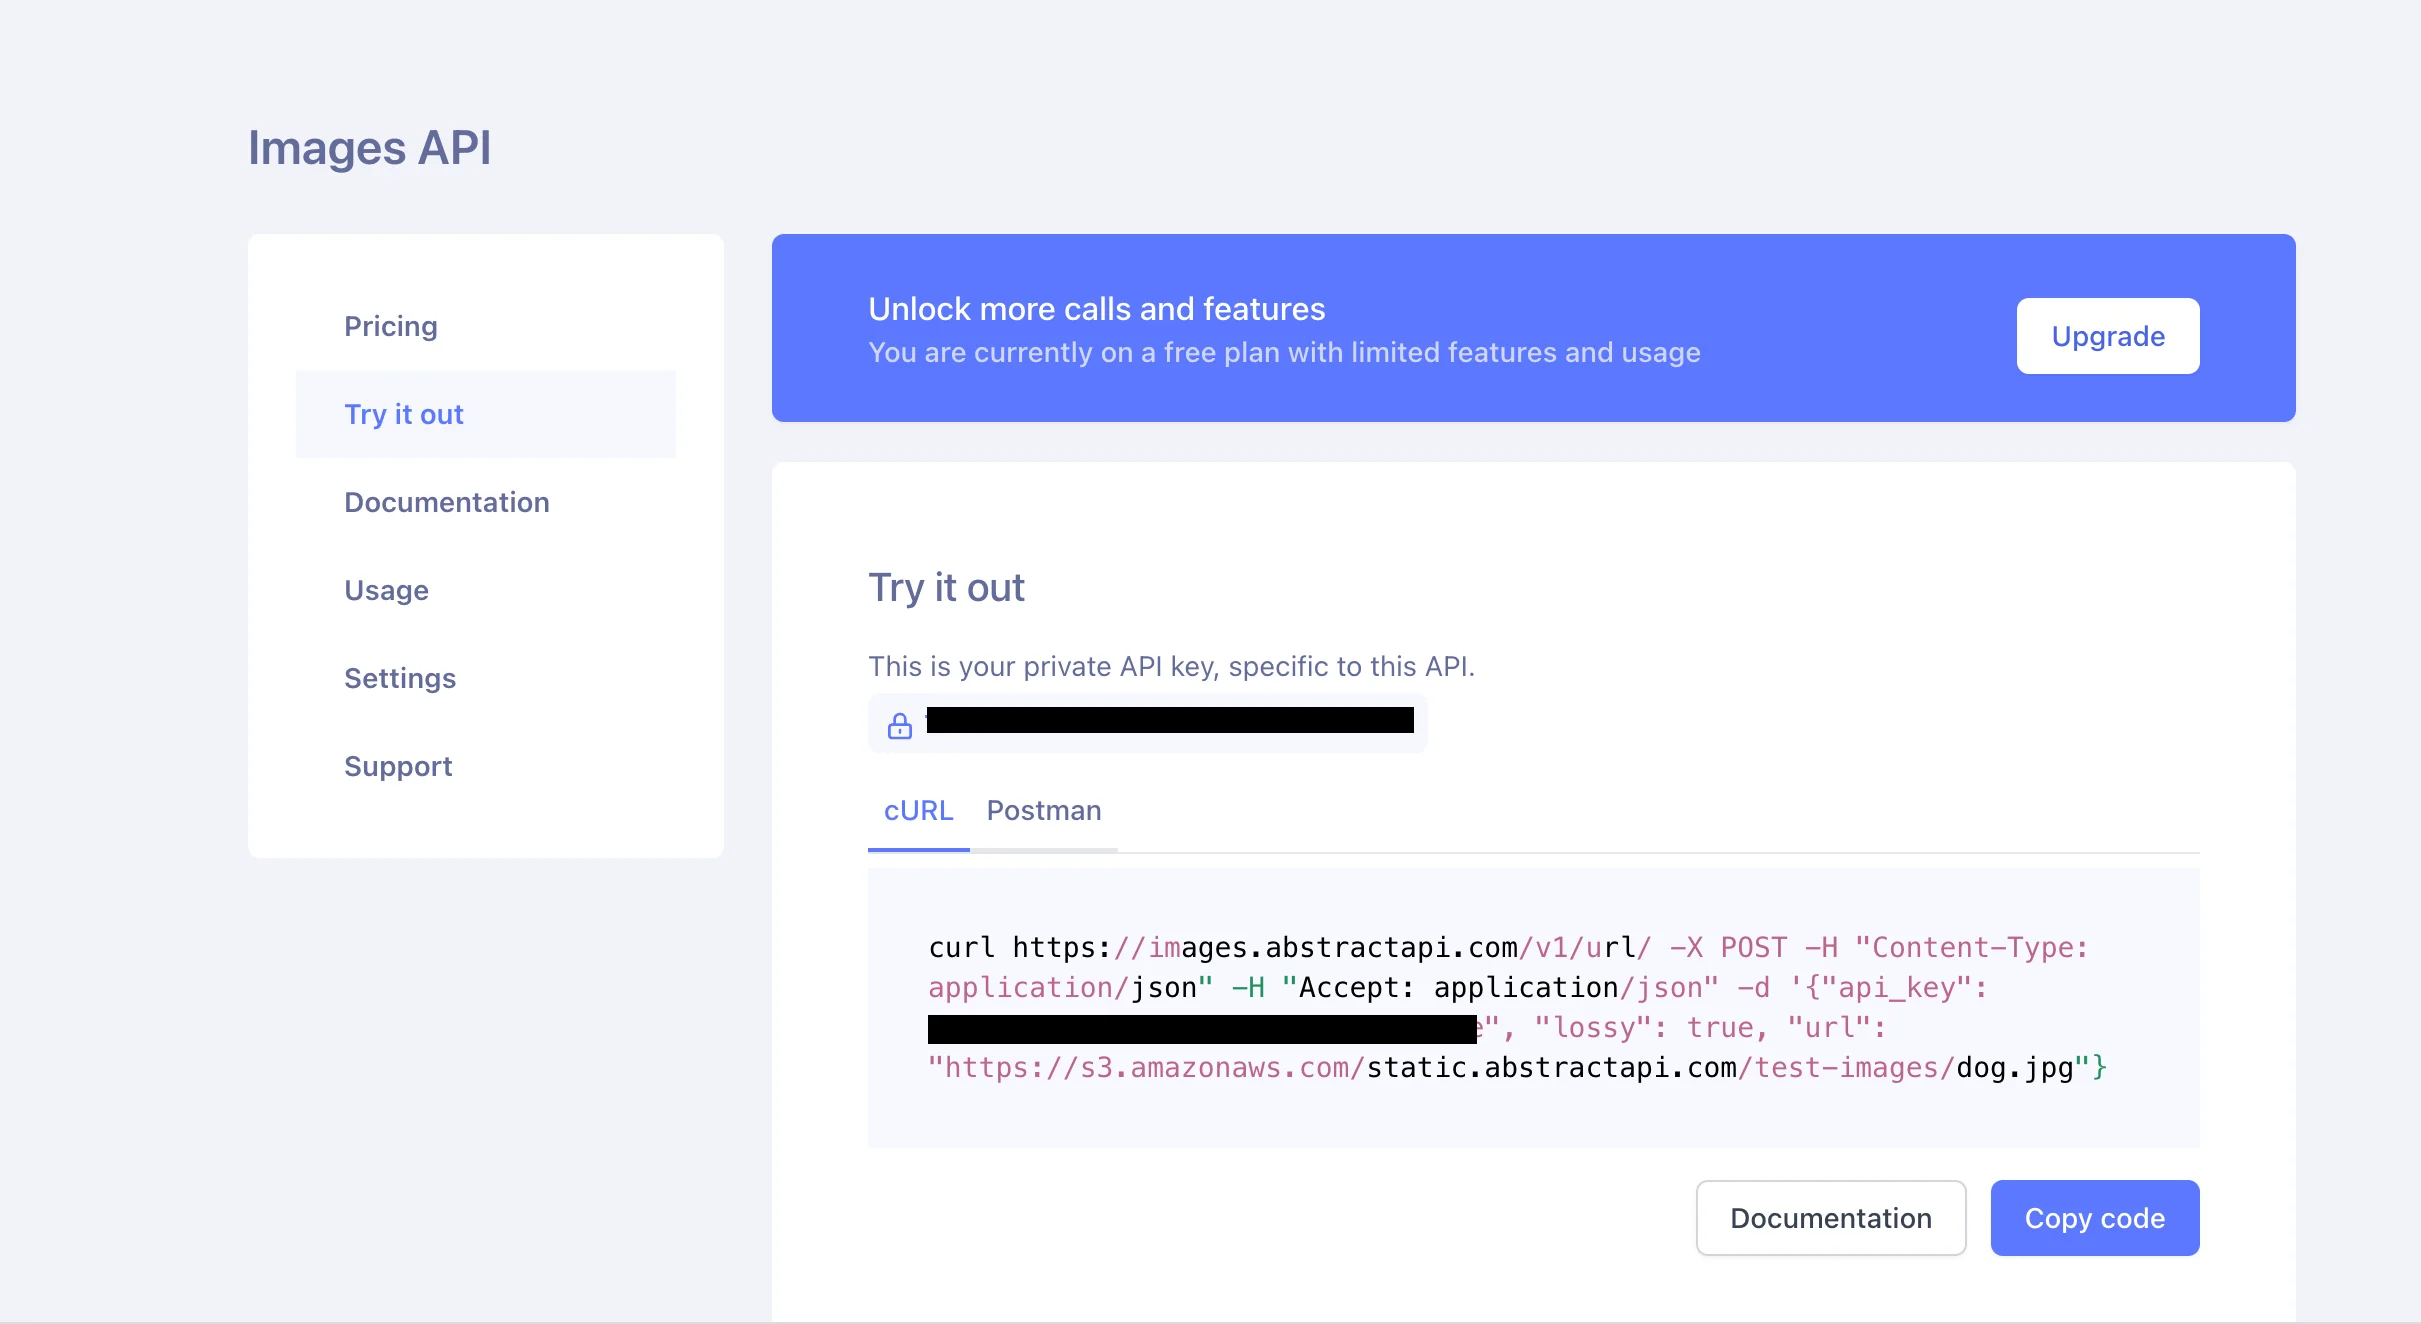
You'll be taken to the Images API test page, where you'll see links to documentation and pricing, as well as your unique API key.
Make an API Request
To compress an image file, we'll send an HTTP request to the API endpoint. AbstractAPI provides two methods for image upload: multipart form upload so you can send the complete image file, and regular POST request, where you specify the image to be compressed by providing a URL.
In both cases, AbstractAPI will process the image and return a url for the resized image path, hosted at an Amazon S3 bucket.
We'll use this example image from AbstractAPI to send a regular POST request with an image URL:
"https://s3.amazonaws.com/static.abstractapi.com/test-images/dog.jpg
fetch('https://images.abstractapi.com/v1/url/', {
 method: 'POST',
 headers: {
   Accept: 'application/json',
   'Content-Type': 'application/json'
 },
 body: JSON.stringify({
   api_key: "YOUR_API_KEY",
   url: 'https://s3.amazonaws.com/static.abstractapi.com/test-images/dog.jpg',
   lossy: true
 })
});
Here, we've told the API to compress the image by setting the lossy option to true. The API uses lossy compression to massively shrink the image file size while slightly reducing resolution quality.
Receive the Compressed Image
The API returns a JSON object with information about the original image and a URL to the new image. The data looks something like this:
{
   \"original_size\":205559,
   \"original_height\":430,
   \"original_width\":1142,
   \"final_size\":75101,
   \"bytes_saved\":130458,
   \"final_height\":430,
   \"final_width\":1142,
   \"url\":\"https://abstractapi-images.s3.amazonaws.com/8f2dd6392c524bc98313a89a24012b1f_dog.jpg\"
}
As you can see, the image width and height have not changed, but we have decreased the file size by about 130500 bytes.
Frequently Asked Questions
What is the browser-image-compression library and how does it work in React?
browser-image-compression is an NPM package that compresses images client-side before they are sent to a server. It uses web workers to run compression off the main thread, so the UI stays responsive. You configure it with options like maxSizeMB and maxWidthOrHeight, then call it with an async/await pattern inside your React component.
How do you add image compression to a React project?
Install the library with npm install --save browser-image-compression, then import it in the component that handles file input. Create an options object with at least one of maxSizeMB or maxWidthOrHeight, pass the file and options to the compression function, and use the returned compressed file for your upload logic.
When should you use an image compression library versus an image compression API?
A library like browser-image-compression runs entirely in the browser and adds no network round-trip, making it ideal for fast, simple compression. An API service like Abstract's Image Processing endpoint keeps your JavaScript bundle smaller by offloading the processing to an external server, which is useful when bundle size is a concern or when you need advanced server-side optimizations.
What is the difference between lossy and lossless image compression?
Lossy compression permanently removes some image data to achieve smaller file sizes, which can reduce visible quality at high compression ratios. Lossless compression reduces file size without discarding any data, preserving the original quality exactly. For most user-uploaded photos in web apps, lossy compression at moderate settings provides a good balance between size reduction and visual quality.
What parameters are required when using browser-image-compression?
Only one of maxSizeMB or maxWidthOrHeight is required in the options object; you do not need to provide both. maxSizeMB sets a target maximum file size in megabytes, while maxWidthOrHeight resizes the image to fit within a pixel boundary. Setting both gives you tighter control over the output.
How does the Abstract Image Processing API handle image compression in React?
After signing up for an API key, you send the image either as a multipart file upload or as a URL-based request using the JavaScript fetch API. The API processes the image server-side and returns a JSON response containing the compressed file along with metrics like original and final file size. This approach removes the compression workload from the browser entirely.
