

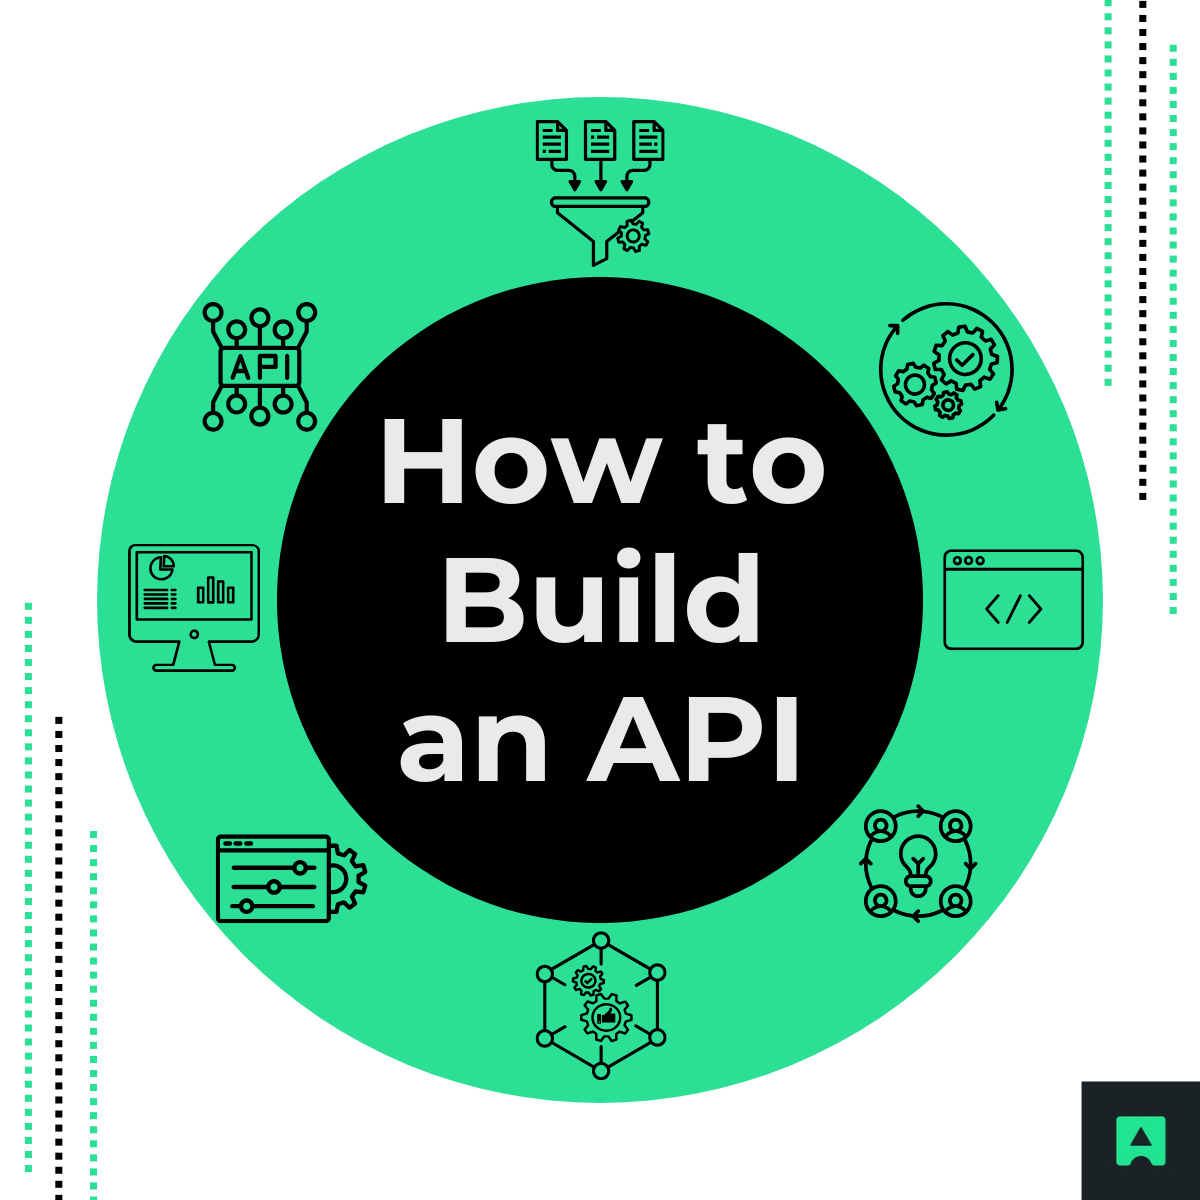
🧠 Section 1: The Blueprint — Designing Your API Before Writing Code
Before jumping into code, it's essential to start with a solid plan. Thoughtful design makes implementation smoother, improves usability, and reduces bugs and rewrites later.

✅ Step 1: Define Your API's Mission
Every successful API starts by solving a specific problem. Don't try to build a giant platform from day one—begin with a focused use case.
Example: Let's imagine you're creating an API for a simple event planner. Your API will allow users to manage a list of upcoming events—create them, list them, and delete them.
📌 Step 2: Identify Resources and Endpoints
RESTful APIs revolve around resources—the entities your API manages. Think of these as the "nouns" of your system.
In our case, the main resource is events.
Endpoints are the URLs used to interact with these resources. A few basic examples might include:
- GET /events – Retrieve all events
- POST /events – Create a new event
- DELETE /events/{id} – Delete a specific event by ID
🛠 Step 3: Choose Your HTTP Methods
These are your "verbs"—the actions a user can perform on each resource:
- GET – Fetch data
- POST – Add new data
- PUT or PATCH – Modify existing data
- DELETE – Remove data
You'll combine these with your endpoints to describe the available interactions.
🧾 Step 4: Define the Data Structure (JSON)
APIs typically communicate using JSON. You'll need to decide what your data will look like.
Here's a possible JSON representation of a single event:
{
"id": 1,
"title": "Team Meeting",
"date": "2025-09-01T10:00:00Z",
"location": "Conference Room A"
}
📍 Pro tip: Keep your structure consistent—it helps developers (including future-you) work with the API more easily.
🧰 Section 2: Choosing Your Toolkit — Selecting Your Tech Stack
Once your design is ready, it's time to pick the tools that will bring your API to life. Here are the core components:
💻 Programming Language & Framework
This is the engine that powers your API logic.
- Node.js + Express.js is a fantastic choice for beginners. It's lightweight, widely used, and has a huge community.
- Python with Flask or FastAPI is another excellent alternative, especially for developers who prefer Python's simplicity.
🗃 Database
You'll need a place to store your data.
- PostgreSQL is a popular relational database great for structured data with defined relationships.
- MongoDB is a document-based, NoSQL database ideal for flexible, unstructured data.
🧪 API Testing Tools
Before you build a frontend, you'll want to test your API endpoints.
- Postman and Insomnia allow you to send requests to your API, examine responses, and debug issues—all through an intuitive interface.
🔨 Section 3: The Core Build — Creating Your First API with Node.js & Express
Let's build a simple API step-by-step using Node.js and Express.
⚙️ Make sure Node.js and npm are installed before proceeding.
🛠 Step 1: Initialize Your Project
mkdir event-api
cd event-api
npm init -y
npm install express
🌐 Step 2: Create a Basic Server
Create a file named index.js:
const express = require('express');
const app = express();
const PORT = 3000;
app.use(express.json());
app.get('/', (req, res) => {
res.send('Welcome to the Event API!');
});
app.listen(PORT, () => {
console.log(`Server is running on http://localhost:${PORT}`);
});
Then run: node index.js
📥 Step 3: Add a GET /events Endpoint
let events = [
{ id: 1, title: 'Conference', date: '2025-09-10', location: 'Main Hall' },
{ id: 2, title: 'Workshop', date: '2025-09-15', location: 'Room B' }
];
app.get('/events', (req, res) => {
res.json(events);
});
➕ Step 4: Handle POST /events to Add Events
app.post('/events', (req, res) => {
const newEvent = {
id: events.length + 1,
title: req.body.title,
date: req.body.date,
location: req.body.location
};
events.push(newEvent);
res.status(201).json(newEvent);
});
🗑 Step 5: Add DELETE /events/:id
app.delete('/events/:id', (req, res) => {
const eventId = parseInt(req.params.id);
events = events.filter(event => event.id !== eventId);
res.status(204).send();
});
- 🎉 Boom! You've now created your first REST API!
🏆 Section 4: From Working to World-Class — API Best Practices
✅ 1. Use the Right Status Codes
Use specific HTTP status codes to improve clarity:
- 201 Created – A new resource was added
- 400 Bad Request – The request was invalid
- 404 Not Found – The resource doesn't exist
- 500 Internal Server Error – Something broke on the server
🔤 2. Consistent Naming
Stick with plural resource names:
✅ /events
❌ /event
📁 3. Version Your API
Use versioning to prevent breaking changes later: /api/v1/events
🔐 4. Think About Security
Add authentication—even a simple API key system can protect your endpoints from unauthorized access.
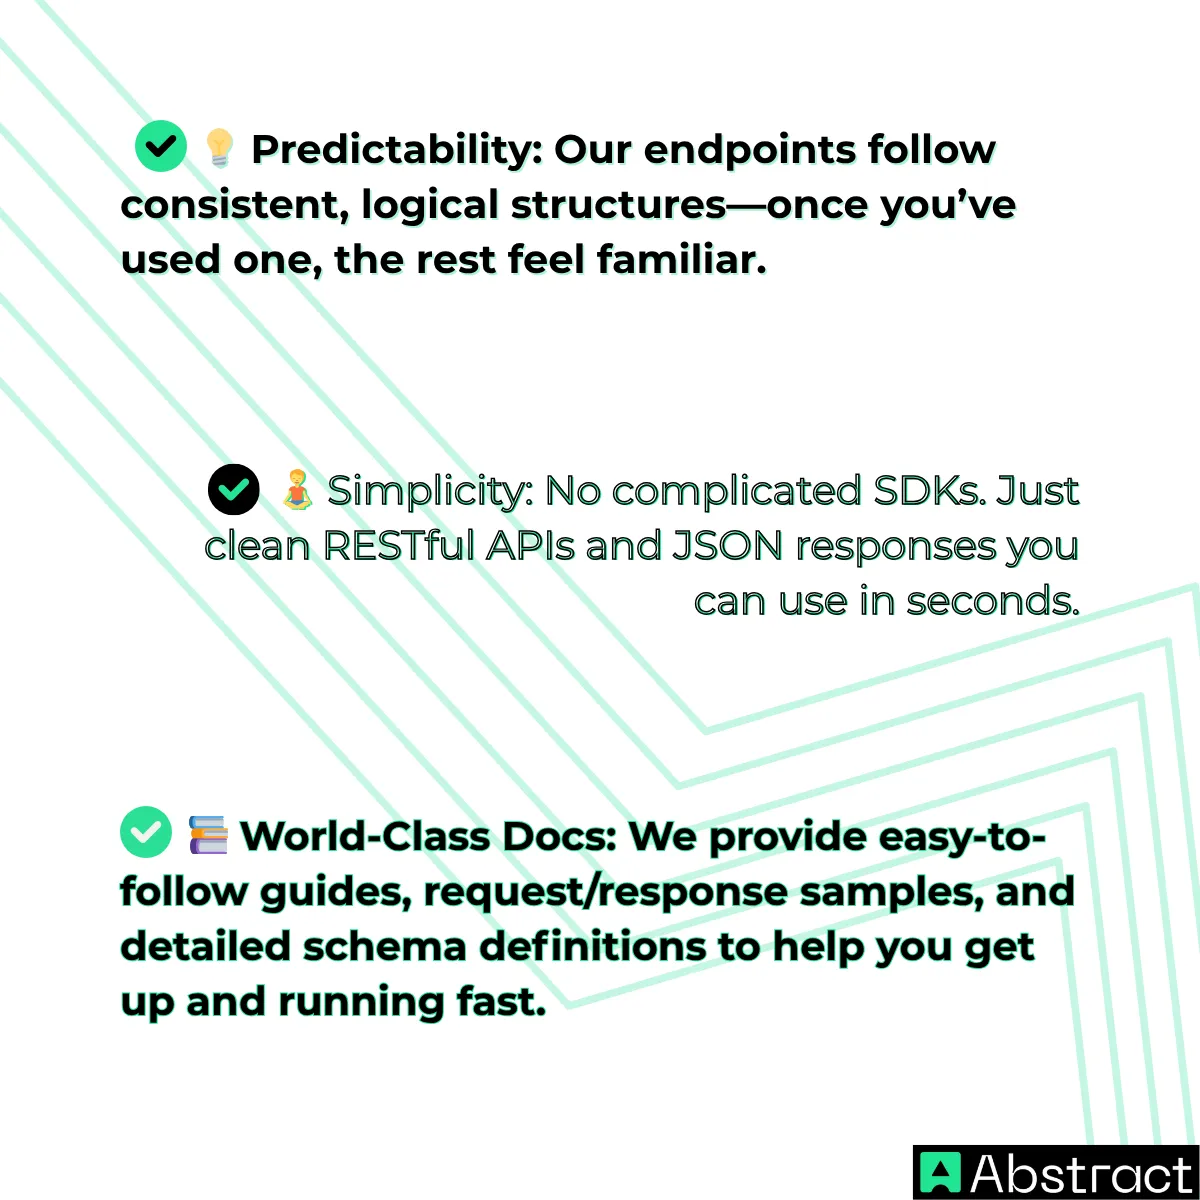
🌟 Section 5: The AbstractAPI Philosophy — What Makes a Great API
At AbstractAPI, we know that building APIs is more than just writing code—it's about creating a smooth, developer-centric experience.
Here's what we believe in:
Want to explore APIs that practice what we preach?
👉 https://www.abstractapi.com/api
Conclusion
Let's recap what you've learned:
- How to plan and design an API
- How to build it with Node.js & Express
- How to implement best practices for naming, versioning, and error handling
- How AbstractAPI approaches API design with a developer-first mindset
🎯 You now have the tools and understanding to build your own APIs.

Every great developer starts with a small project—this is your launchpad. As you explore further, analyze real-world APIs and pay attention to what makes them intuitive and powerful.
📢 Take the next step: Browse the AbstractAPI library to see clean, production-ready APIs in action.
Frequently Asked Questions
What does building an API actually involve?
Building an API means designing a set of endpoints that expose data or functionality over HTTP. The process covers four main areas: defining your resources and endpoints, choosing a technology stack, writing the server logic, and applying best practices like versioning and authentication. A beginner-friendly starting point is Node.js with Express or Python with Flask or FastAPI.
How do you design API endpoints before writing any code?
Start by identifying the problem your API solves and the core entities it will expose. Map each entity to a URL using plural nouns (for example, /events), then assign HTTP methods: GET to read, POST to create, PUT to update, and DELETE to remove. Settling this blueprint first keeps your implementation consistent and avoids costly refactors later.
Which language and framework should I use to build my first API?
Node.js with Express is a common first choice because its ecosystem is large and the syntax is straightforward for developers already familiar with JavaScript. Python with Flask or FastAPI is equally popular for its readability and fast setup. For the database layer, PostgreSQL works well for structured relational data while MongoDB suits document-based or flexible schemas.
What HTTP status codes should my API return?
Your API should use status codes that accurately reflect the outcome of each request. Return 200 for successful reads, 201 when a new resource is created, 400 for malformed client requests, 404 when a requested resource does not exist, and 500 for unexpected server errors. Using the correct codes makes your API easier to debug and integrate with.
Why should I version my API and how do I do it?
Versioning lets you introduce breaking changes without disrupting existing consumers. The simplest approach is to include the version in the URL path, for example /api/v1/events. When you release a new version with incompatible changes, you add /api/v2/ alongside the old routes rather than modifying them in place.
How do I test my API endpoints during development?
Tools like Postman and Insomnia let you send HTTP requests directly to your running server without writing a client application. You can craft GET, POST, PUT, and DELETE requests, inspect response bodies and status codes, and save requests into collections for repeated use. Running these manual checks alongside any automated tests helps catch issues before the API is consumed by real clients.
