

The Best Practice: React Hook Form + Yup
If you've worked with forms before, you know that performance and readability matter. That's exactly why React Hook Form + Yup has become the community's go-to combo for form validation.
This combination gives you both performance and clarity — the hallmarks of production-ready React Native apps.
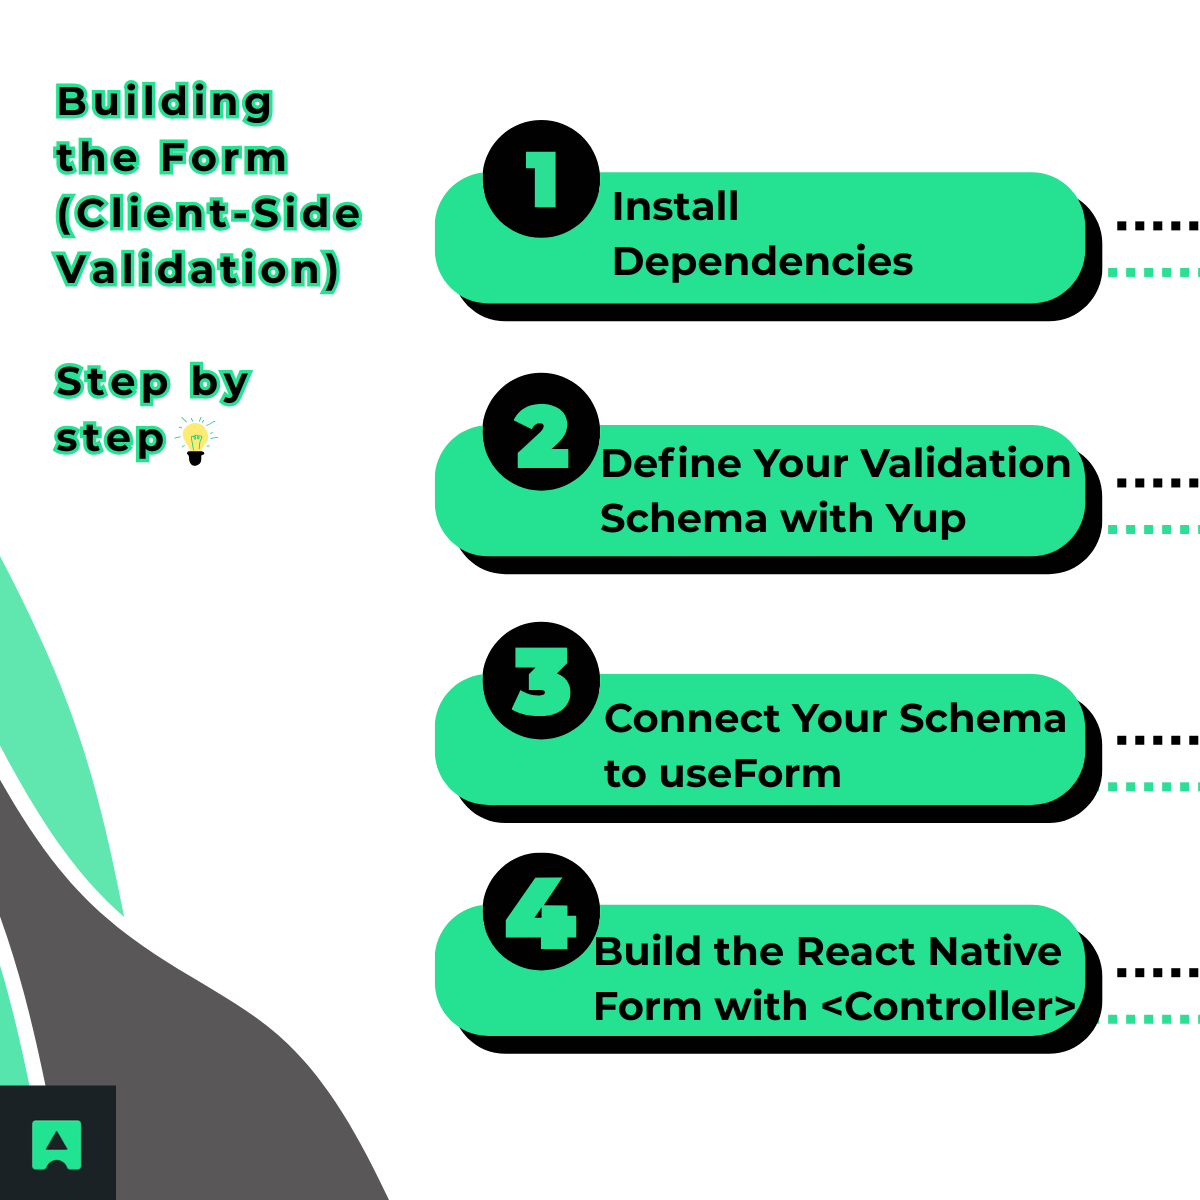
🛠️ Part 1: Building the Form (Client-Side Validation)
Let's dive into the code and build a fully functional sign-up form that validates user input in real-time.
🧱 Step 1: Install Dependencies
Run this command in your React Native project:
npm install react-hook-form yup @hookform/resolvers
- react-hook-form → Manages form state and validation lifecycle
- yup → Defines your validation schema
- @hookform/resolvers → Connects Yup with React Hook Form
📜 Step 2: Define Your Validation Schema with Yup
Create a file named signUpSchema.js and define your rules:
import * as yup from 'yup';
export const signUpSchema = yup.object().shape({
name: yup.string().required('Name is required'),
email: yup
.string()
.email('Invalid email format')
.required('Email is required'),
password: yup
.string()
.min(8, 'Password must be at least 8 characters')
.required('Password is required'),
});
This schema enforces consistent validation rules — and it keeps them separate from your component logic for cleaner code.
🪄 Step 3: Connect Your Schema to useForm
Now import and connect the schema in your form component.
import { useForm, Controller } from 'react-hook-form';
import { yupResolver } from '@hookform/resolvers/yup';
import { signUpSchema } from './signUpSchema';
const SignUpForm = () => {
const { control, handleSubmit, formState: { errors } } = useForm({
resolver: yupResolver(signUpSchema),
defaultValues: {
name: '',
email: '',
password: '',
},
});
const onSubmit = (data) => {
console.log('Form data is valid!', data);
// We'll enhance this later with server validation
};
};
Here's what's happening:
- control — connects your form inputs
- handleSubmit — wraps the form submission logic
- errors — contains all validation messages generated by Yup
🎨 Step 4: Build the React Native Form with <Controller>
Let's put it all together inside the JSX. Using <Controller> ensures your inputs work seamlessly with React Hook Form.
import { View, Text, TextInput, Button, StyleSheet } from 'react-native';
// Inside the SignUpForm component
return (
<View style={styles.container}>
{/* Name Field */}
<Controller
control={control}
name="name"
render={({ field: { onChange, onBlur, value } }) => (
<TextInput
style={styles.input}
placeholder="Full Name"
onBlur={onBlur}
onChangeText={onChange}
value={value}
/>
)}
/>
{errors.name && <Text style={styles.errorText}>{errors.name.message}</Text>}
{/* Email Field */}
<Controller
control={control}
name="email"
render={({ field: { onChange, onBlur, value } }) => (
<TextInput
style={styles.input}
placeholder="Email Address"
onBlur={onBlur}
onChangeText={onChange}
value={value}
keyboardType="email-address"
autoCapitalize="none"
/>
)}
/>
{errors.email && <Text style={styles.errorText}>{errors.email.message}</Text>}
{/* Password Field */}
<Controller
control={control}
name="password"
render={({ field: { onChange, onBlur, value } }) => (
<TextInput
style={styles.input}
placeholder="Password"
onBlur={onBlur}
onChangeText={onChange}
value={value}
secureTextEntry
/>
)}
/>
{errors.password && <Text style={styles.errorText}>{errors.password.message}</Text>}
<Button title="Sign Up" onPress={handleSubmit(onSubmit)} />
</View>
);
👉 Notice how {errors.name && <Text>{errors.name.message}</Text>} conditionally renders the error message right under each input. These messages come directly from your Yup schema — no extra logic needed.
🔒 Part 2: Adding Server-Side Validation (Stop Fake Emails)
At this point, your form looks great and behaves well. But here's the catch: it'll still accept fake@gmil.com or temporary inboxes like test@mailinator.com. 🕳️
Bad data like this can pollute your user base, increase bounce rates, and damage your sender reputation.
To fix this, let's integrate the AbstractAPI Email Validation API — a quick server-side check that confirms each email address actually exists before it's stored.
⚙️ How to Validate Emails in onSubmit
We'll modify our onSubmit function to make a real-time API request and handle errors from the server
using React Hook Form's setError.
import { useState } from 'react';
// ... other imports
const { control, handleSubmit, setError, formState: { errors } } = useForm({
resolver: yupResolver(signUpSchema),
});
const [isLoading, setIsLoading] = useState(false);
const onSubmit = async (data) => {
if (isLoading) return;
setIsLoading(true);
const API_KEY = 'YOUR_ABSTRACTAPI_KEY_HERE';
const email = data.email;
try {
const response = await fetch(
`https://emailvalidation.abstractapi.com/v1/?api_key=${API_KEY}&email=${email}`
);
const apiData = await response.json();
if (apiData.is_smtp_valid.value === false) {
setError('email', {
type: 'server',
message: 'This email address does not exist or cannot be reached.',
});
} else {
console.log('✅ Valid email:', data);
// Proceed with your sign-up logic (e.g., send to backend)
}
} catch (error) {
console.error('Validation API Error:', error);
setError('email', {
type: 'server',
message: 'Could not validate email. Please try again.',
});
} finally {
setIsLoading(false);
}
};
💡 The setError method allows you to surface server-side errors in the same way as client-side ones — providing a unified and consistent user experience.
🎯 From "Working" to "Production-Ready"
You've now built something much more than a tutorial form:
✅ React Hook Form + Yup for client-side validation
✅ AbstractAPI Email Validation API for real-time deliverability checks
Together, they make your form clean, performant, and reliable — ready for any production app. 💪
Protect your application from fake signups and ensure your email database stays healthy.
👉 Get your free AbstractAPI Email Validation key and add this essential layer of trust to your next React Native project.
Frequently Asked Questions
What is React Native form validation and why does it matter?
React Native form validation is the process of checking user input against defined rules before submitting a form (things like required fields, correct email format, or minimum password length). It matters because it catches errors early, improves user experience, and prevents bad data from reaching your database or backend.
How do React Hook Form and Yup work together in React Native?
React Hook Form manages form state and the validation lifecycle, while Yup lets you define schema-based rules separately from your component logic. You connect them using the @hookform/resolvers package, which passes your Yup schema into React Hook Form's useForm hook. This approach keeps validation rules clean and reusable across components.
Why is client-side email validation not enough on its own?
Client-side validation can only check that an email address is formatted correctly; it cannot tell you whether the address actually exists or can receive mail. A user could enter a perfectly formatted but completely fake email and pass all local checks. Server-side validation using an API like Abstract's Email Validation confirms real deliverability by checking SMTP and MX records.
How do you display a server-side validation error in a React Native form?
After making a request inside your form's submission handler, you can use React Hook Form's setError method to attach an error message to a specific field. This feeds into the same error display logic already used for client-side errors, so users see a consistent message regardless of where the validation failed.
What is the Controller component in React Hook Form and when do I need it?
React Native's TextInput is an uncontrolled component by default, which means React Hook Form can't register it the same way it does with standard HTML inputs. The Controller wrapper component bridges this gap, letting React Hook Form manage the field's value, validation state, and error messages without you writing manual onChange handlers.
When should I validate an email address on the server rather than just in the form?
Validate on the server whenever the email address will be used for communication: sign-up flows, transactional messages, or marketing campaigns. Accepting a deliverable-looking but non-existent address wastes send credits, inflates bounce rates, and can damage your sender reputation. Checking the is_smtp_valid property from an email validation API before writing to your database is a reliable way to catch these cases.
