

AbstractAPI Free Images API Overview
The AbstractAPI Images API is a lightweight, RESTful JSON API. It provides image compression and optimization.
Supported Methods
The Images API accepts images via two methods. You can manipulate images by directly uploading the image file to the Abstract API, or you can provide the API with a URL that points to the image on the web.
To upload the image directly, use a multipart/form-data request, and include the path to the image file as a named parameter called “image.”
To use the Images API on a hosted image at a web URL, send a regular POST request and include the URL string as a named parameter called “url.” Note that with this method, you can only send images that are a maximum of 32MB in size.
Pricing
The free tier of the AbstractAPI Image API supports up to 100MB per month, which should be enough for testing and basic app development. Attribution is required at this level. Email and live chat support are provided.
From there, pricing increases to $9/month for the Starter Tier, which supports up to 1GB and 500 requests per second in a commercial environment. This Tier also provides email and live chat support and domain whitelisting. Startups with a small user base will probably find this tier sufficient. No attribution is required at this or higher levels.
The next tiers are Pro, at $49/month, and Enterprise, at $499/month. The Pro Tier supports up to 20GB per month at up to 500 requests per second and provides dedicated support. The Enterprise Tier supports up to 250GB per month at 500 requests per second and provides dedicated support.
Security and Privacy
The AbstractAPI Images API is secured by 256-bit SSL encryption (HTTPS). All incoming requests must come via HTTPS. The API meets all GDPR and CCPA requirements and regulations.
How to Resize Images Using the API and Node.js
In this tutorial, we’ll use the AbstractAPI Images API to resize a photo. We’ll outline the entire process for getting started with the API, including how to acquire an API key and make CURL requests. We’ll then make a request using Node, and we’ll look at the API’s response object, and learn how to use it in your app.
We’ll be using Node, Yarn, and Axios in this tutorial. This tutorial will not cover Node basics, how to install or get started with Node, or how to build a simple Node app. If you’re unfamiliar with that process, check out this tutorial before proceeding.
Getting Started With the Images API
Acquire an API Key
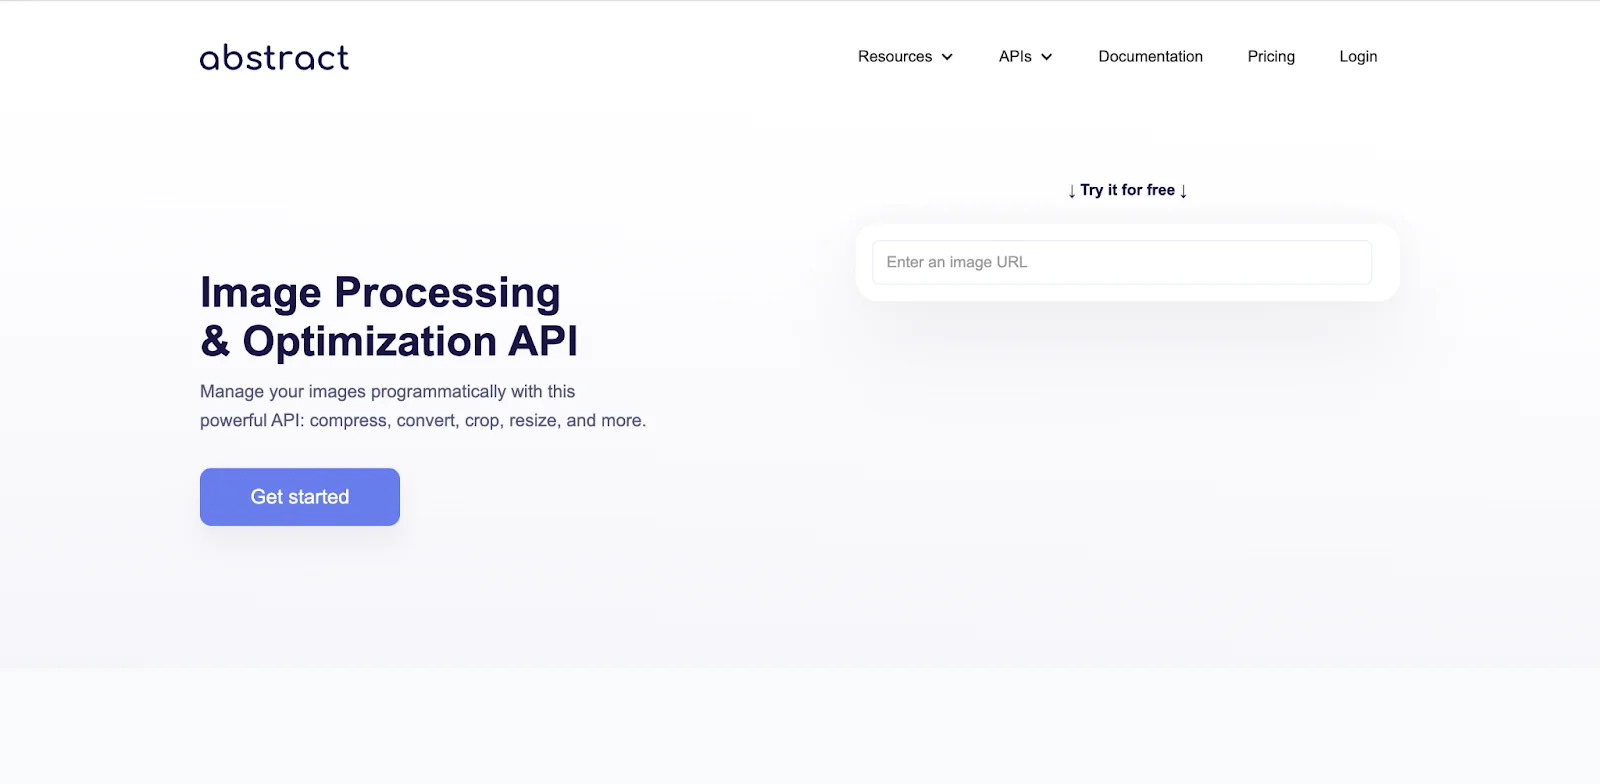
- Navigate to the Images API home page. You should see a blue “Get Started” button on the left, and a text input box on the right.
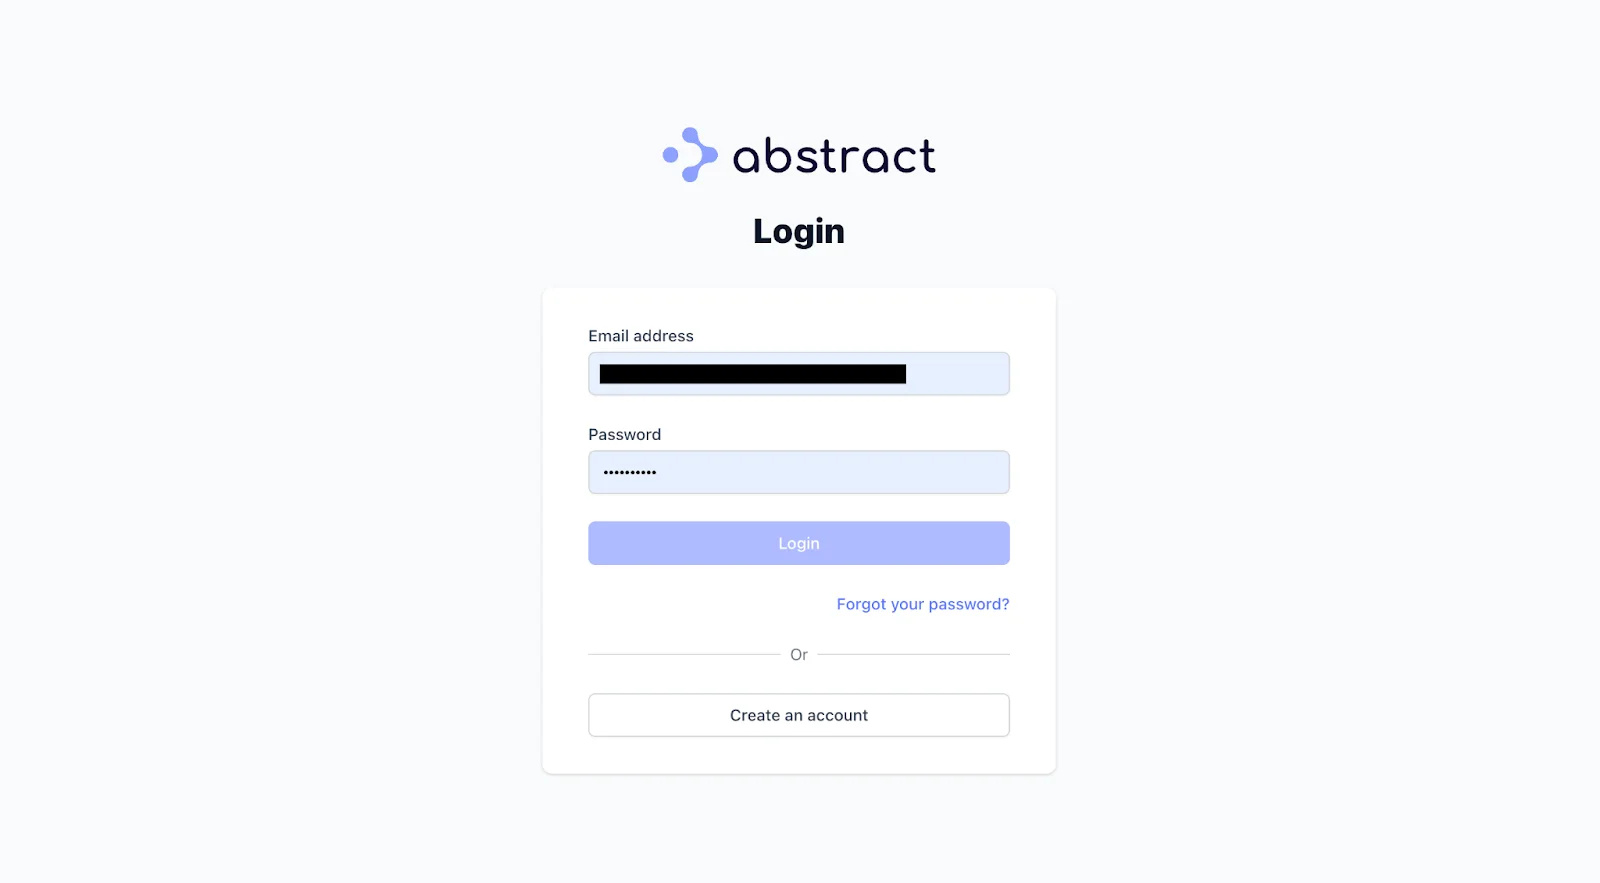
- Click the “Get Started” button. If you’ve never logged in to AbstractAPI before, you’ll be taken to a page where you’re asked to input your email and create a password. If you already have an Abstract API account, you’ll be asked to log in.
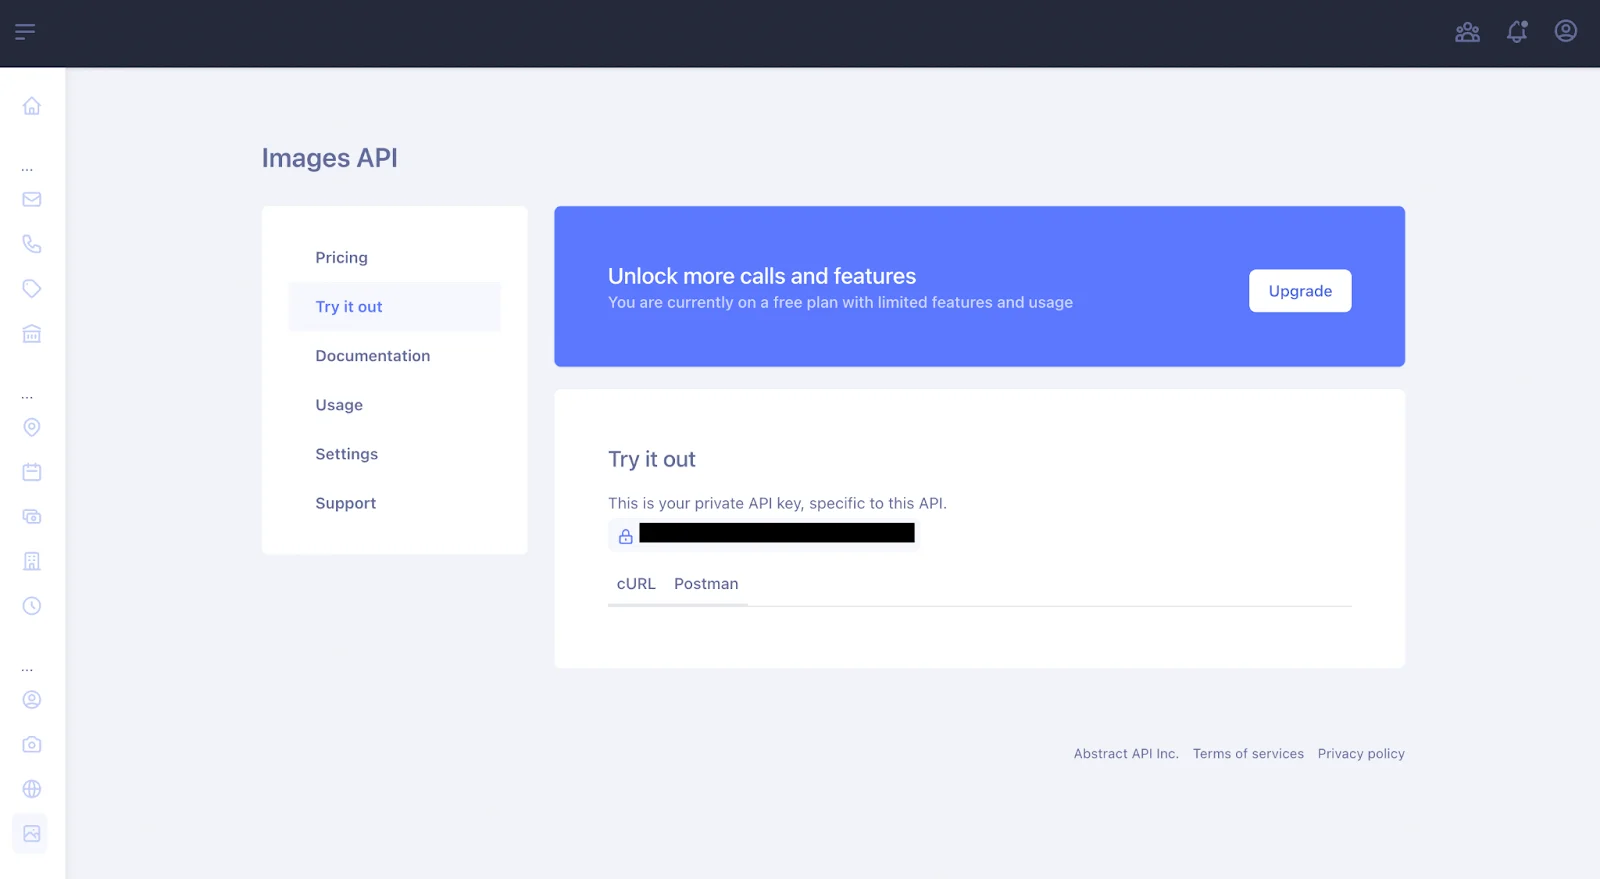
- Once you’ve created an account or logged in, you’ll land on the Images API tester page. If you are taken to your AbstractAPI Dashboard instead, simply click on the Images API link to be taken to the correct page.
Every AbstractAPI API requires a different API key, so even if you have an existing API key from a different AbstractAPI API, you’ll receive a new API key for this one.
Make a Test API Request
Let’s make a basic CURL request to the API.
- Select the “CURL” tab above the large text box. Once you do, inside the box, you should see a sample CURL request string.

Let’s take a look at the provided CURL request:
curl https://images.abstractapi.com/v1/url/ -X POST -H "Content-Type: application/json" -H "Accept: application/json" -d '{"api_key": "YOUR_API_KEY", "lossy": true, "url": "https://s3.amazonaws.com/static.abstractapi.com/test-images/dog.jpg"}'
The request starts with the shell command curl, which is a command that allows us to send a data request over the network to a remote server.
The first parameter to the command is the URL we want to send the data to: https://images.abstractapi.com/v1/url/
Next, we provide the type of request we are sending—in this case, POST—via the -X option.
The -H option specifies the necessary headers for the request. Here, we tell the server that we will be sending a JSON object.
Finally, the -d option contains the actual data we will be sending. We input the data as a stringified JSON object. There are three parameters: api_key, lossy, and url. Make sure that your personal API key is included as a string. The lossy field will be false by default if not included—we’ll talk more about this parameter later. In the url field, a URL string to a sample image has been included.
- Copy and paste the CURL request into a new terminal window. The easiest way to do this on a MacBook is to hit Cmd + Spacebar to open Spotlight, and type “terminal.”
Note: on the AbstractAPI page, the example CURL request is missing a closing single quote. Once you’ve copied the request into your terminal, add the missing quote mark.
- Send the request by hitting “Enter” and take a look at the response object:
{
"original_size":205559,
"original_height":430,
"original_width":1142,
"final_size":75101,
"bytes_saved":130458,
"final_height":430,
"final_width":1142,
"url":"https://abstractapi-images.s3.amazonaws.com/8f2dd6392c524bc98313a89a24012b1f_dog.jpg"
}'
The API provides information about the original image that was sent, as well as the size, height and width of the processed image, and a url to the processed image (hosted on AbstractAPI’s S3 server.)
As you can see, this photo was not resized, but the file size was compressed. By setting the lossy parameter to true, we told the API to perform a lossy compression on the photo, resulting in a drastic reduction of file size and a slight decrease in image quality.
Making an API Request Using Node.js
Now that we understand how to send an API request, and know what information we should expect to get back, let’s use the API to resize an image in a Node app.
In this tutorial, we’ll focus on using the API’s URL endpoint, rather than the direct multipart/form-data upload endpoint. In order to use this endpoint, your image needs to be hosted somewhere online. For this tutorial, we’ll use the same photo URL used on the AbstractAPI tester page.
Spin Up a Simple Node.js App
This tutorial assumes that you either have an existing Node app or that you’re familiar enough with Node to get one running on your computer.
- Refer to this tutorial if you need help installing Node and creating a basic project folder.
- Refer to this one to spin up a basic web server using either vanilla Node or the Express framework.
Install an HTTP Client
If your app already has an HTTP Client installed, skip this step.
You will need to have an HTTP client in your app in order to make HTTP requests. If you don’t already have one installed, we’ll quickly install the Axios client using yarn.
- Navigate to the root of your app directory
- Install Axios using Yarn via the command line
yarn add axios
Create a Route to Handle Image Resize Requests
- Create a file called image-processor.js. This is where you’ll handle all AbstractAPI Image API requests and responses.
touch image-processor.js
- Create a route in your index.js file to handle requests from the main app to the image-processor.js handler
const imageProcessor = require('./image-processing');

async function handleResizeImage(req) {
    // we'll write this later using the imageProcessor
    console.log(req);
    res.send('Image resized!');
}

app.get('/resize-image', (req, res) => {
   handleResizeImage(req)
})
Here, we import the image-processor module and assign it to a variable called imageProcessor. Currently, the image-processor module is empty, but that’s where we will make our requests to the AbstractAPI Image API and receive the response.
For now, if you test the app using yarn start and navigate to localhost:3000/resize-image, you will see the words “Image Resized!” in your browser, and you will see the request object printed in the console.
Make a Request to the API Using Axios
We’ll need three things in order to make our request to the Image API:
- Your Image API API key (found here.)
- The test image URL: https://s3.amazonaws.com/static.abstractapi.com/test-images/dog.jpg
- The URL for the Image API: https://images.abstractapi.com/v1/url/
Now that we have those, let’s write the code to make our request.
- Add the following code into your image-processor.js file
const axios = require('axios');
const apiURL = 'https://images.abstractapi.com/v1/url'
const apiKey = 'YOUR_API_KEY';

async function resizeImage(imageUrl) {
  try {
    const response = await axios.get(apiUrl, {url: imageUrl, api_key: apiKey});
    return response.data
  } catch (error) {
    throw new Error('Caught in resizeImage: ', error)
  }
}

module.exports.resizeImage = resizeImage;
Let’s break this down line by line:
const axios = require('axios');
We import the axios HTTP client, which we will use to send our request to the API.
const apiURL = 'https://images.abstractapi.com/v1/url'
We assign the Image API URL to a variable for clarity and ease of use.
const apiKey = 'YOUR_API_KEY';
Don’t forget to replace the API key temp string with your API key!
async function resizeImage(imageUrl) {
  try {
    const response = await axios.get(apiUrl, {url: imageUrl, api_key: apiKey});
    return response.data
  } catch (error) {
    throw new Error('Caught in resizeImage: ', error)
  }
}
This is the part of the code that makes our request. It accepts an imageUrl, which we will pass in when we call it inside index.js. Inside the handler, we use axios to send a POST request to the API, passing it a JSON object with our API Key and the photo URL.
- Specify the resizing parameters
Right now, all we’re doing here is sending an image to the API. We haven’t told the API what to do with it yet! Let’s add some fields to the object that we’re sending to the API:
{
url: imageUrl,
api_key: apiKey,
resize: {
    width: 100,
    strategy: "landscape"
    }
}
We’ve added a resize field to the object and provided some specifications for how to manipulate the image. In this case, we’re dealing with a landscape image, so we’re letting the API handle the aspect ratio and just telling it what width to change the photo to. The height will be automatically resized to maintain the current aspect ratio.
For a full list of resize parameter options, refer to the Image API documentation.
We are not setting the lossy field, so it will be false by default. This means no compression or loss of image quality will happen.
- Handle the response in your index.js file
Now that our resizeImage code is sending the request to the Image API, let’s write the handleResizeImage code and call the handler from the ‘/resize-image route we created earlier in index.js.
async function handleResizeImage(req) {
  try {
    const resizedImage = await imageProcessor.resizeImage(req.query.url);
    return resizedImage
  } catch (error) {
    console.error(error);
  }
}

async function sendResizeImageRequest(req, res) {
   try {
       const data = await handleResizeImage(req);
       res.send(JSON.stringify(data));
   } catch (error) {
       console.error(error);
       res.send('Oops! Something went wrong.')
   }
}

app.get('/resize-image', (req, res) => {
   sendResizeImageRequest(req, res);
})
There are three functions here, each representing a different step in the process. Let’s look at each one.
async function handleResizeImage(req) {
  try {
    const resizedImage = await imageProcessor.resizeImage(req.query.url);
    return resizedImage
  } catch (error) {
    console.error(error);
  }
}
Here, we call the resizeImage function that we wrote inside our image-processor module. We created a handler called handleResizeImage, and passed in a url parameter for resizing. This URL should be the test URL for the image we want to work with. You should pass it through the browser as a query string like so:
“?url=https://s3.amazonaws.com/static.abstractapi.com/test-images/dog.jpg.
async function sendResizeImageRequest(req, res) {
   try {
       const data = await handleResizeImage(req);
       res.send(JSON.stringify(data));
   } catch (error) {
       console.error(error);
       res.send('Oops! Something went wrong.')
   }
}
Here, we created one final abstraction, a sendResizeImageRequest function. This is because the request returns a Promise, and must be called from inside an async function. We could have written the async code inside our ‘/resize-image’ route, but it’s a bit cleaner to pull the logic out this way.
app.get('/resize-image', (req, res) => {
   sendResizeImageRequest(req, res);
})
Finally, our ‘/resize-image’ route calls our sendResizeImageRequest function.
Using the Image Data
The ‘/resize-image’ route returns the API response object as a stringified JSON object. If you run this in your browser, you should see the response object printed out on the page:
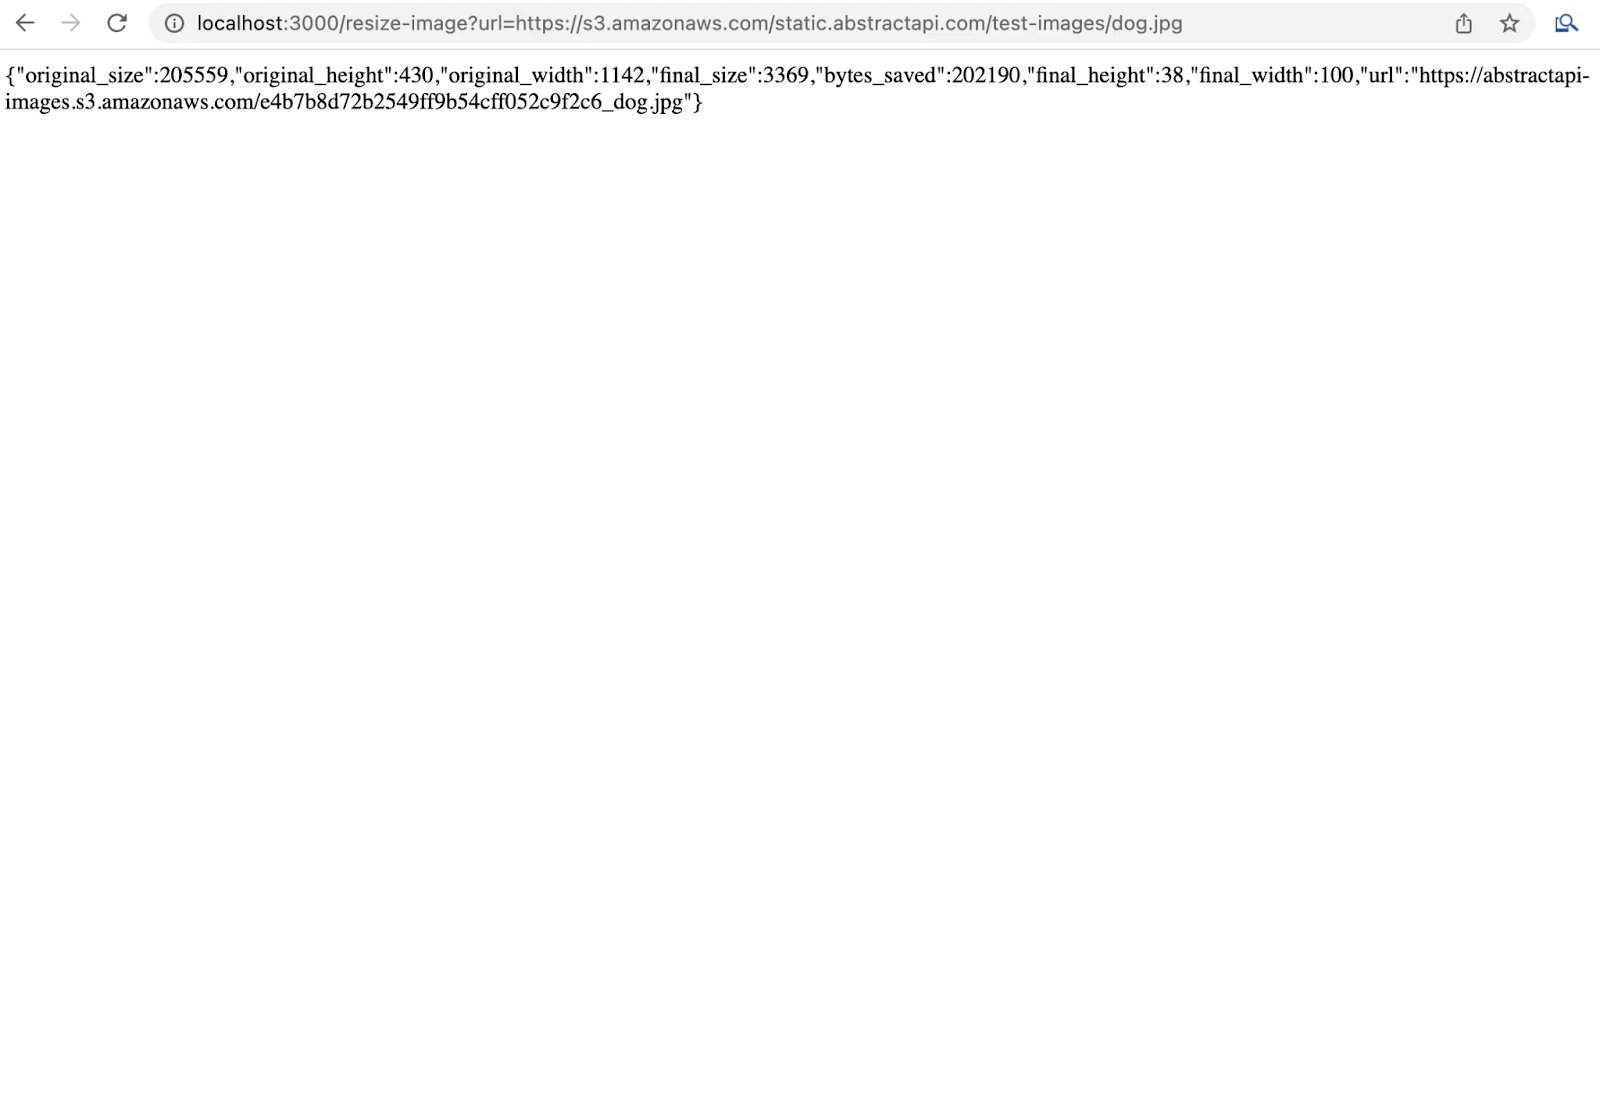
In order to use the response, you’ll need to access the fields you want. For example, to display the resized image on the front end, you could access the url field on the object and push the URL string into a canvas element or Javascript Image Object, using the final_width and final_height fields as the width/height to correctly size the resized image.
Conclusion
You should now be able to send an image URL for resizing to the AbstractAPI Images API.
As you can see, it’s easy to get up and running with the AbstractAPI Images API!
FAQs
How do I resize an image in Node.js?
The AbstractAPI Free Image API is a quick and easy way to do image resizing for any language, including Node and front end Javascript frameworks. Just provide the url to a hosted web image, some parameters for how to process your image, and your free API key. The RESTful API returns a response object with the URL to a new, correctly resized image, hosted in our Amazon S3 bucket.
If you’d rather edit the image yourself, there are a few image processing libraries that work with Node, including Sharp, Jimp, and GM Module. Note that these are local dependencies that will need to be installed into your project.
Why do I need to resize my images?
Large images take a long time to load and use a lot of data. If your web app or website is primarily used on mobile, it’s important to consider how much of your users’ data is taken up by loading images. Serving smaller images is the easiest way to reduce the data demands of your site or app.
Serving smaller images also means a faster load time and better performance for your site or app overall, which contributes hugely to SEO and user satisfaction. Basically, the slower images load, the more likely users are to click away from your site (called “user bounce.”)
What is an image CDN?
An image CDN is a way of serving images from the edge of the network. A CDN—or Content Delivery Network—is a network of servers that are strategically positioned all over the world.
By pushing your images to these servers, the images are in closer proximity to all geographic regions, meaning they travel a shorter distance before reaching users’ devices. This results in faster delivery times for your site.
Many image CDNs also include image optimization strategies like compression, resizing, etc. to make your images smaller before serving them to users. They also do smart device detection so they know exactly which type of image to serve to mobile vs desktop.
