

Getting Started With Email Validation in React JS
Let’s spin up a React app using create-react-app:
This will install React and give us all the scaffolding we need to get started. We’re also going to install a handy package called Formik, which handles all the repetitive boilerplate of form-building for us.
To check that things are working, let’s start the app
and visit http localhost 3000. You should see the Create React App starter page:
That’s all we need to do to get our new React app up and running!
Building an Email Form With Formik
Formik makes it easy to get a simple email form up and running quickly, and to do form validation in React JS. The documentation provides a great Get Started guide, which we highly recommend reading if you’re not already familiar with Formik.
Create the EmailForm Component
Create a new file next to App.js called EmailForm.js. This is the file that will hold all your form logic. Inside it, we’re going to create an EmailForm component that renders a simple, single-input email form.
We’ve set an initial email value of an empty string, and provided a custom onSubmit function. This function gets passed to the <Form> element through the handleSubmit prop. We’ve also given the form a bit of padding to separate it from the top of the screen. We’ll add error-handling later.
Render the Form in App.js
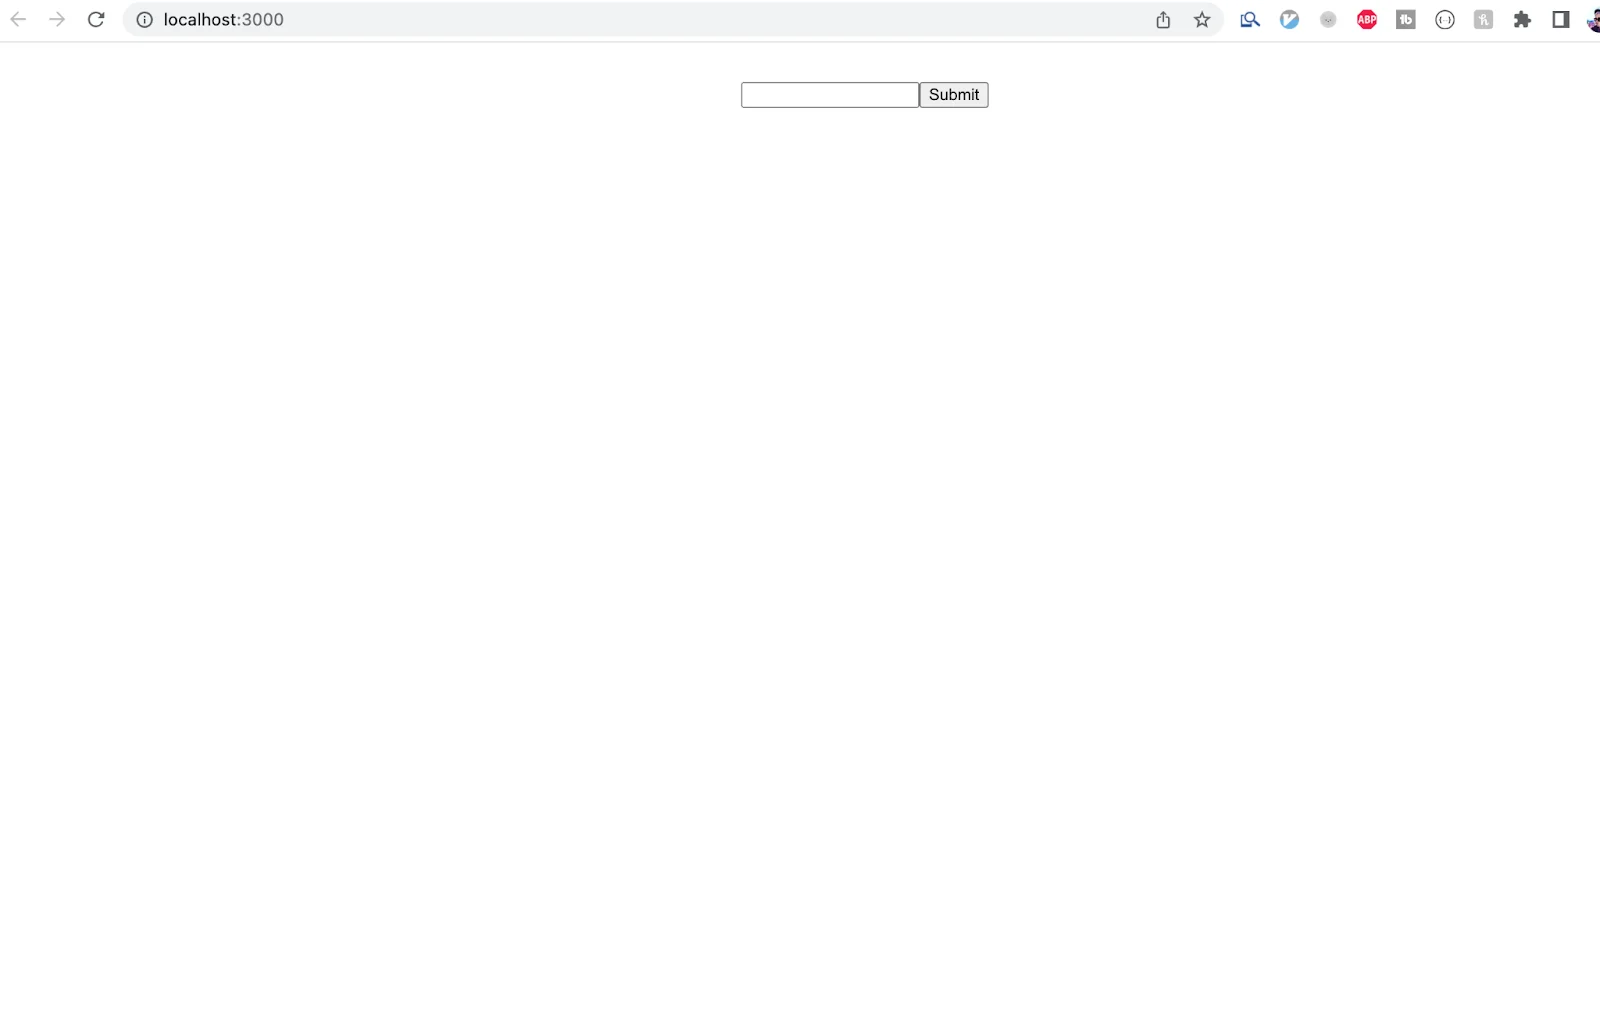
Delete all the boilerplate between the outermost <div> elements in App.js. Import your new email form and render that instead.
Visit http://localhost:3000 again. Your new form should be rendered!
Add Validation Logic
Formik makes it easy to do form validation. The Formik interface provides a handy validate component on the <Formik> element where you can plug in your own validation logic.
For now, we’ll write a function that just logs the values to the console. Later, we’ll make a call to the AbstractAPI endpoint to actually validate the email.
Our handleValidateEmail function will be called automatically by the Formik element. Now let’s write the actual validation logic.
How to Use the AbstractAPI Email Validation API
First off, let’s get comfortable with the API we’ll be using to do email validation in React JS. We’ll get set up with an API key and write a function that calls on the API to validate the provided email. Later, we’ll plug this function in as the validate component in our Formik form.
Get Started With the API
Acquire an API Key
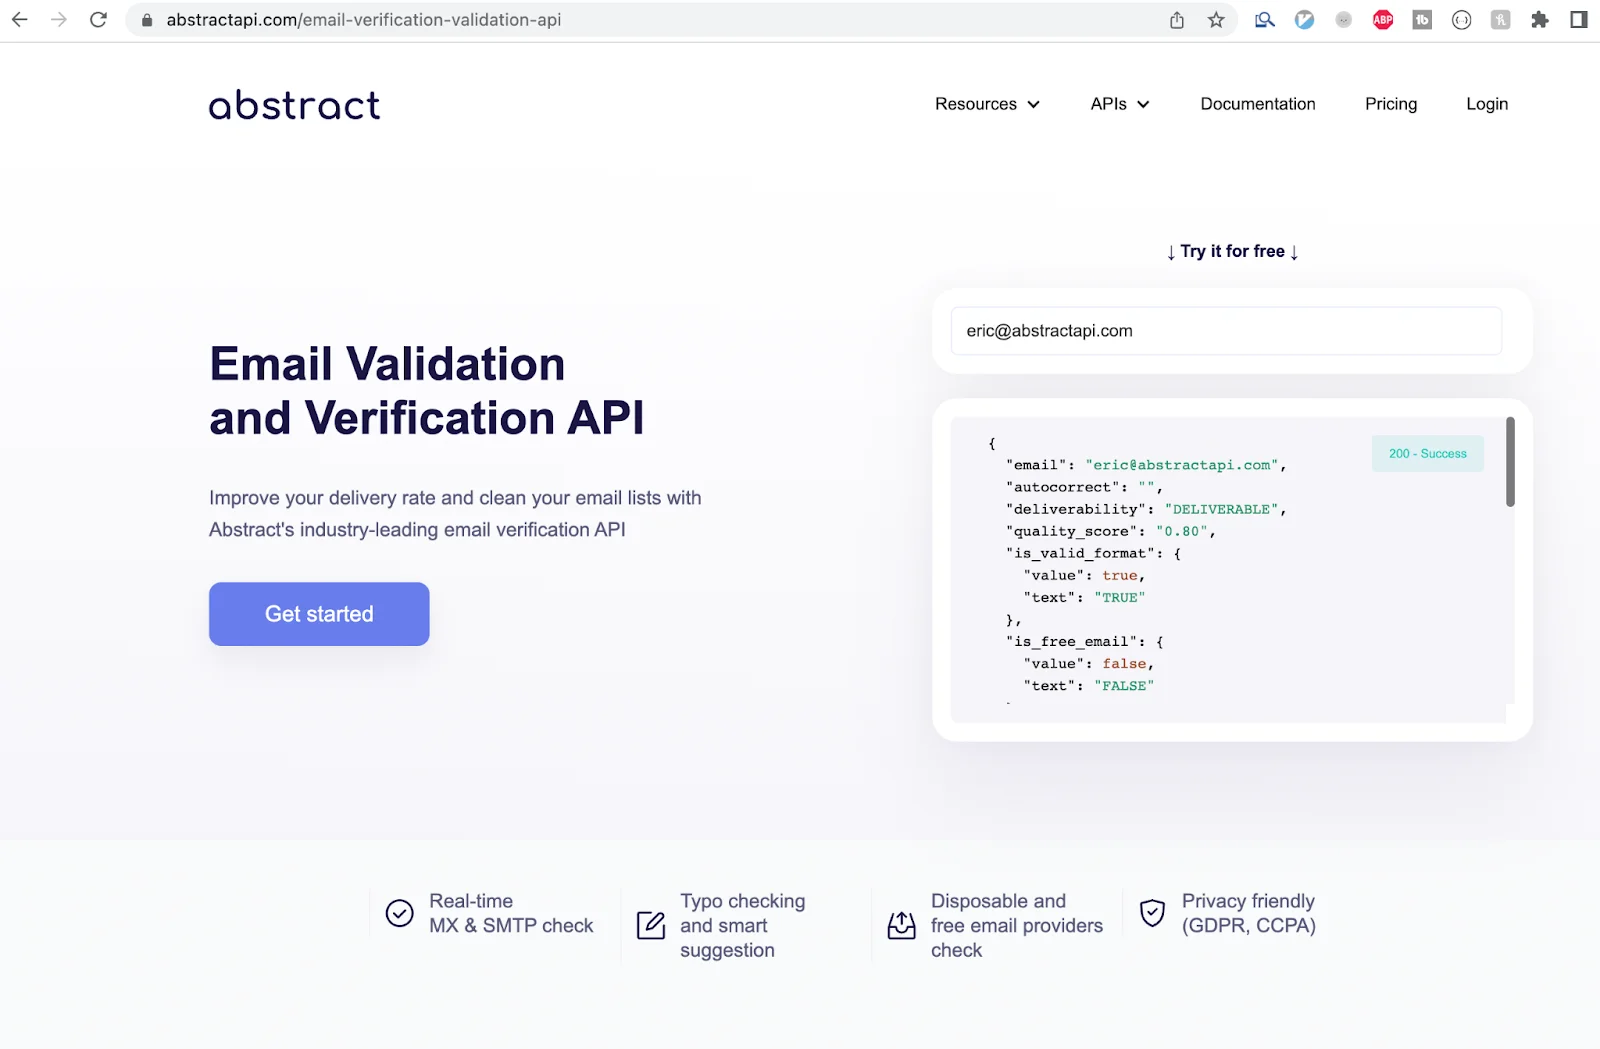
Navigate to the API Get Started page. You’ll see an example of the API’s JSON response object, and a blue “Get Started” button on the right. Click “Get Started.”
If you’ve never used AbstractAPI before, You’ll need to input your email and create a password. If you have used Abstract before, you may need to log in.
Once you’ve logged in, you’ll land on the API’s homepage. You’ll see options for documentation, pricing, and support, and you’ll see your API key. All Abstract APIs have unique keys, so even if you’ve used the API before, this key will be new.
Use Your API Key to Send a Request to the API
We’ll use Axios to send a GET request to the AbstractAPI endpoint, so let’s install that first.
Next, we’ll write a function called sendEmailValidationRequest to send the request to the API and examine the JSON result.
The response data should look something like this:
There’s a lot of information here. The part we’re interested in right now is the is_valid_format field. Let’s return the value boolean from that object so that our validation function can use it.
Use the Response in a Validation Function
Now that we have our response from the API, let’s use it in our handleValidateEmail function. Delete the console.log(email) line, and replace it with a call to our sendEmailValidationRequest method.
Notice that we’ve had to turn our handleValidateEmail method into an async function. That’s because we’re now waiting on an API request to validate the email. Fortunately, this isn’t a problem for Formik, which automatically handles debouncing async validation requests for us!
Let’s add some error handling to the validate component of the <Formik> element too.
Formik will automatically pick up the errors object that we return from the validate method. You can then pass this errors object to the <Form> and use it to display errors to the user.
A Small Problem
The problem you’ll run into here is that AbstractAPI limits the number of requests on a free tier account to one request per second. As you type, the validate function is called on every keystroke, so you’ll encounter a 429 “Too many requests” error from AbstractAPI.
To fix this issue, you can easily upgrade to a paid AbstractAPI account, which gives you up to 500 requests per second and access to lots of other awesome stuff like support and commercial usage. You can also simply move the validation handler to be called at a different time.
Let’s move the validation to the handleSubmit method so we can keep using the free tier. This will only validate the email when we click the “Submit” button.
We also need to create our own errors object, since we’re no longer using the validate field provided by Formik. Add it at the top of your EmailForm component
and remove the errors object that you were passing to the Form component:
Putting it All Together
Let’s take a look at the complete code for our EmailForm component, including error handling, and only calling the handleValidate function when we submit the email.
Type an invalid email address into the input and click “Submit.” When the API response returns from AbstractAPI, you should see a red error message pop up telling you that the email is invalid.
Conclusion
There’s more we could do here to improve this. For example, we need to disable the submit button and show a loading indicator once the user hits “Submit” and we’re waiting for the response. We also need to better handle network errors that might come back from AbsctractAPI.
For now, though, this is a good start to a robust email input form!
Formik and AbstractAPI make it easy to handle email validation in your app or website. Check out AbstractAPI’s other APIs if you need help with phone number validation, IBAN validation, image processing, IP Geolocation, and more.
FAQs
What is email validation in React?
Email validation is the process of determining whether an email that has been input by a user is a valid email address(i.e. whether it is an acceptable format and whether it exists.) You can do email validation by using Regex to parse the string and make sure it is in the proper format, or use a number of libraries or APIs to help you do this.
How Do I Test Email Validation?
The easiest way to test email validation is to run your app and pass it an email to validate. You should pass an email that you expect to pass validation and one that you expect to fail. You should have an expected outcome for each email you test.
Another way to test validation is to write a test module that isolates each validation method and tests it against several valid and invalid emails. Automate this test module so that the validation tests run every time you add a new piece of code.
What does Email Validated Mean?
“Email validated” is a message that you might display to a user to let them know that the email they entered is correct and valid. A valid email contains the ‘@’ symbol and a top-level domain like .com, .org, or .edu. If either of these two things is missing, or if the email contains unexpected or invalid characters, the email is not valid.