Oops! Something went wrong while submitting the form.
No credit card required
When we talk about resizing images in React Native, we might be talking about a couple of different things.
For starters, there is the process of scaling a displayed image to take up the appropriate amount of space in the UI. This means manipulating the style attribute of the Image component, similar to what you might do with CSS in regular HTML.
Next, there is the process of changing the actual image file itself—either by resizing it physically (i.e. shrinking or expanding the image itself) or by compressing the file. This involves using a third-party library or an API that handles image processing.
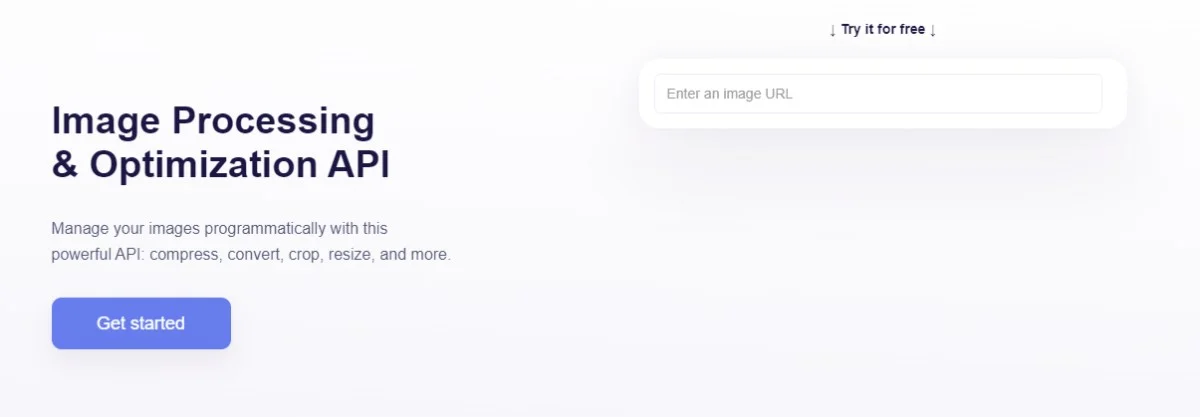
In this article, we'll take a look at both aspects of what people mean when they talk about "image resizing in React Native." We'll briefly talk about how to scale an image for display in React Native, and then we'll look at changing the actual image file size using the AbstractAPI Image Resizing API.
Scaling an Image in React Native
The process of scaling an image for display in React Native is similar to the way you would do it with regular CSS. React Native provides the Image Native Component for rendering and displaying "network images, static resources, temporary local images, and images from local disk."
When displaying images from the network, the dimensions of the image must be manually specified. This can be done using the style attribute.
Specifying Image Width and Height
The easiest way to set the image's width and height is to specify the width and height attributes using density-independent pixels. Density-independent pixels (DIPs) are React Native's unitless system for measuring screen space.
import React from 'react';
import { View, Image, StyleSheet } from 'react-native';
This will display the image at 250 x 250 DIPs, no matter what size the original image was. Obviously, this will raise issues if the original image was larger, smaller, or had a different aspect ratio than what is specified in the display style.
In order to understand how a differently-sized image will be displayed, we need to understand the resizeImage option.
Resizing the Image for Display
The resizeImage attribute tells React Native how an image should be stretched, shrunk, or otherwise modified to fit into the constraints of the Image component. There are five options available: 'cover', 'contain', 'stretch', 'center', and 'repeat.'
Cover
'Cover' tells React Native to scale the image uniformly so that it completely covers the available space while maintaining the aspect ratio. This means that some of the image may be cut off if either the width or height of the original image is larger than the width or height of the display container.
For example, say the original image is 250 x 500 pixels, and you set the width and height of the Image component that renders the image to 250 x 250.
In this case, the full height of the image will be displayed (250 DIPs) but half of the width of the image will be cut off. React Native will cut off an equal amount on both sides, so that the image is centered in the container, with 125 DIPs cut off on the left and right.
Contain
'Contain' tells React Native to uniformly shrink the image so that the entire image fits into the available space, maintaining the aspect ratio. This means that there will be white space around the image if either the width or height of the original image is smaller than the width or height of the display container.
Let's take the same example: an original image of 250 x 500 and a display container of 250 x 250.
In this case, the width of the image will be shrunk to 250 pixels so that it fits the width of the container. However, the height will also be scaled down (maintaining the aspect ratio.) This means that the new height of the image will be quite a bit less than 250, so there will be white space at the top and bottom of the image.
Stretch
'Stretch' tells React Native to disregard the image's aspect ratio and simply fit the image exactly into the available space. If either the width or height of the original image is smaller or larger than the container, it will be warped to fit into the space.
Let's again use our previous example of an original image of 250 x 500 and a container of 250 x 250.
In this case, React Native will shrink the width to fit into the 250 DIPs of the available width. However, instead of also scaling down the height, it will leave the height as it is so that it completely fills the 250 available DIPs with no white space. This will result in a warped or stretched image.
Center
'Center' tells React Native to display the image in the center of the frame, with the width and height both scaled down to fit. There may be white space on both sides of the image in order to maintain the aspect ratio.
If we look at our previous example, the 'center' option will render the image exactly the same way as 'contain' would render it.
Repeat
'Repeat' tells React Native to tile a scaled-down version of the image across the available space. The image will keep its original height and width unless one of these dimensions is larger than the available space, in which case the image will be shrunk and repeated as many times as necessary to fill the space.
Take again our previous example of an image with a width and height of 250 x 500, and a container of 250 x 250.
In this case, React Native will scale down the width to 250 so that it fits in the available space. It will uniformly scale down the height to maintain the aspect ratio, so there will be space left at the top of the image. However, instead of leaving the remaining space as white space, it will be filled with a repeated copy of the image.
Resizing an Image in React Native
When it comes to resizing an image file in React Native, there are a few options. Several libraries exist for this purpose, including React Native Image Resizer (react-native-image-resizer) and react-native-image-crop-picker. Both of these packages allow you to select and resize an image from the device's local file system.
Another way to resize an image file for upload or other purposes is to send the image to an API that specifically handles image resizing. In today's low-code and no-code development world, more devs are turning to this option.
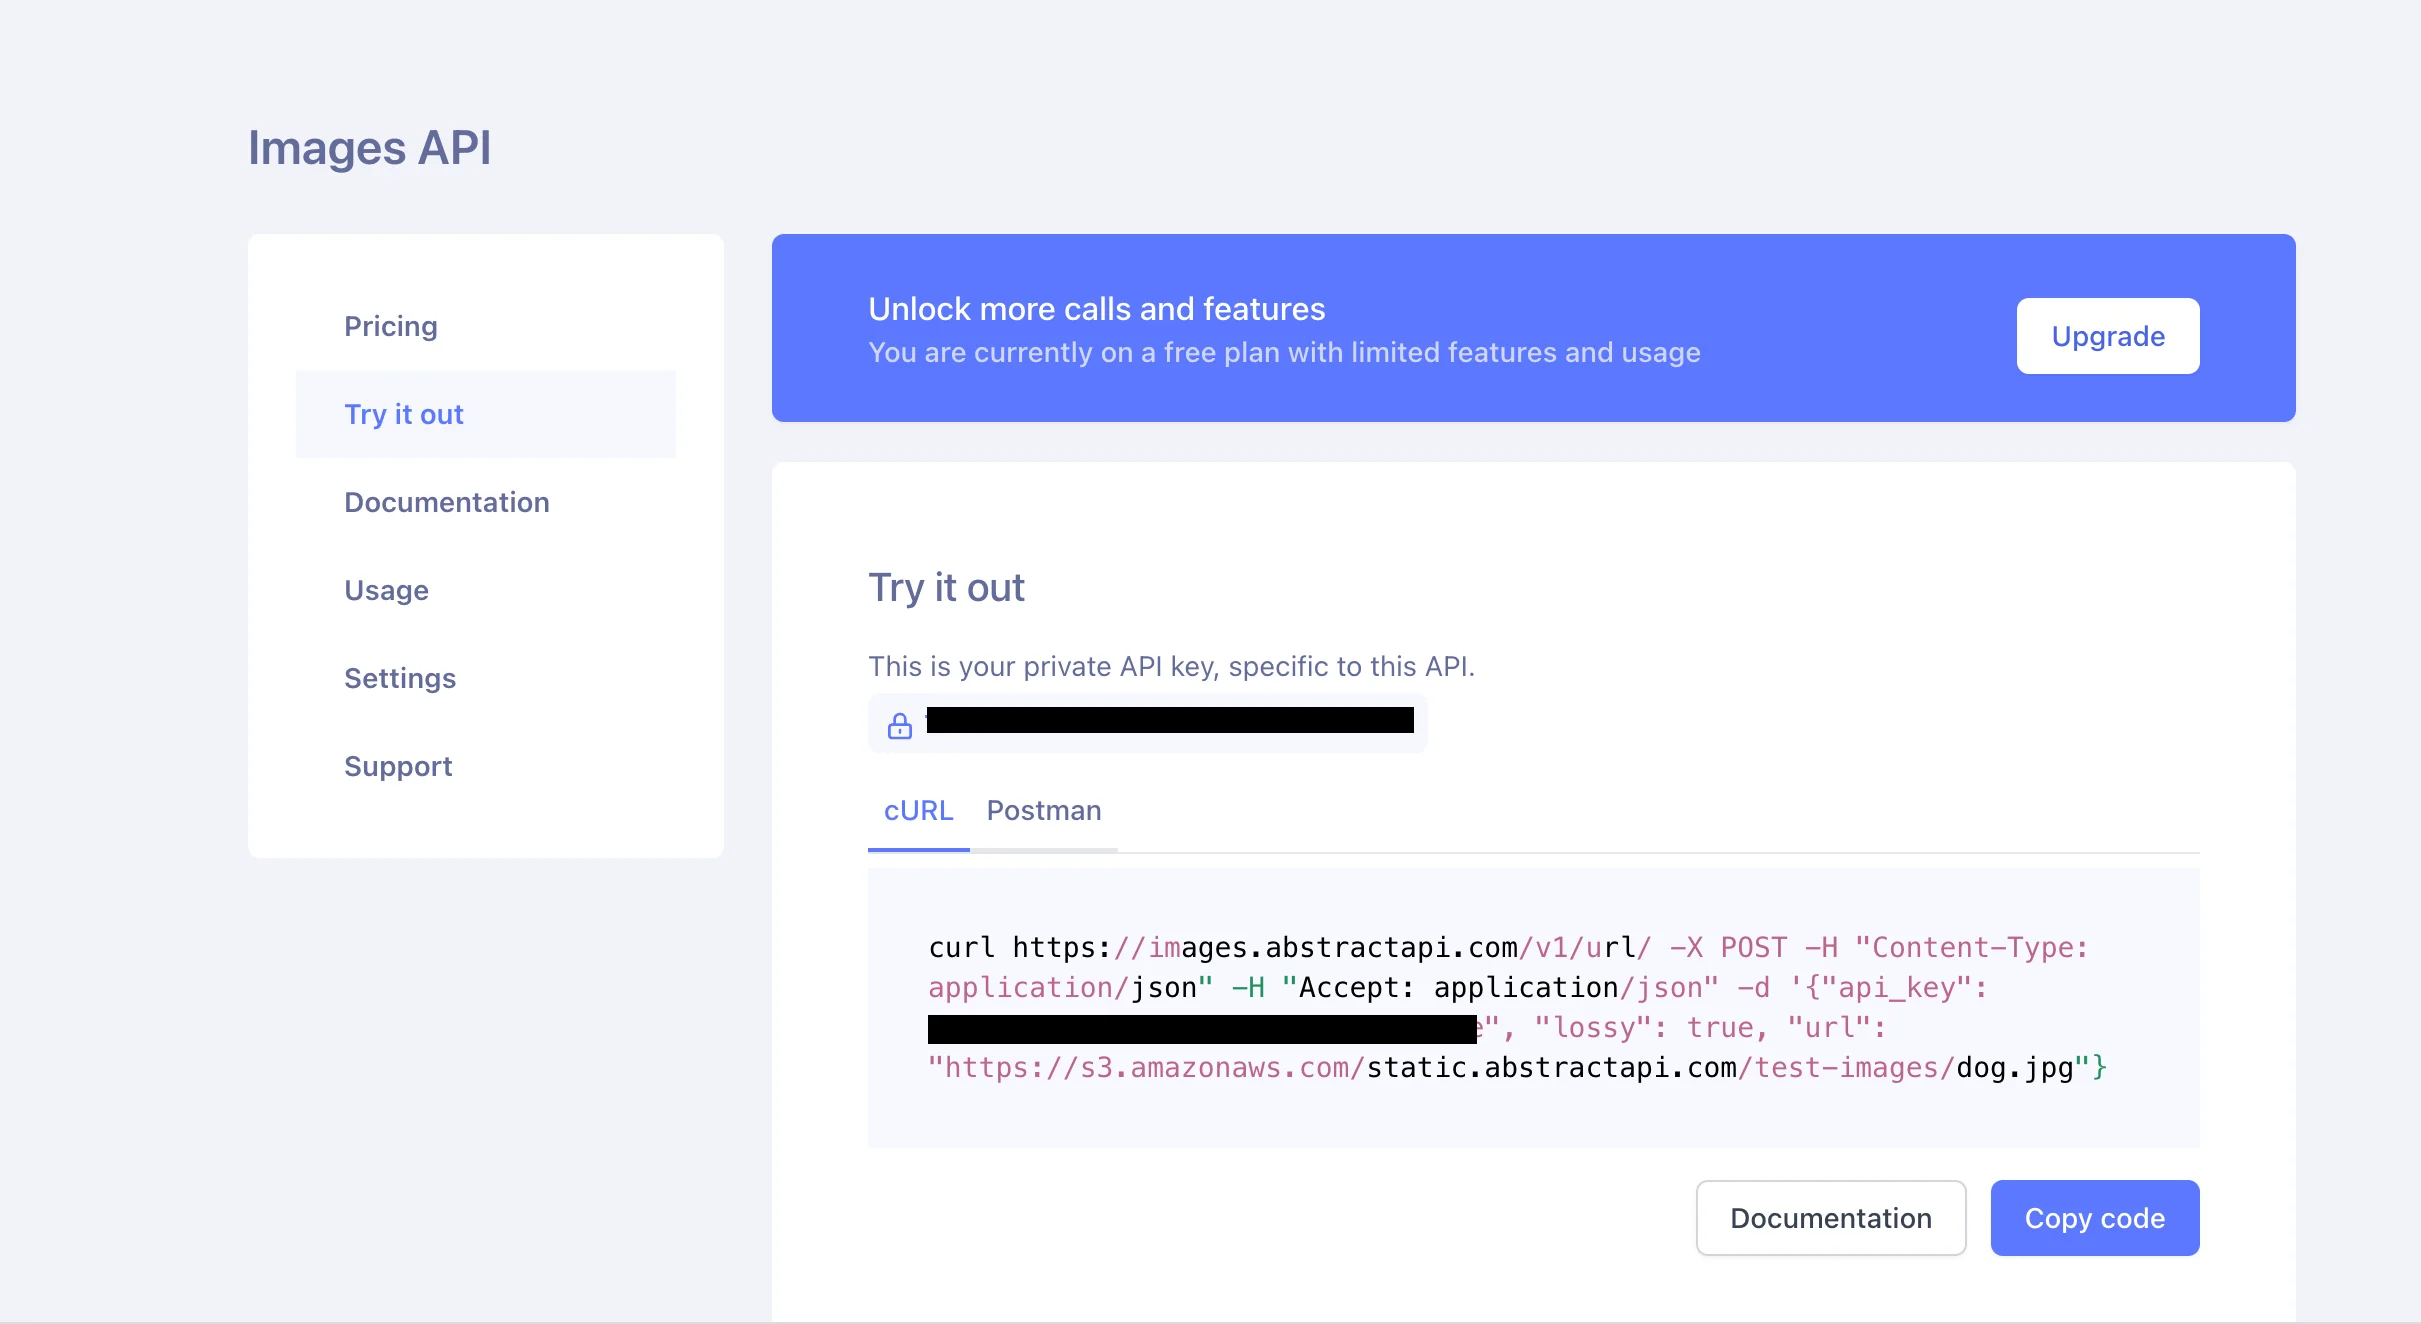
Navigate to the Images API home page and click "Get Started." If you've never used AbstractAPI before, you'll need to input an email and password to create a free account. If you have an account, you'll need to log in.
Next, you'll land on the Images API tester page. If you're taken to your AbstractAPI Dashboard instead, click on the Images API link to go to the correct page.
Make an API Request
In order to get an image resized by the API, we need to send an HTTP request with the image data. AbstractAPI processes the image and returns a url for the resized image path, hosted at an Amazon S3 bucket.
AbstractAPI provides two options for sending images: multipart form data upload for an image file from the local device, or a simple POST request with the url of a hosted image as a parameter. In this example, we'll use the url option.
Use Fetch to send the POST request with the url of the image you want to resize. We'll use this example image from AbstractAPI:
This tells the API to resize the image to a width of 100 pixels and a height of 75 pixels. The exact strategy means the image will be resized to the exact dimensions, disregarding the aspect ratio. This will result in a similar output to stretch.
Other options for the strategy attribute are landscape, portrait, auto, and fit.
Landscape / Portrait
Either scale down the width to the specified size and then adjust the height to whatever it needs to be to maintain the aspect ratio (landscape) or scale down the height to the specified size and then adjust the width so that the aspect ratio is maintained (portrait.)
Auto
Scale down the image, using either height or width to maintain the aspect ratio, depending on which one will result in a better output.
Fit
Crop the image to fit into the available space.
Receive the Resized Image
The API will return a JSON object with information about the original image, the new image, and a URL to the new image. The data looks something like this:
The resizing process will result in a very slight reduction in file size (about 10-20%) but no loss of image quality.
Compress an Image File
The API also allows for a lossy option to be specified, which tells the API to use lossy compression to shrink the file size without changing the physical size of the image. The lossy option is false by default. If it is set to true, the file size will be reduced massively with a small reduction in image quality.
Conclusion
There are many reasons to resize an image in React Native. You may simply need to scale an image to fit into the available space of its display container, or you may need to change the size of the actual image file in so that upload and download speeds are improved.
In this tutorial, we discussed shrinking an image for display while maintaining the aspect ratio using the Image Native Component. We also talked about the resizeImage option and how it affects image display. We then looked at shrinking an image using AbstractAPI to change the image file's size.
FAQs
How do you change the size of an image in React Native?
The easiest way to change image size in React Native is to manually specify the width and height dimensions on the Image display component. You can specify these dimensions in density-independent pixels, a percentage of the parent container, rems, or by using flex.
To compress an image's file size without changing the size of the image itself, use a third-party API service like AbstractAPI's Image Processing and Optimization API. This API allows you to upload the image to a protected endpoint, which uses lossy compression to shrink the file with only a tiny reduction in image quality. The API then returns a URL to the newly compressed image, hosted at an Amazon S3 bucket.
Frequently Asked Questions
What is the difference between resizing an image for display and resizing the actual image file in React Native?
Display resizing changes how an image appears on screen by setting width and height style properties, without altering the underlying file. File resizing actually changes the image's dimensions and compression, reducing its size on disk: useful for upload workflows or performance optimization.
How do you set an image's display size in React Native?
You apply width and height to the Image component's style prop using density-independent pixels, percentages of the parent container, or flex values. React Native does not use CSS units like px or em; values are unitless and scale automatically across screen densities.
What does the resizeMode prop do, and which option should I use?
The resizeMode prop controls how an image fills its container. Use "cover" to fill the container while clipping edges, "contain" to fit the whole image with possible whitespace, "stretch" to fill the container exactly (which may distort the image), "center" to center the image at its natural size, or "repeat" to tile the image. "cover" and "contain" are the most common choices for maintaining aspect ratio.
How do I resize the actual image file (not just the display) in React Native?
React Native does not include native file-level image manipulation, so you need a third-party library. The react-native-image-resizer library lets you specify new dimensions and compression quality, then returns a resized image URI. The react-native-image-crop-picker library also supports cropping and resizing images selected from the device's file system.
Can I use an API to resize images in a React Native app?
Yes, an image processing API like Abstract's Image Processing and Optimization API handles resizing server-side and returns a URL to the resized image. This offloads processing from the device and avoids the complexity of managing native library dependencies across iOS and Android.
What is a common gotcha when using resizeMode "stretch" in React Native?
The "stretch" mode scales width and height independently to fill the container, which breaks the image's aspect ratio and can make it look warped or distorted. For most use cases, "cover" or "contain" are safer choices because they preserve the original proportions.
The easiest way to set the image's width and height is to specify the width and height attributes using density-independent pixels. Density-independent pixels (DIPs) are React Native's unitless system for measuring screen space.
import React from 'react';
import { View, Image, StyleSheet } from 'react-native';
This will display the image at 250 x 250 DIPs, no matter what size the original image was. Obviously, this will raise issues if the original image was larger, smaller, or had a different aspect ratio than what is specified in the display style.
In order to understand how a differently-sized image will be displayed, we need to understand the resizeImage option.
Resizing the Image for Display
The resizeImage attribute tells React Native how an image should be stretched, shrunk, or otherwise modified to fit into the constraints of the Image component. There are five options available: 'cover', 'contain', 'stretch', 'center', and 'repeat.'
Cover
'Cover' tells React Native to scale the image uniformly so that it completely covers the available space while maintaining the aspect ratio. This means that some of the image may be cut off if either the width or height of the original image is larger than the width or height of the display container.
For example, say the original image is 250 x 500 pixels, and you set the width and height of the Image component that renders the image to 250 x 250.
In this case, the full height of the image will be displayed (250 DIPs) but half of the width of the image will be cut off. React Native will cut off an equal amount on both sides, so that the image is centered in the container, with 125 DIPs cut off on the left and right.
Contain
'Contain' tells React Native to uniformly shrink the image so that the entire image fits into the available space, maintaining the aspect ratio. This means that there will be white space around the image if either the width or height of the original image is smaller than the width or height of the display container.
Let's take the same example: an original image of 250 x 500 and a display container of 250 x 250.
In this case, the width of the image will be shrunk to 250 pixels so that it fits the width of the container. However, the height will also be scaled down (maintaining the aspect ratio.) This means that the new height of the image will be quite a bit less than 250, so there will be white space at the top and bottom of the image.
Stretch
'Stretch' tells React Native to disregard the image's aspect ratio and simply fit the image exactly into the available space. If either the width or height of the original image is smaller or larger than the container, it will be warped to fit into the space.
Let's again use our previous example of an original image of 250 x 500 and a container of 250 x 250.
In this case, React Native will shrink the width to fit into the 250 DIPs of the available width. However, instead of also scaling down the height, it will leave the height as it is so that it completely fills the 250 available DIPs with no white space. This will result in a warped or stretched image.
Center
'Center' tells React Native to display the image in the center of the frame, with the width and height both scaled down to fit. There may be white space on both sides of the image in order to maintain the aspect ratio.
If we look at our previous example, the 'center' option will render the image exactly the same way as 'contain' would render it.
Repeat
'Repeat' tells React Native to tile a scaled-down version of the image across the available space. The image will keep its original height and width unless one of these dimensions is larger than the available space, in which case the image will be shrunk and repeated as many times as necessary to fill the space.
Take again our previous example of an image with a width and height of 250 x 500, and a container of 250 x 250.
In this case, React Native will scale down the width to 250 so that it fits in the available space. It will uniformly scale down the height to maintain the aspect ratio, so there will be space left at the top of the image. However, instead of leaving the remaining space as white space, it will be filled with a repeated copy of the image.
Resizing an Image in React Native
When it comes to resizing an image file in React Native, there are a few options. Several libraries exist for this purpose, including React Native Image Resizer (react-native-image-resizer) and react-native-image-crop-picker. Both of these packages allow you to select and resize an image from the device's local file system.
Another way to resize an image file for upload or other purposes is to send the image to an API that specifically handles image resizing. In today's low-code and no-code development world, more devs are turning to this option.
Navigate to the Images API home page and click "Get Started." If you've never used AbstractAPI before, you'll need to input an email and password to create a free account. If you have an account, you'll need to log in.
Next, you'll land on the Images API tester page. If you're taken to your AbstractAPI Dashboard instead, click on the Images API link to go to the correct page.
Make an API Request
In order to get an image resized by the API, we need to send an HTTP request with the image data. AbstractAPI processes the image and returns a url for the resized image path, hosted at an Amazon S3 bucket.
AbstractAPI provides two options for sending images: multipart form data upload for an image file from the local device, or a simple POST request with the url of a hosted image as a parameter. In this example, we'll use the url option.
Use Fetch to send the POST request with the url of the image you want to resize. We'll use this example image from AbstractAPI:
This tells the API to resize the image to a width of 100 pixels and a height of 75 pixels. The exact strategy means the image will be resized to the exact dimensions, disregarding the aspect ratio. This will result in a similar output to stretch.
Other options for the strategy attribute are landscape, portrait, auto, and fit.
Landscape / Portrait
Either scale down the width to the specified size and then adjust the height to whatever it needs to be to maintain the aspect ratio (landscape) or scale down the height to the specified size and then adjust the width so that the aspect ratio is maintained (portrait.)
Auto
Scale down the image, using either height or width to maintain the aspect ratio, depending on which one will result in a better output.
Fit
Crop the image to fit into the available space.
Receive the Resized Image
The API will return a JSON object with information about the original image, the new image, and a URL to the new image. The data looks something like this:
The resizing process will result in a very slight reduction in file size (about 10-20%) but no loss of image quality.
Compress an Image File
The API also allows for a lossy option to be specified, which tells the API to use lossy compression to shrink the file size without changing the physical size of the image. The lossy option is false by default. If it is set to true, the file size will be reduced massively with a small reduction in image quality.
Conclusion
There are many reasons to resize an image in React Native. You may simply need to scale an image to fit into the available space of its display container, or you may need to change the size of the actual image file in so that upload and download speeds are improved.
In this tutorial, we discussed shrinking an image for display while maintaining the aspect ratio using the Image Native Component. We also talked about the resizeImage option and how it affects image display. We then looked at shrinking an image using AbstractAPI to change the image file's size.
FAQs
How do you change the size of an image in React Native?
The easiest way to change image size in React Native is to manually specify the width and height dimensions on the Image display component. You can specify these dimensions in density-independent pixels, a percentage of the parent container, rems, or by using flex.
To compress an image's file size without changing the size of the image itself, use a third-party API service like AbstractAPI's Image Processing and Optimization API. This API allows you to upload the image to a protected endpoint, which uses lossy compression to shrink the file with only a tiny reduction in image quality. The API then returns a URL to the newly compressed image, hosted at an Amazon S3 bucket.
Frequently Asked Questions
What is the difference between resizing an image for display and resizing the actual image file in React Native?
Display resizing changes how an image appears on screen by setting width and height style properties, without altering the underlying file. File resizing actually changes the image's dimensions and compression, reducing its size on disk — useful for upload workflows or performance optimization.
How do you set an image's display size in React Native?
You apply width and height to the Image component's style prop using density-independent pixels, percentages of the parent container, or flex values. React Native does not use CSS units like px or em — values are unitless and scale automatically across screen densities.
What does the resizeMode prop do, and which option should I use?
The resizeMode prop controls how an image fills its container. Use "cover" to fill the container while clipping edges, "contain" to fit the whole image with possible whitespace, "stretch" to fill the container exactly (which may distort the image), "center" to center the image at its natural size, or "repeat" to tile the image. "cover" and "contain" are the most common choices for maintaining aspect ratio.
How do I resize the actual image file (not just the display) in React Native?
React Native does not include native file-level image manipulation, so you need a third-party library. The react-native-image-resizer library lets you specify new dimensions and compression quality, then returns a resized image URI. The react-native-image-crop-picker library also supports cropping and resizing images selected from the device's file system.
Can I use an API to resize images in a React Native app?
Yes — an image processing API like AbstractAPI's Image Processing and Optimization API handles resizing server-side and returns a URL to the resized image. This offloads processing from the device and avoids the complexity of managing native library dependencies across iOS and Android.
What is a common gotcha when using resizeMode "stretch" in React Native?
The "stretch" mode scales width and height independently to fill the container, which breaks the image's aspect ratio and can make it look warped or distorted. For most use cases, "cover" or "contain" are safer choices because they preserve the original proportions.