

Setting Up Google Sheets for Email Validation
Before we dive into email verification, let's get set up in Google Sheets.
Accessing Google Sheets
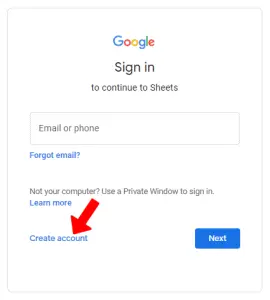
If you have a Google account, you already have access to Google Sheets. If you don't have a Google account, you can sign up for one when you first access Sheets. Simply navigate to sheets.google.com. You'll be prompted to sign in, or create an account if you don't have one.
Creating a new sheet for email validation
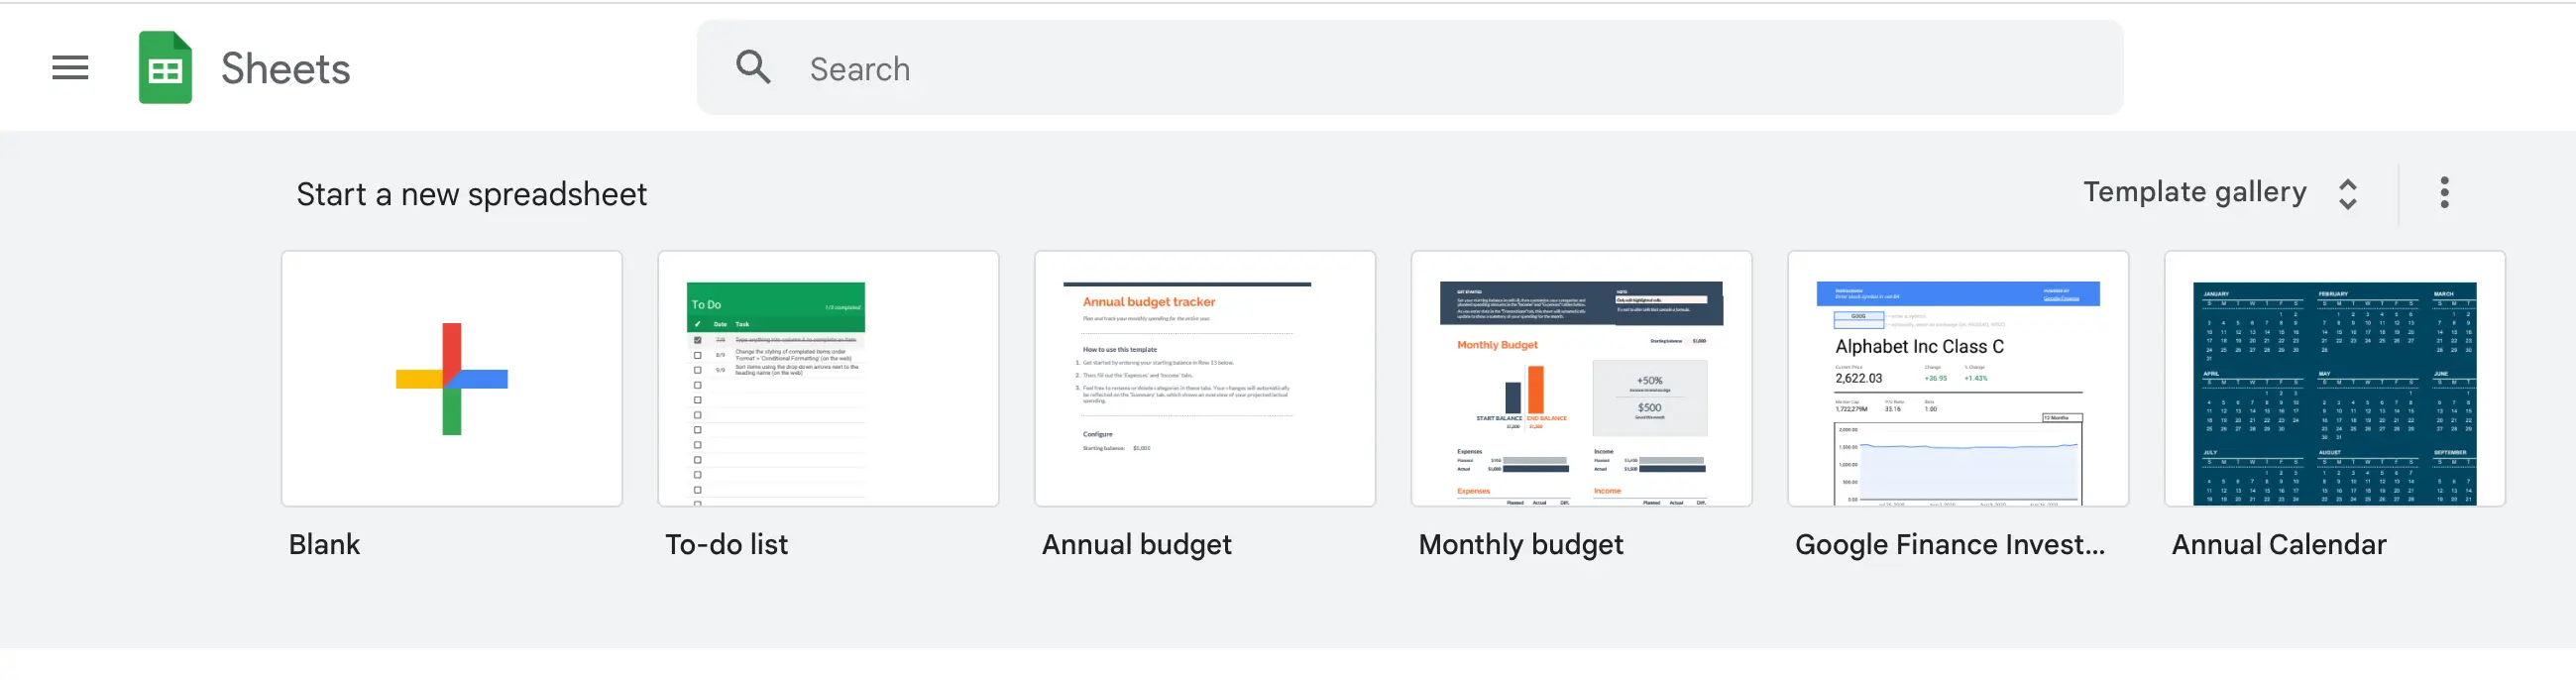
Open the Sheets home screen at sheets.google.com and click the "Blank +" option in the top left corner under "Start a new spreadsheet."
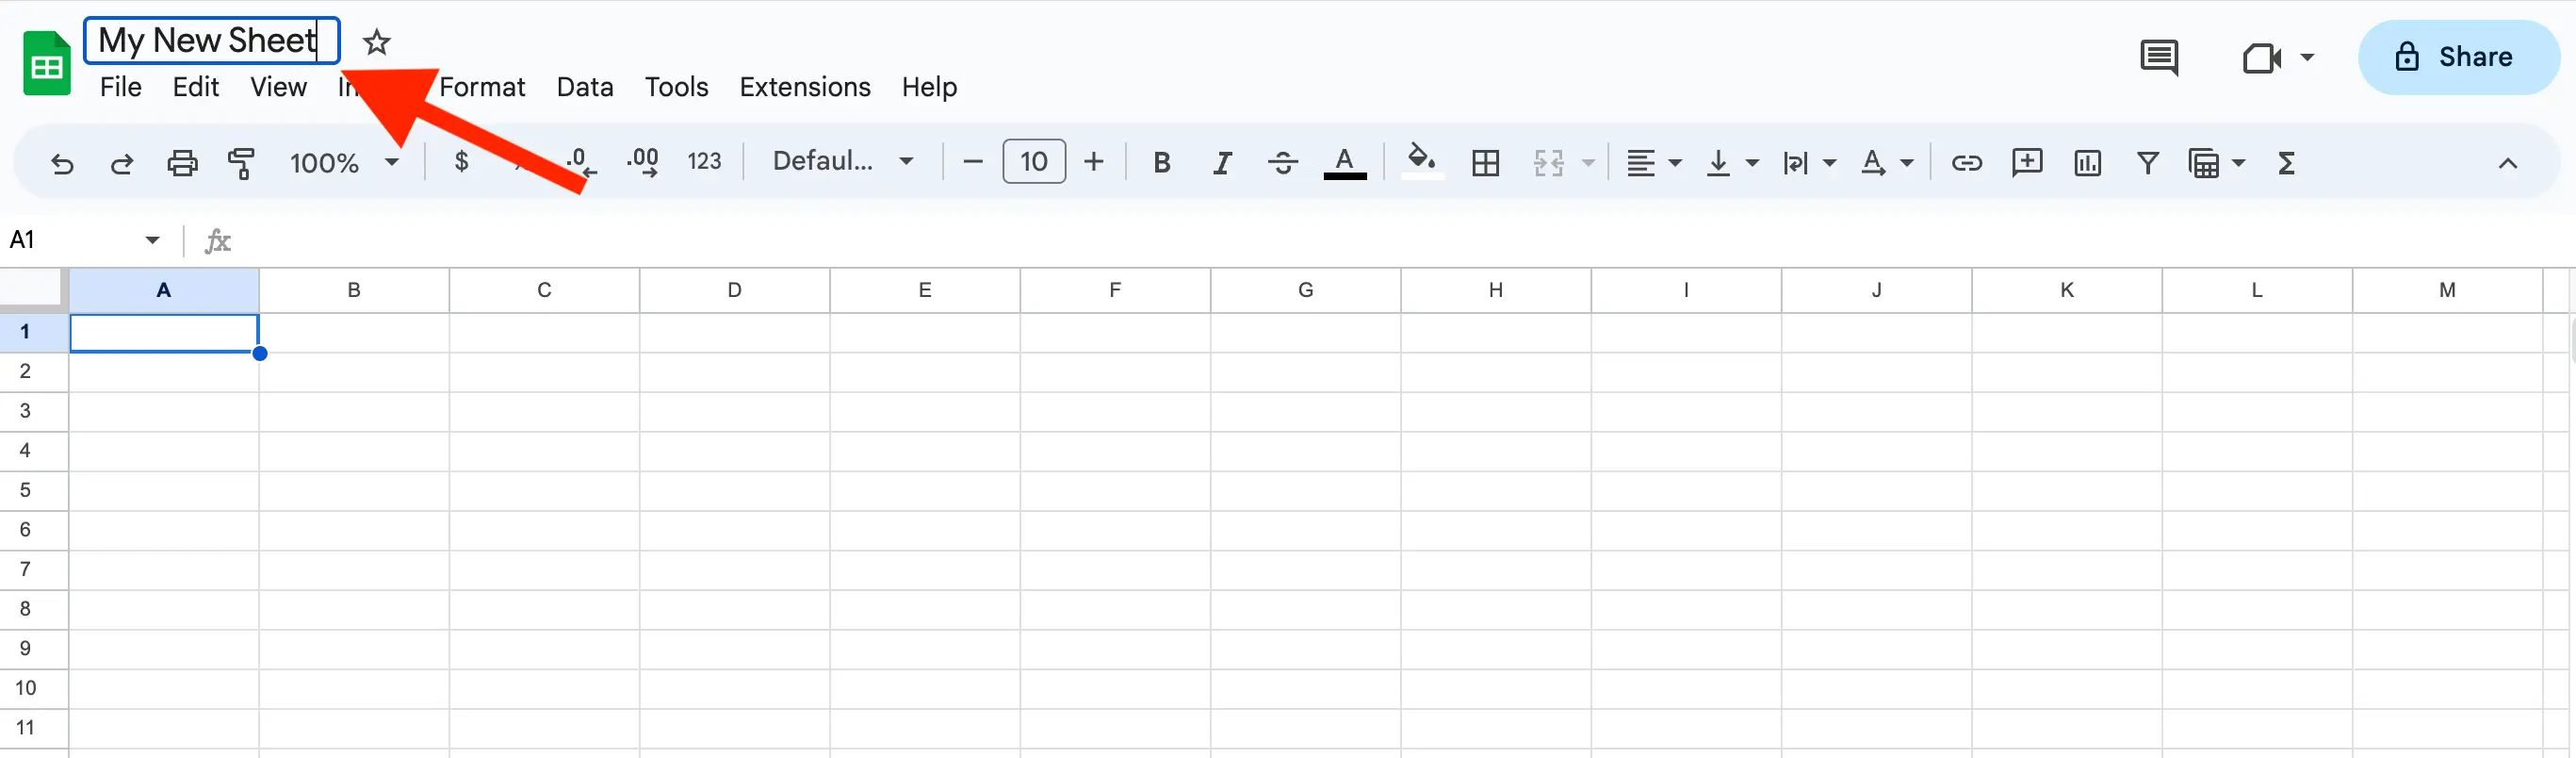
Your new sheet will open directly in the browser. Give your new sheet a name by typing the name into the text input box in the top left corner.
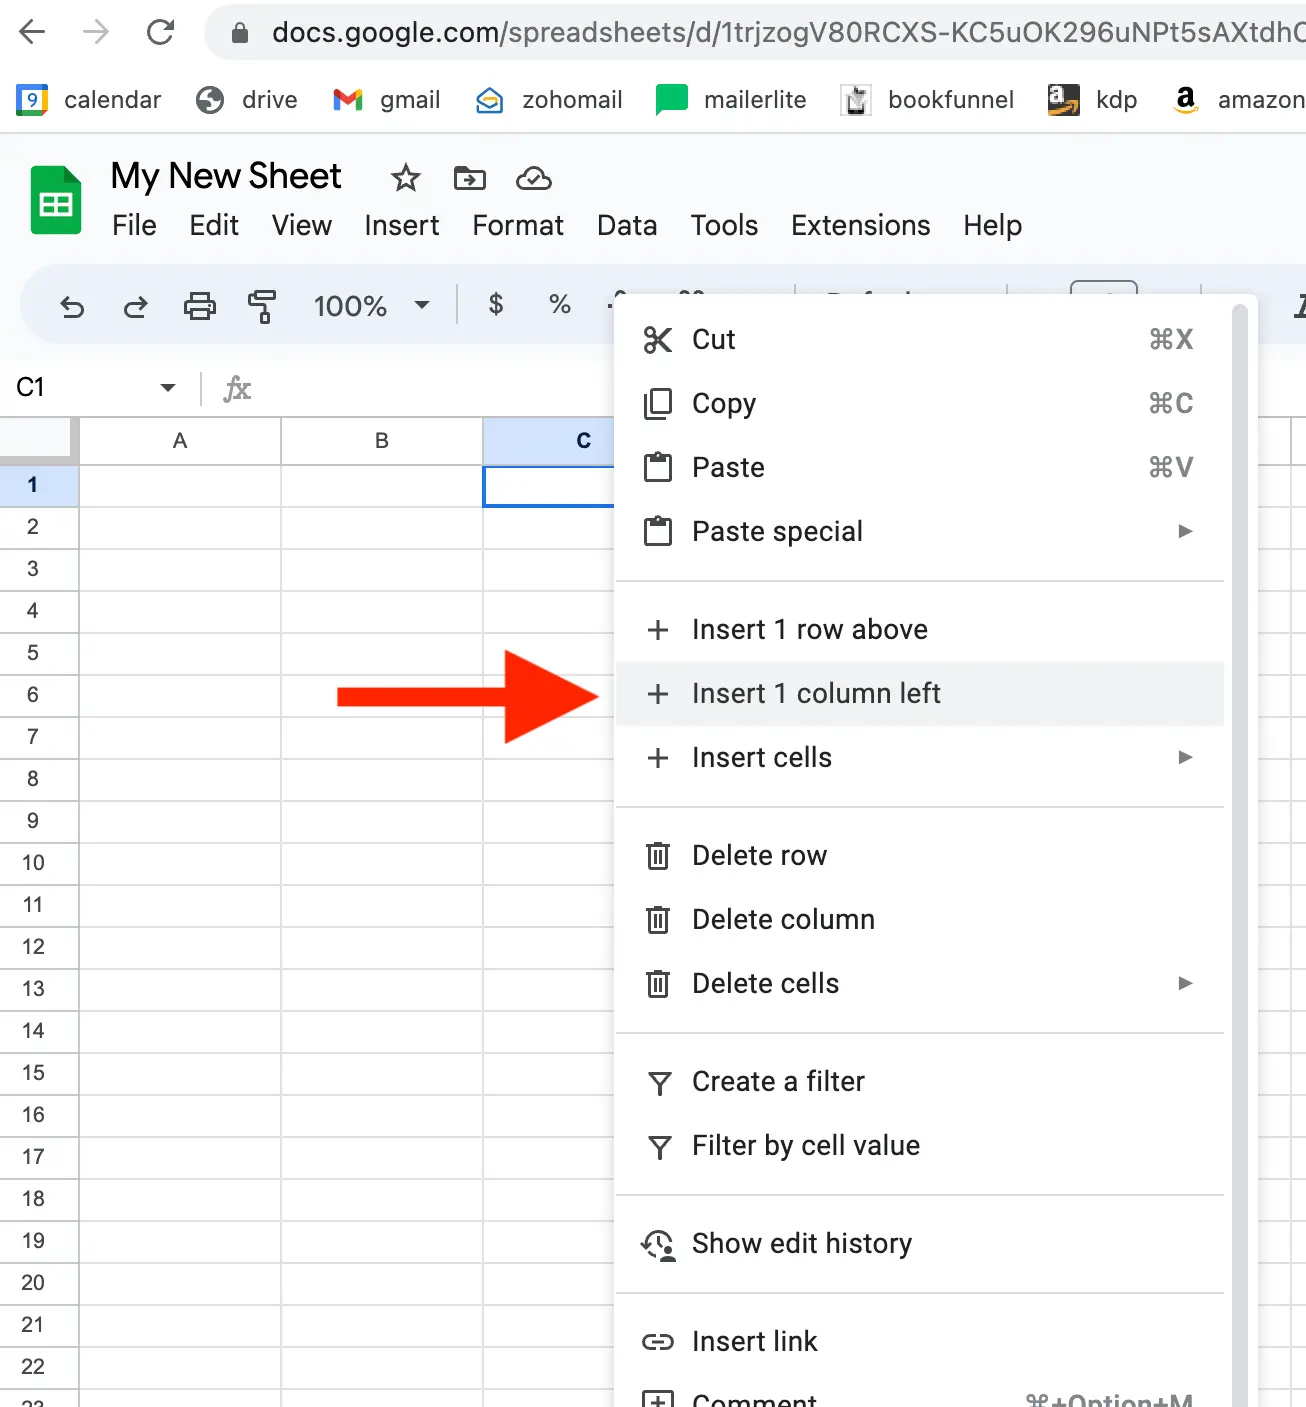
By default, the new sheet will have an unlimited number of rows and columns from A-Z. If you need more columns, you can add them by right-clicking on a column and selecting "Insert 1 column left" from the dropdown menu. You can add more rows by selecting "Add row above."
Importing email data into Google Sheets
The easiest way to import your email list into Google Sheets is as a CSV file. Most email marketing providers offer a way to download your email list as a CSV. Check the documentation of your service to find out how to do that.
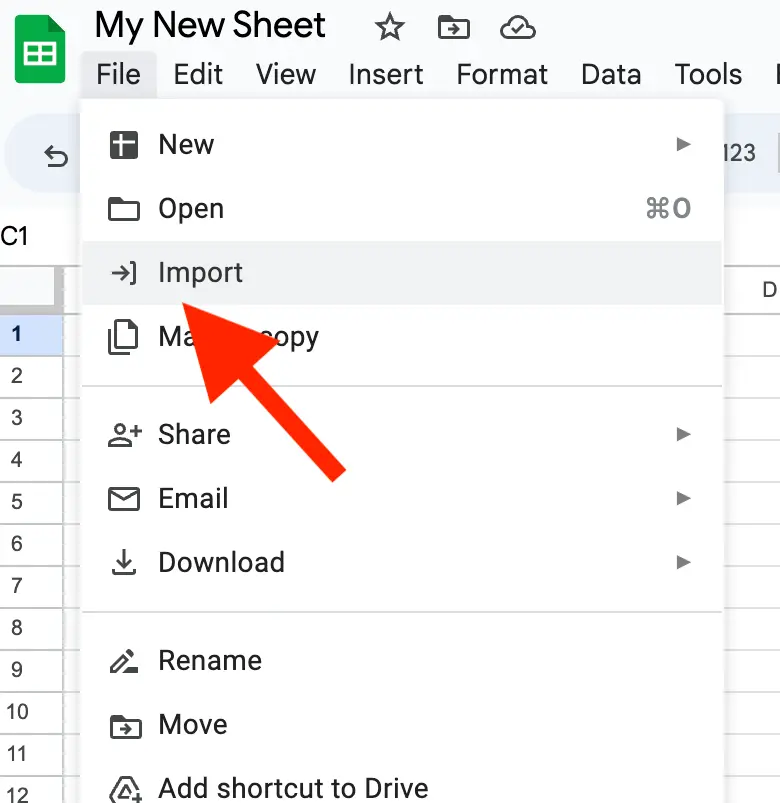
Once you have your CSV file, open up your spreadsheet and click "File > Import." This will open a dialogue box where you can select the file to import from your computer. Choose the CSV file and click "Upload."
The Google sheet will split the imported data at rows and commas.
Using Formulas to Validate Emails
Now that we've got our Google Sheet set up and have imported our email list into our sheet, it's time to validate. The way you validate email addresses in Google is through functions. A function is a pre-defined formula that runs against all the cells in your sheet and performs some calculation or manipulation.
The ISEMAIL Function
The most basic form of email verification in a Google Sheet is the ISEMAIL function. This is built into Google Sheets. The function checks whether or not a string of characters looks like a correctly formatted email address.
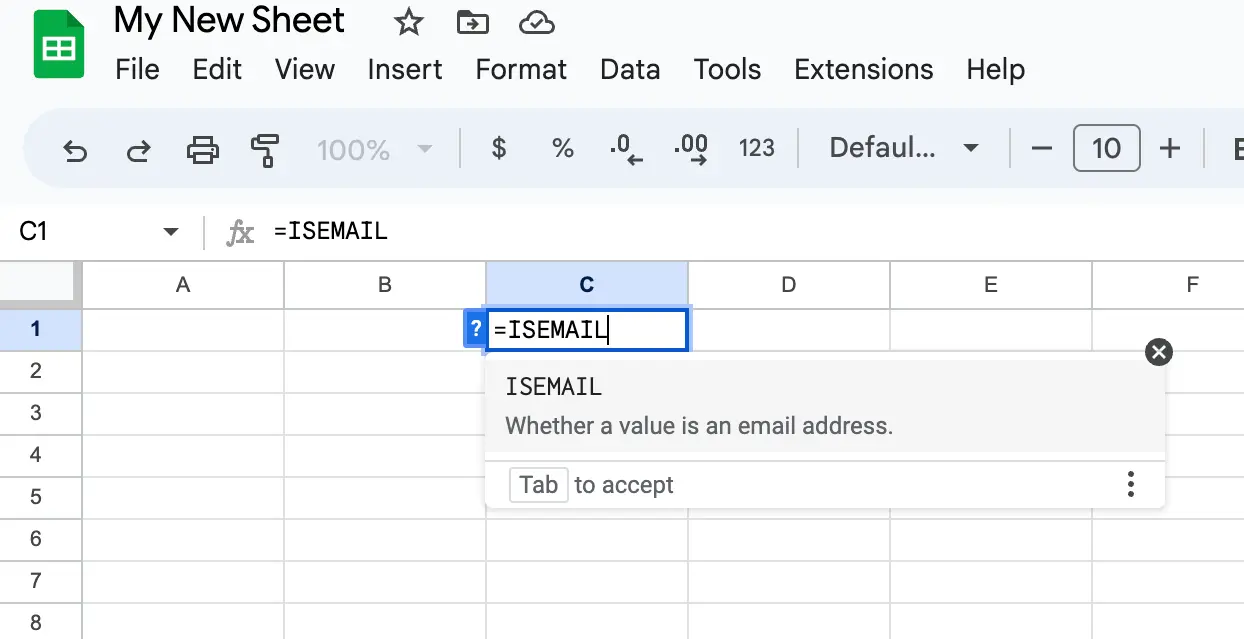
To implement the function, simply click in any cell and type =ISEMAIL. Then, type an email between the parentheses that the function gives you. The function checks whether or not what you typed is a valid email.
Obviously, this isn't a very efficient method for checking a whole list of email addresses. If you want to use the function to check addresses in bulk, you need to add it as a data validation option to an entire column.
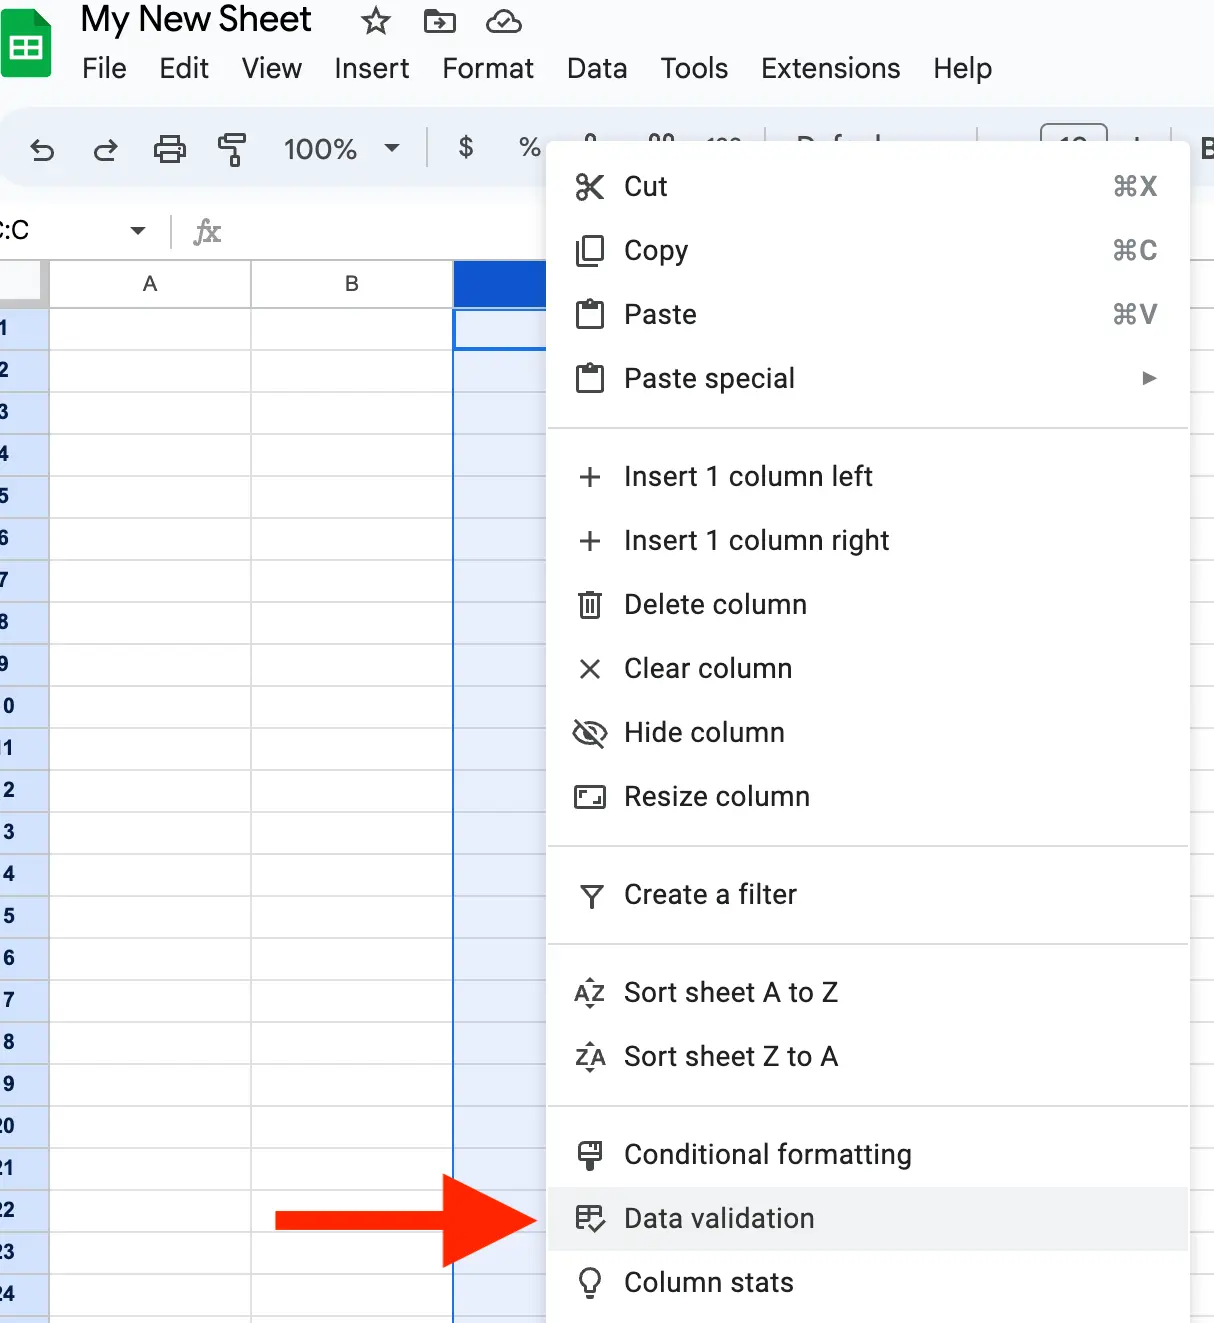
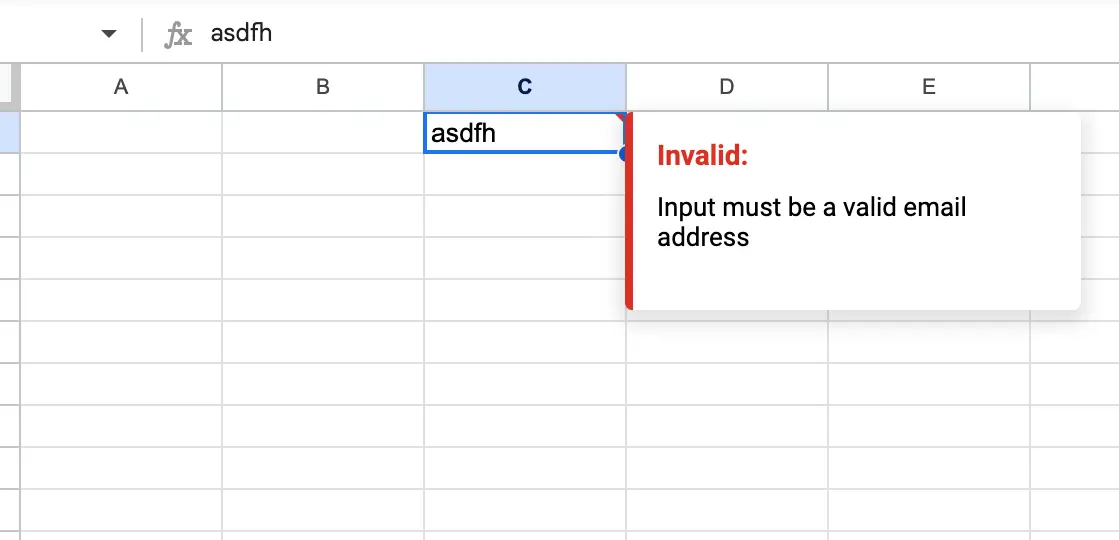
Right-click on the column containing your email addresses, and select "Data Validation" from the dropdown menu. Click "Add New Rule" in the dialogue box on the right. Next, from the dropdown under "Criteria" select "Text is Valid Email."
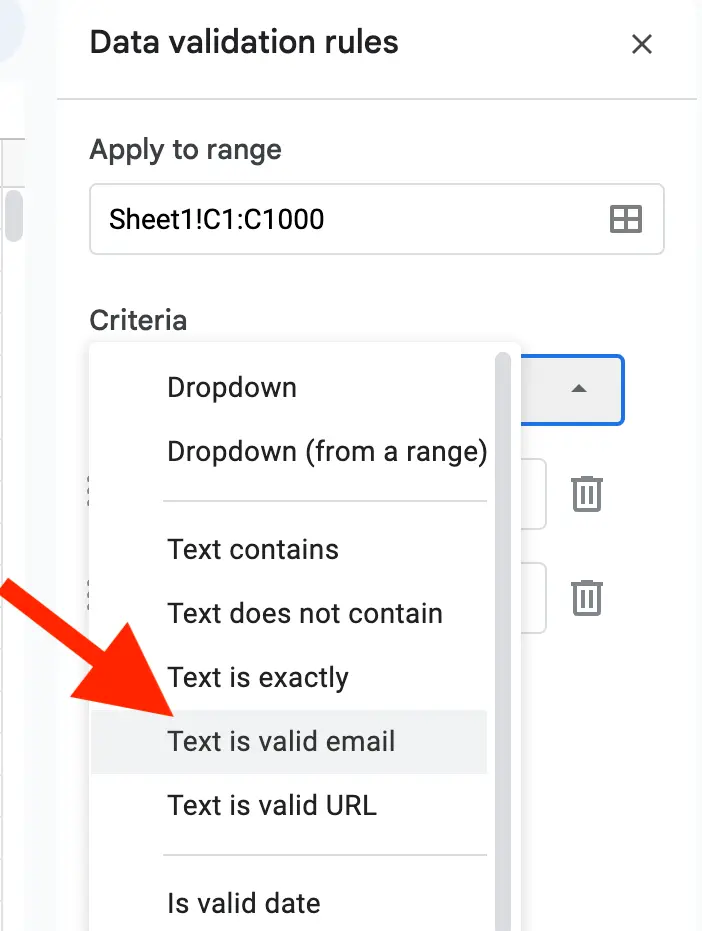
This will add the ISEMAIL function check to every cell in that column.
Handling Invalid Emails
Now that we know how to get Google Sheets to find invalid data, let's look at what we should do with that data.
Any invalid cells will be marked with a red triangle in the top right corner of the cell. Hovering over that cell will pop up a box explaining that the data is invalid.
If you want to mark the invalid rows more clearly, you can use conditional formatting to highlight cells containing invalid emails. To do this, select the column containing the email addresses and click "Format > Conditional formatting."
In the dialogue box that pops up on the right, select "Custom Formula Is" from the dropdown, and then enter the following formula in the input box:
=NOT(ISNUMBER(MATCH("*@*.?*",A2,0)))
This will highlight any cells that do not match the formula, which checks for things that look like emails.
Removing Invalid Emails
Unfortunately, Google Sheets doesn't include a built-in option to remove invalid rows. To remove the rows containing invalid email addresses, you will simply have to select all the rows marked "Invalid" and delete them manually.
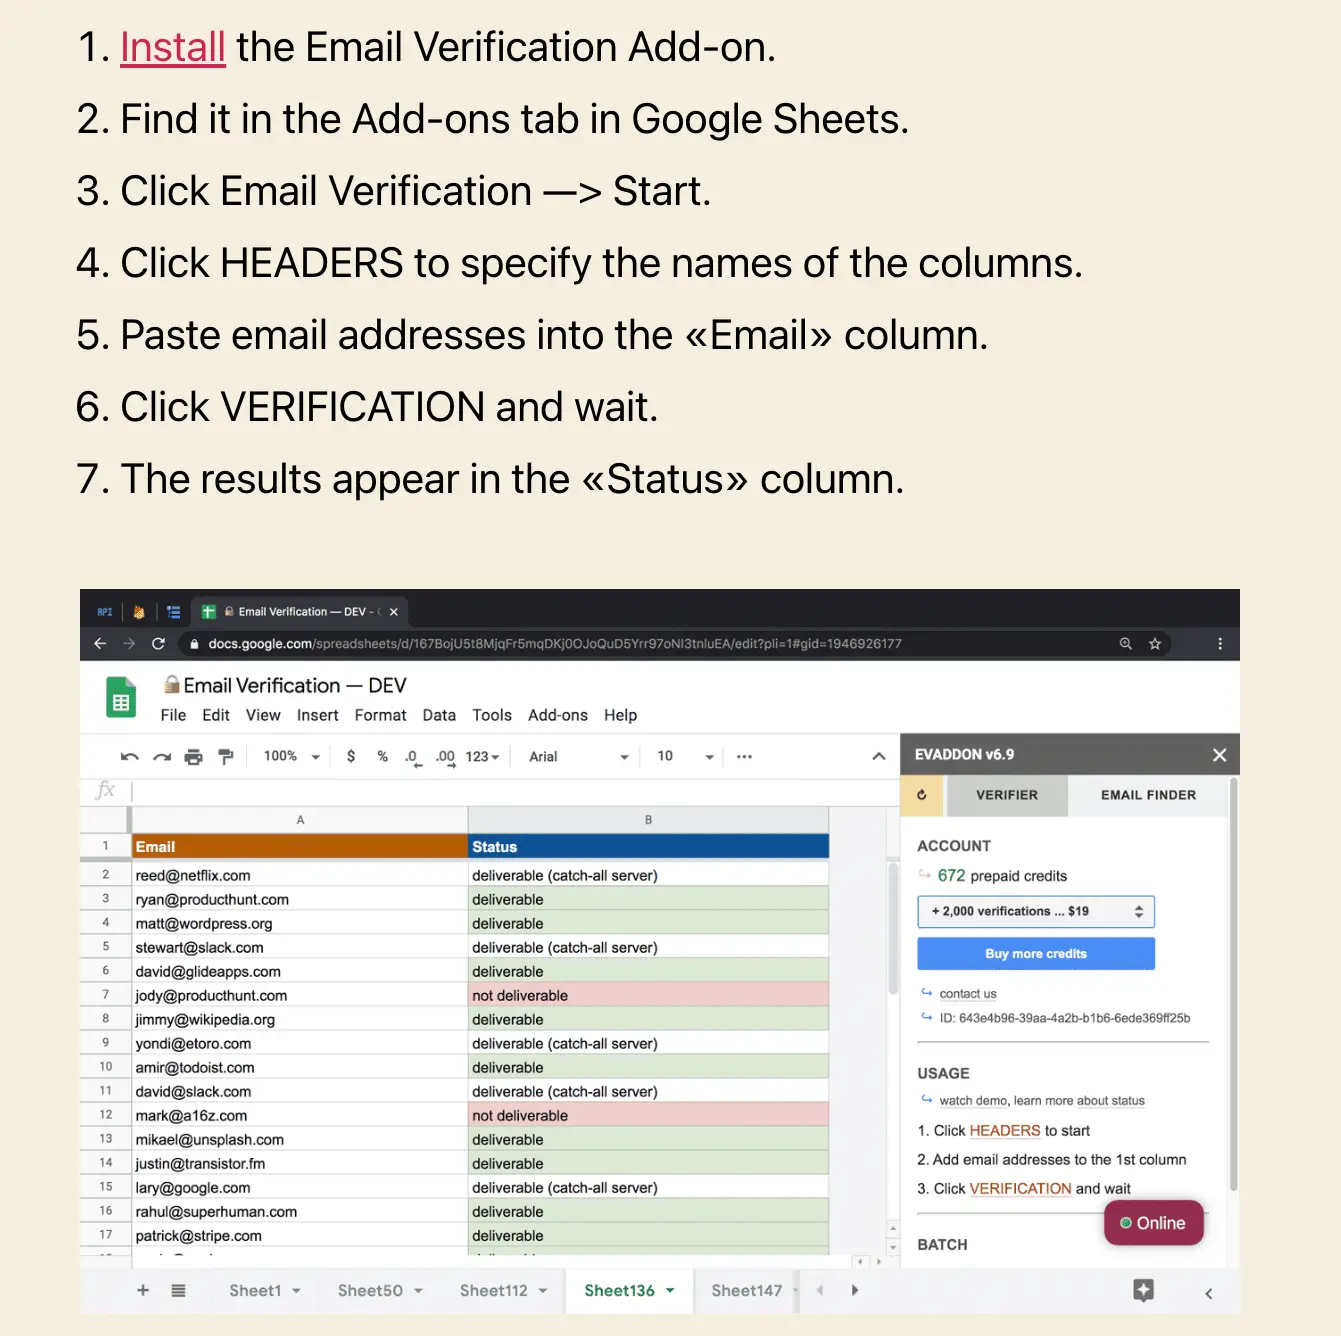
An easier way to remove invalid emails is to use an email verification add-on. An add-on is a small piece of software that you can install into Google Sheets, which performs a task for you. One of the top add-ons to verify emails in Google Sheets is EVADDON.
Simply install the add-on and follow the instructions on the website to verify the email addresses in your spreadsheet:
Automating Email Validation in Google Sheets
Let's take a closer look at using EVADDON to verify email addresses in Sheets.
Install the Add On
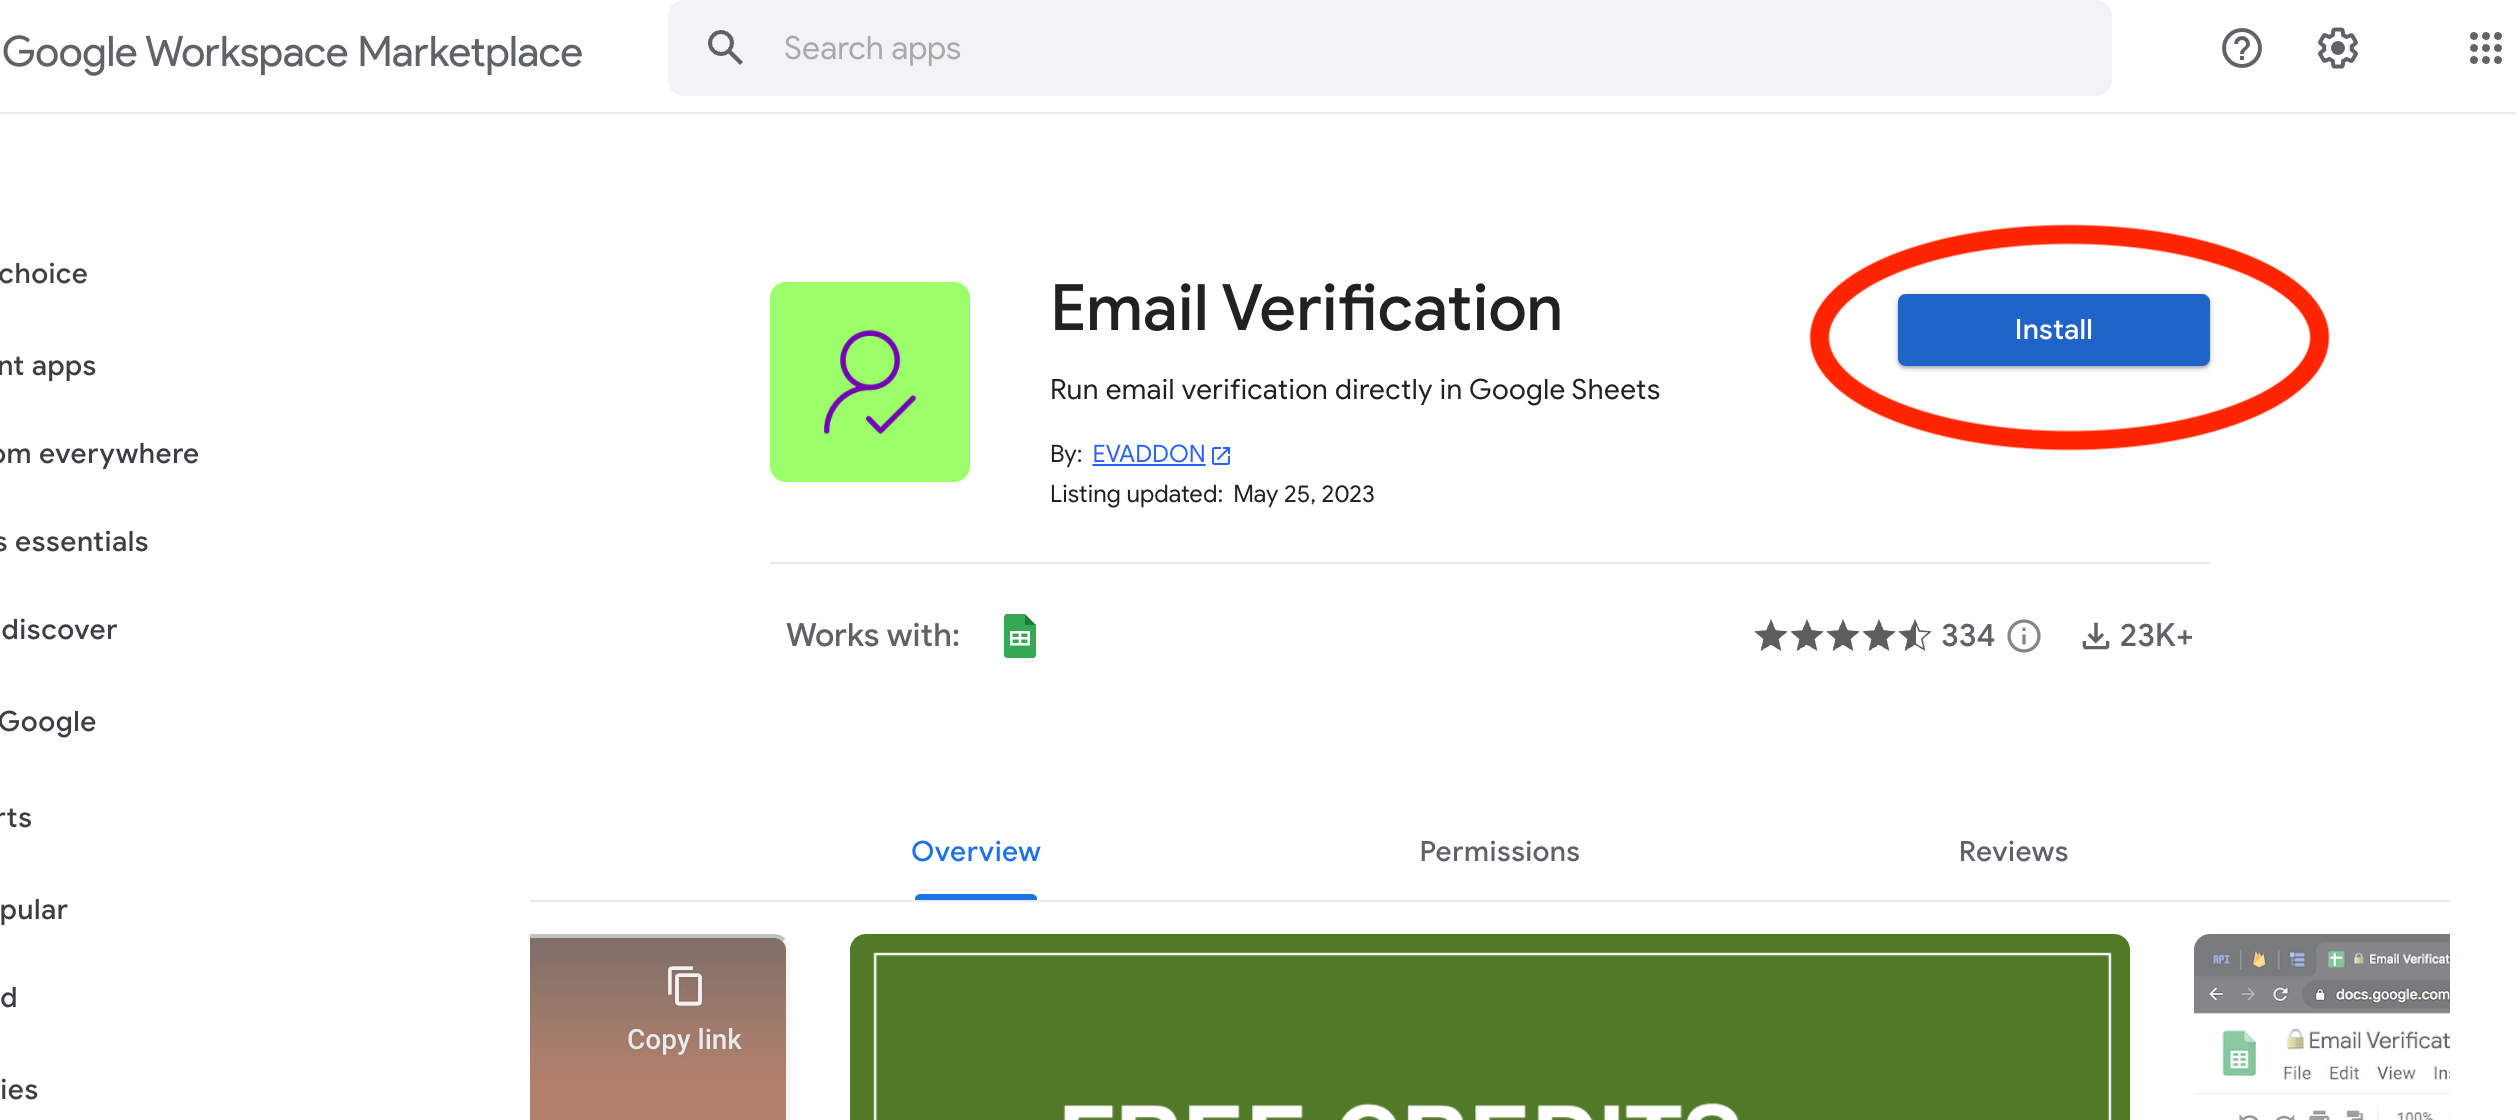
Find EVADDON in the Google Chrome Store and click "Install"
Open up your Google Sheet and then click "Extensions > Add Ons > Document Add Ons." You'll see EVADDON pop up on the right-hand side.
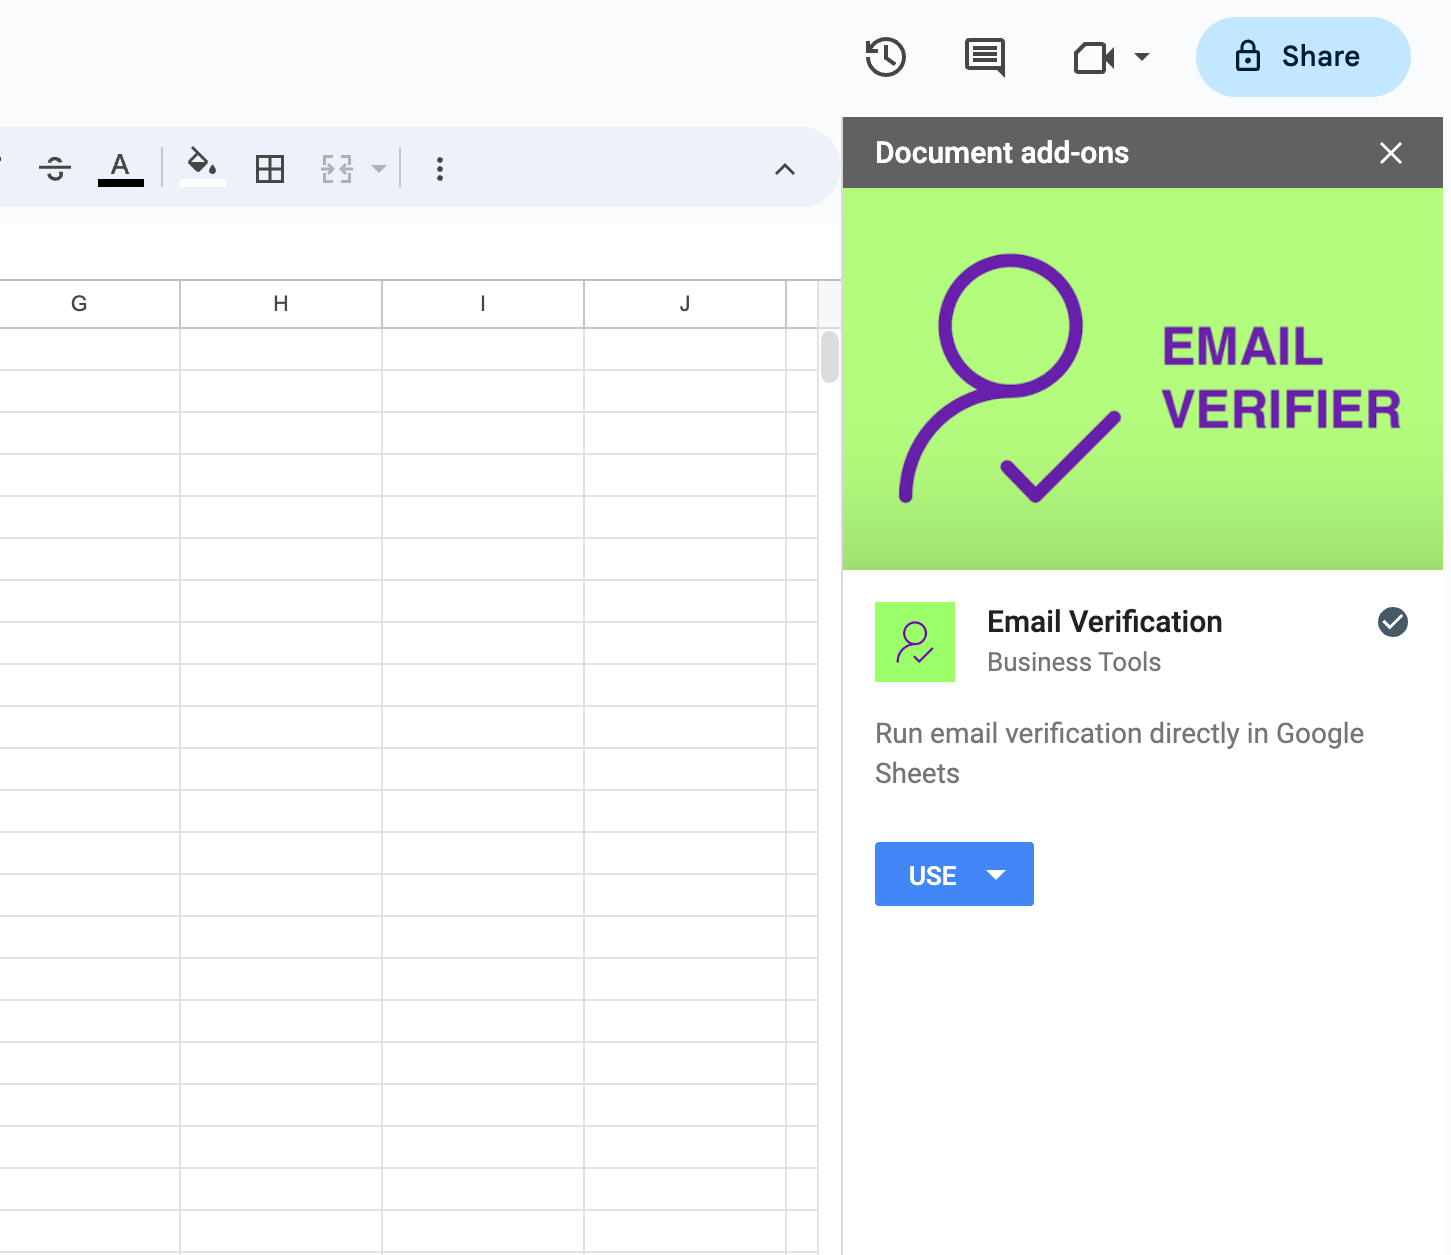
You get 50 free credits with EVADDON, which you can access from the "Use" dropdown that appears in Google Sheets. You'll receive an email at the address you used to sign up for the add-on, with a code to receive the credits.

Once you've activated the credits, start the verifier by clicking "Email verification > Start." Click "Headers" and enter the names for the two columns: "Email" and "Status." EVADDON will automatically read from the "Email" column and output the results into the "Status" column.
Using this add-on with an email list from a CSV file requires a little more effort than just importing the file: it's easier if you can just select all the emails you need to verify and paste them into the "Email" column. To do that, you can just import your CSV file into a separate sheet and then highlight the column containing the email addresses and copy/paste it into the verification sheet.
Once you have the emails populated, click "Verification" and wait. The results for the email addresses will be output into the "Status" column. There are two options: "deliverable" and "not deliverable."
Best Practices for Email Validation in Google Sheets
To make the most of your email verification efforts, adhere to the following tips.
- Audit your email list at least every 6 months. Run the verifier and remove any invalid emails from the list.
- Implement an email verification solution such as AbstractAPI's Free Email Verification API on your sign-up forms to validate email addresses when users sign up. This will prevent a lot of invalid addresses from ever making it onto your list.
- Use double opt-in to ensure that the users who are signing up for your list really want to be there.
Conclusion
You must validate emails in order to maintain a healthy email list. Invalid addresses take up valuable space (especially if you are paying your provider for a certain number of emails) and they increase bounce rates and lower engagement.
Validating with Google Sheets is a free and easy way to find the incorrectly formatted emails on your list.
FAQs
How do I know if an email is valid in a spreadsheet?
If you are using a service like Google Sheets, you can use a formula to check all the cells containing email addresses and make sure they are formatted correctly. The =ISEMAIL function is an easy way to do this. You can also use data validation to apply a validation rule to a whole column if you need to bulk-check lots of emails at once.
How do I check if an email exists?
There are several ways to check if an email address exists. You could simply send an email to the address and see if you get an "undeliverable" error from your email service provider. You could use Sheets or some other sheets software to run a formula against a list of email addresses and check that they are formatted properly. You could also use an email verification service or API to check the emails.
