
.avif)
Email Validation with Abstract Email Validation API
Abstract Email Validation API is a super fast and secure API to validate the authenticity of any email address in the most non-intrusive way. Apart from detecting the genuineness of an email address, it can also predict the deliverability based on an internal quality score.
How to use Abstract Email Validation and Verification API
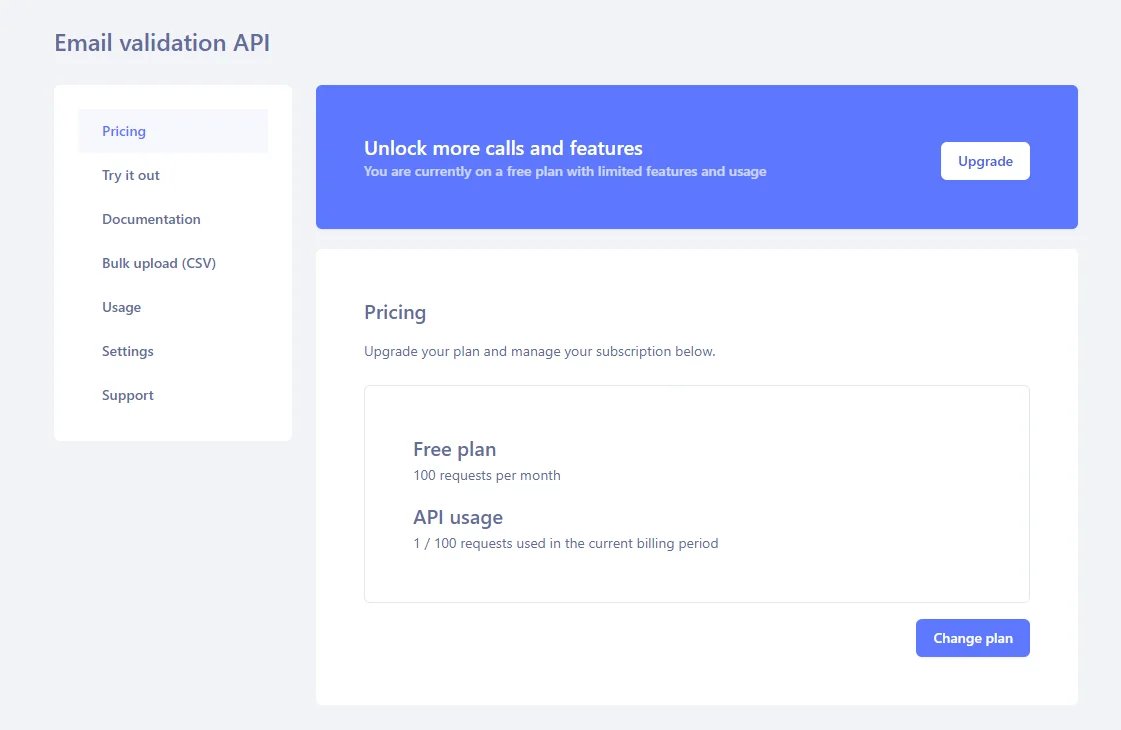
Open an account with Abstract and choose a subscription plan for the Email Validation API. You can choose the free plan for now, which gives you 100 API requests per month.
Under the "Try it out" section of the API dashboard, make a note of your API key. Also, you can try the API by entering any email address.
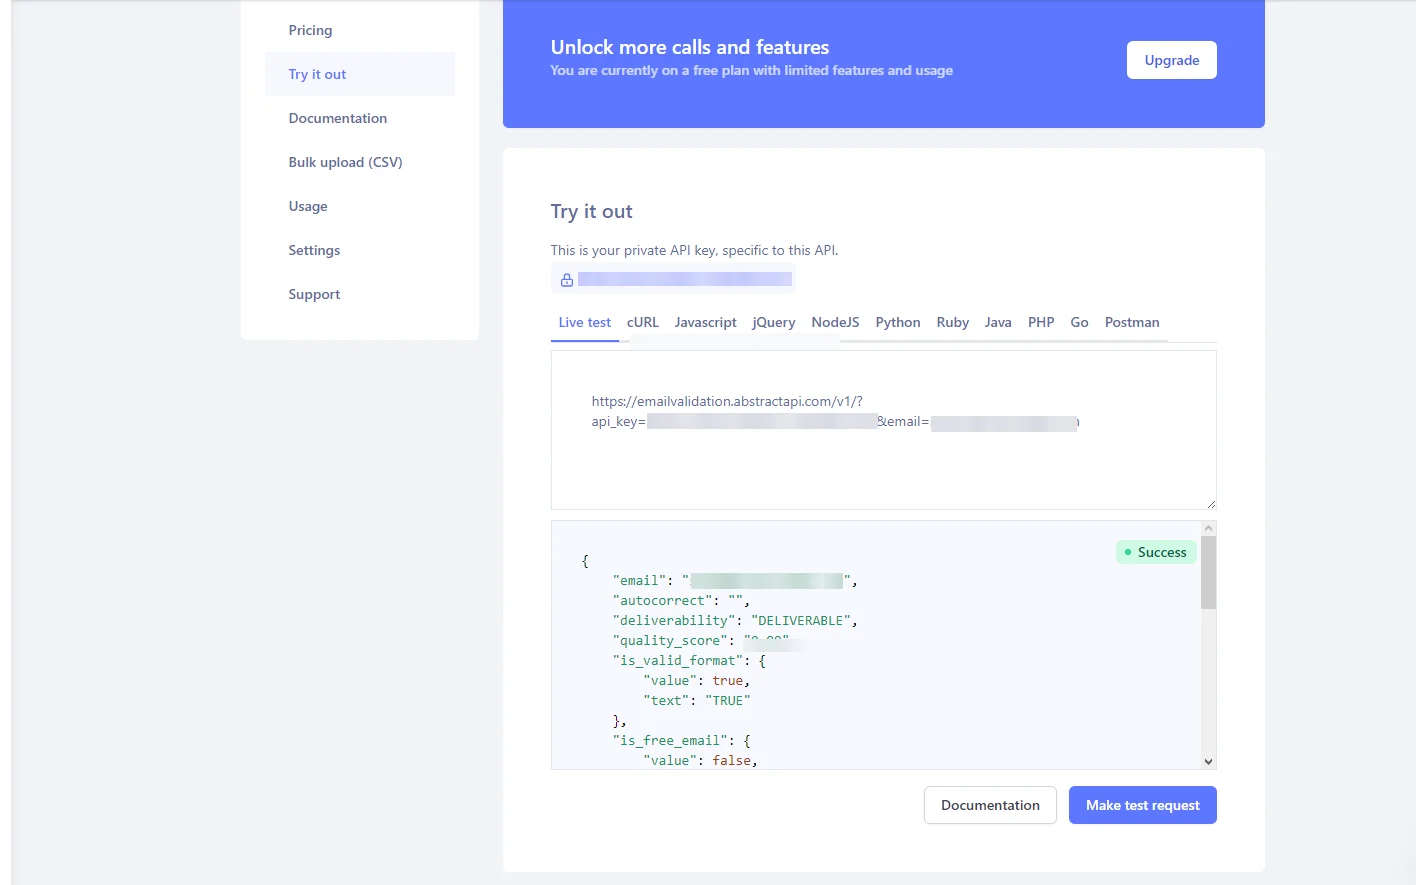
An API response for a valid email indicates a value for the 'deliverability' as "DELIVERABLE".
Apart from this, the API response also provides indicators about the email address format, the validity of MX records, and the disposability of the email domain. By combining all these parameters, you can gauge the genuineness of an email address.
Check out the documentation section for more details about all the parameters of the Email Validation API.
Email forwarding using Mailgun
For sending emails, you need access to a transactional email service that supports an SMTP mail server. Mailgun is one of the popular choices and offers a very generous email sending limit in their free plan. It is also developer friendly and easy to integrate with PHP send email interfaces. So let's go ahead and check it out.

Signup for a new Mailgun account and make sure to complete the account activation formalities. Once done, you can access your Mailgun dashboard.
There are a few things to look out for in your Mailgun dashboard.
- Mailgun Sandbox Domain: This is your Mailgun sandbox domain mail server for sending emails
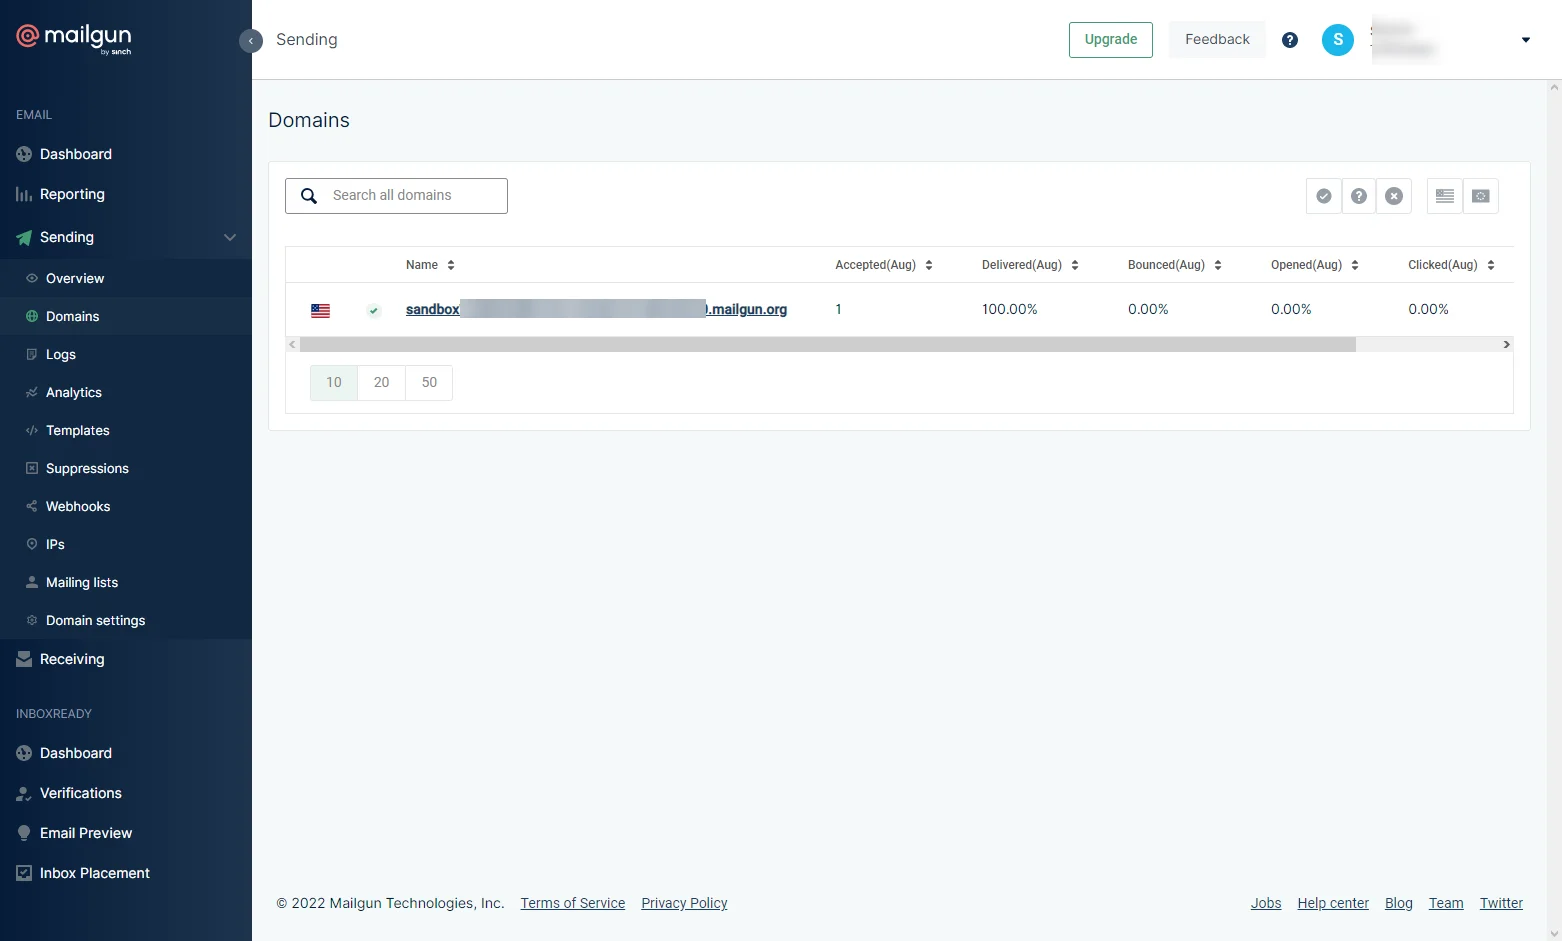
- Mailgun Sandbox Domain Username and Password: This is your sandbox mail server username and password for SMTP authentication
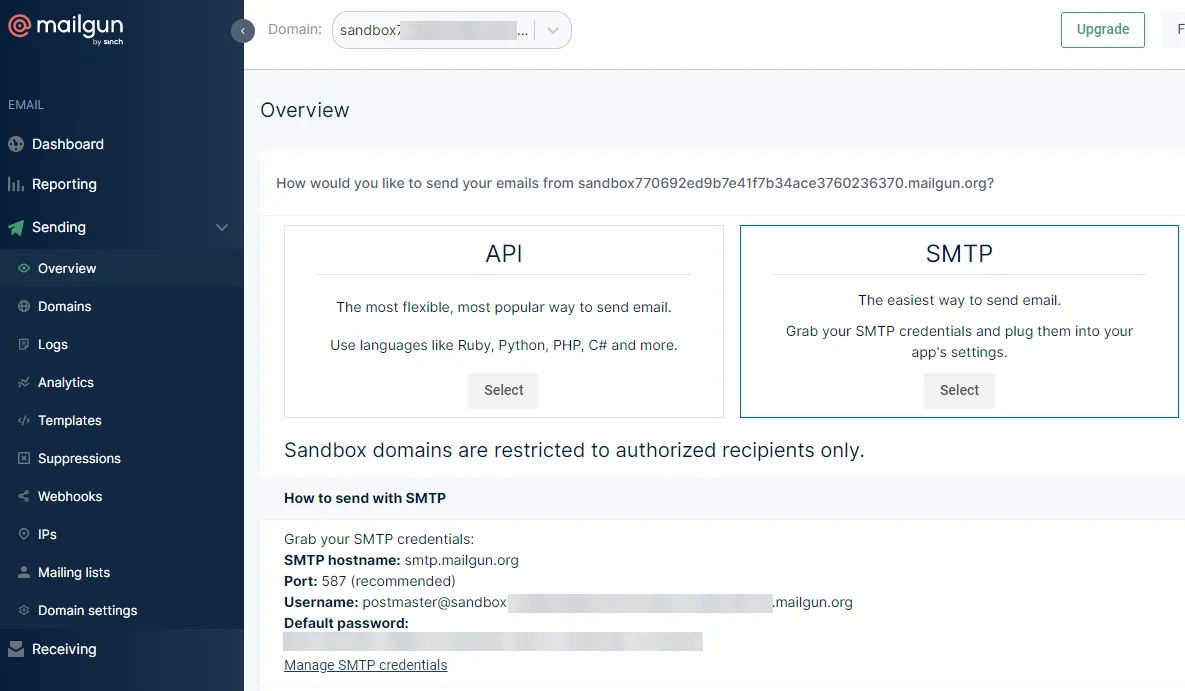
- Mailgun API Key: This is your Mailgun API key for accessing the mail server
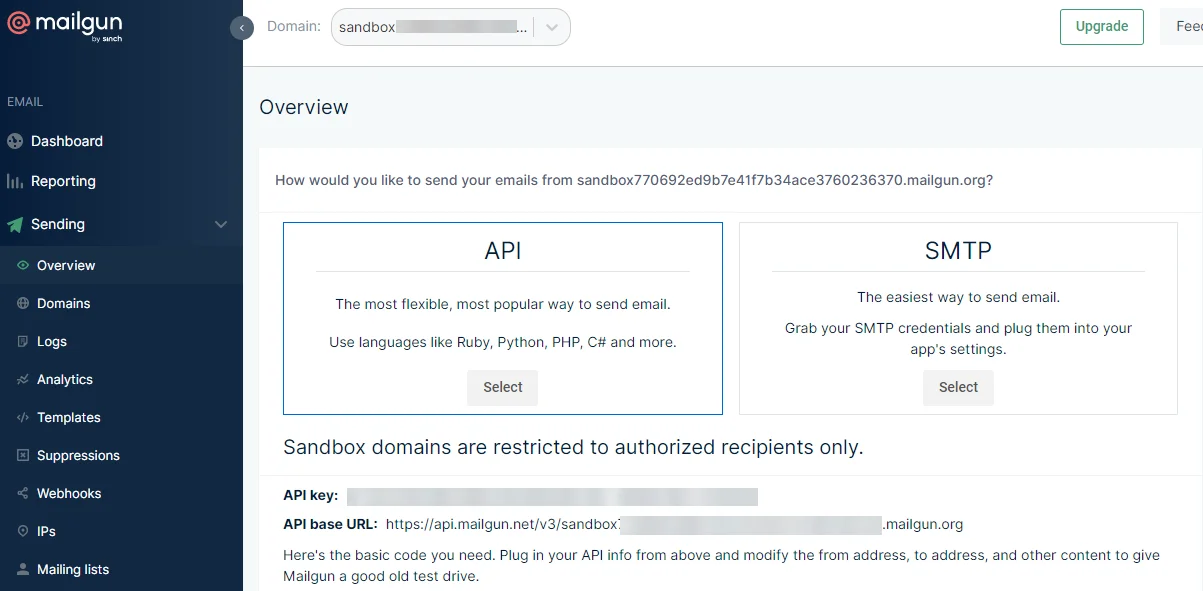
Make sure to make a note of these credentials, as you have to add them to the mail function configuration of the Laravel application for email forwarding feature.
Building a Laravel App for Email Processing
Laravel Framework is an open-source MVC framework in PHP for building simple to complex web applications. Laravel strictly follows the MVC (Model-View-Controller) architectural pattern. It is known for its beautiful and elegant syntax as a web framework.

Laravel has many great features of web development built in such as:
- One of the best routing systems in PHP.
- Service container for easy dependency Injection.
- Built-in authentication mechanism with boilerplate login and registration handling.
- One of the best ORMs, Eloquent for handling database connection, migration, and queries easily.
- Easy to use a templating engine called Blad.
- Out-of-the-box integrations with popular frontend frameworks like Vue and React.
You will now build a sample Laravel app that displays a user registration form. This form captures the user name and email address and performs email processing to validate and forward a welcome message to the user. We will use the out-of-the-box code scaffoldings provided by the Laravel ecosystem to demonstrate this feature in quick and easy steps to ensure that you do not have to write too much code. Let's dive in.
Installing Laravel
Follow the steps below to install and configure Laravel within your development environment. Before proceeding, make sure you have the default PHP stack already installed using XAMPP or Homebrew, which gives you the PHP runtime and MySQL database server.
Step 1: Install Composer using PHP
Composer is a package manager for PHP. Since Laravel is a PHP framework, it is only logical that you use Composer to install it.
You can either use the PHP from a command line terminal to install Composer, or use the installation file (preferable for Windows)
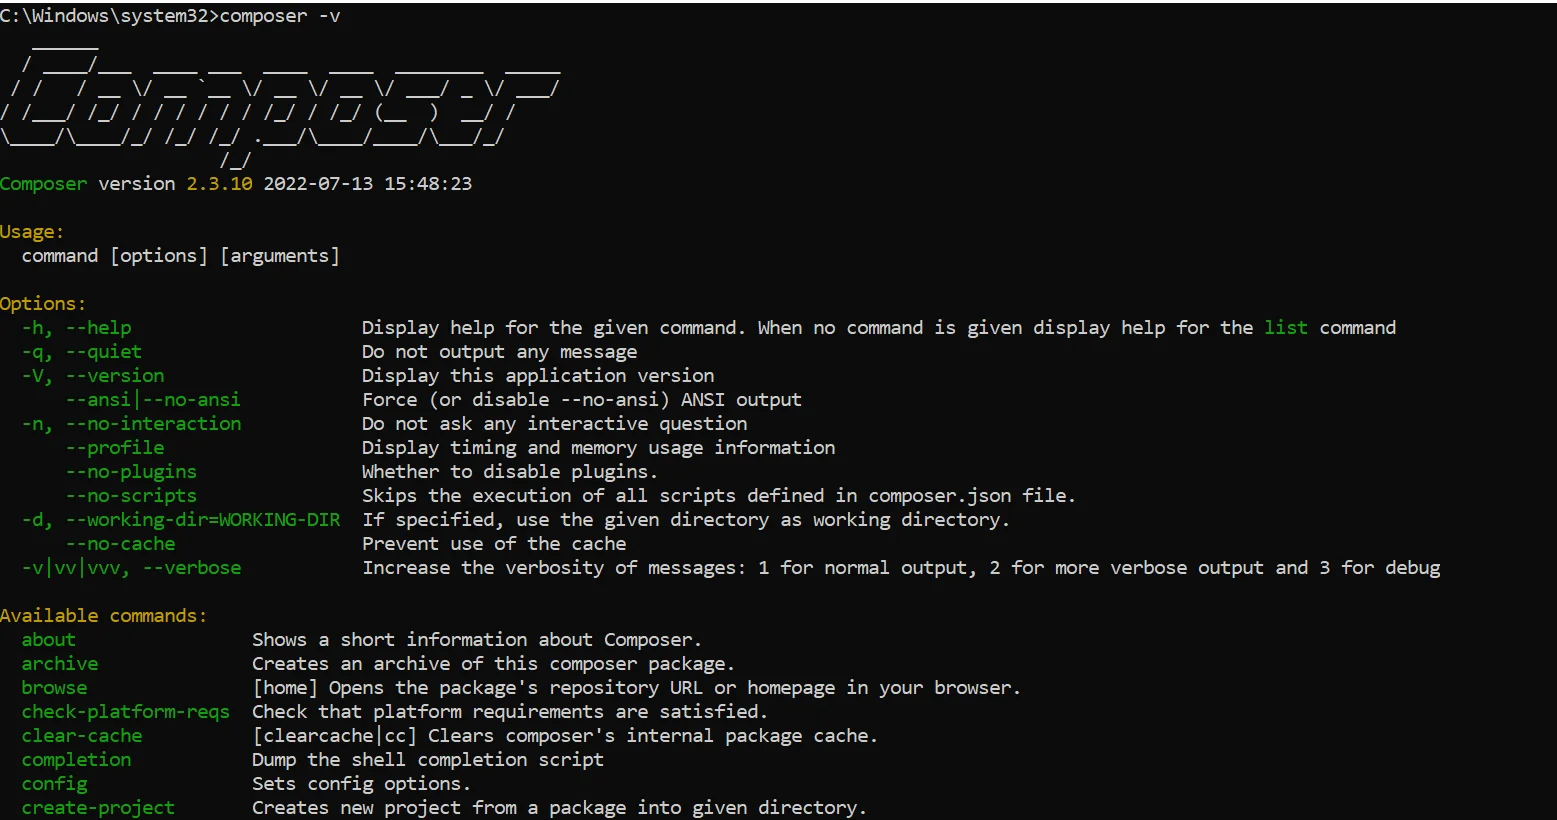
Check the download instructions on the official website for the installation steps. Once installed, open a terminal and run the composer command to verify the installation.
composer -v
You should get a response like this.
Step 2: Create a new Laravel project using the composer
Create a new PHP project named "mailsend" in Composer, by running the following command on the terminal.
composer create-project --prefer-dist laravel/laravel mailsend
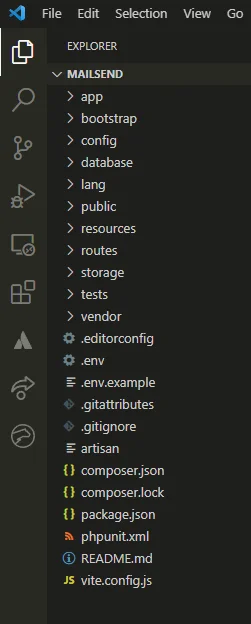
This will install Laravel and all its dependencies and create a default project sub-directory named "mailsend" under the current working directory.
Once the installation process is complete, change the directory to the "mailsend" project directory. You can also open the project directory inside a code editor like VS Code to inspect the project sub-directory structure.
Step 3: Run the Laravel application
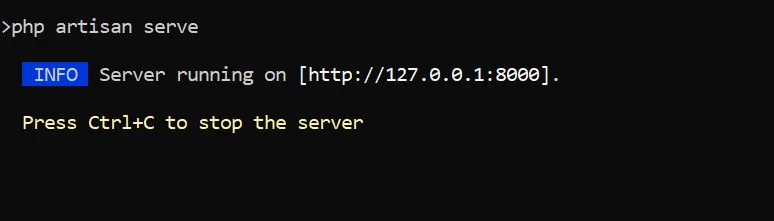
Now you can run the default Laravel application with the following command.
php artisan serve
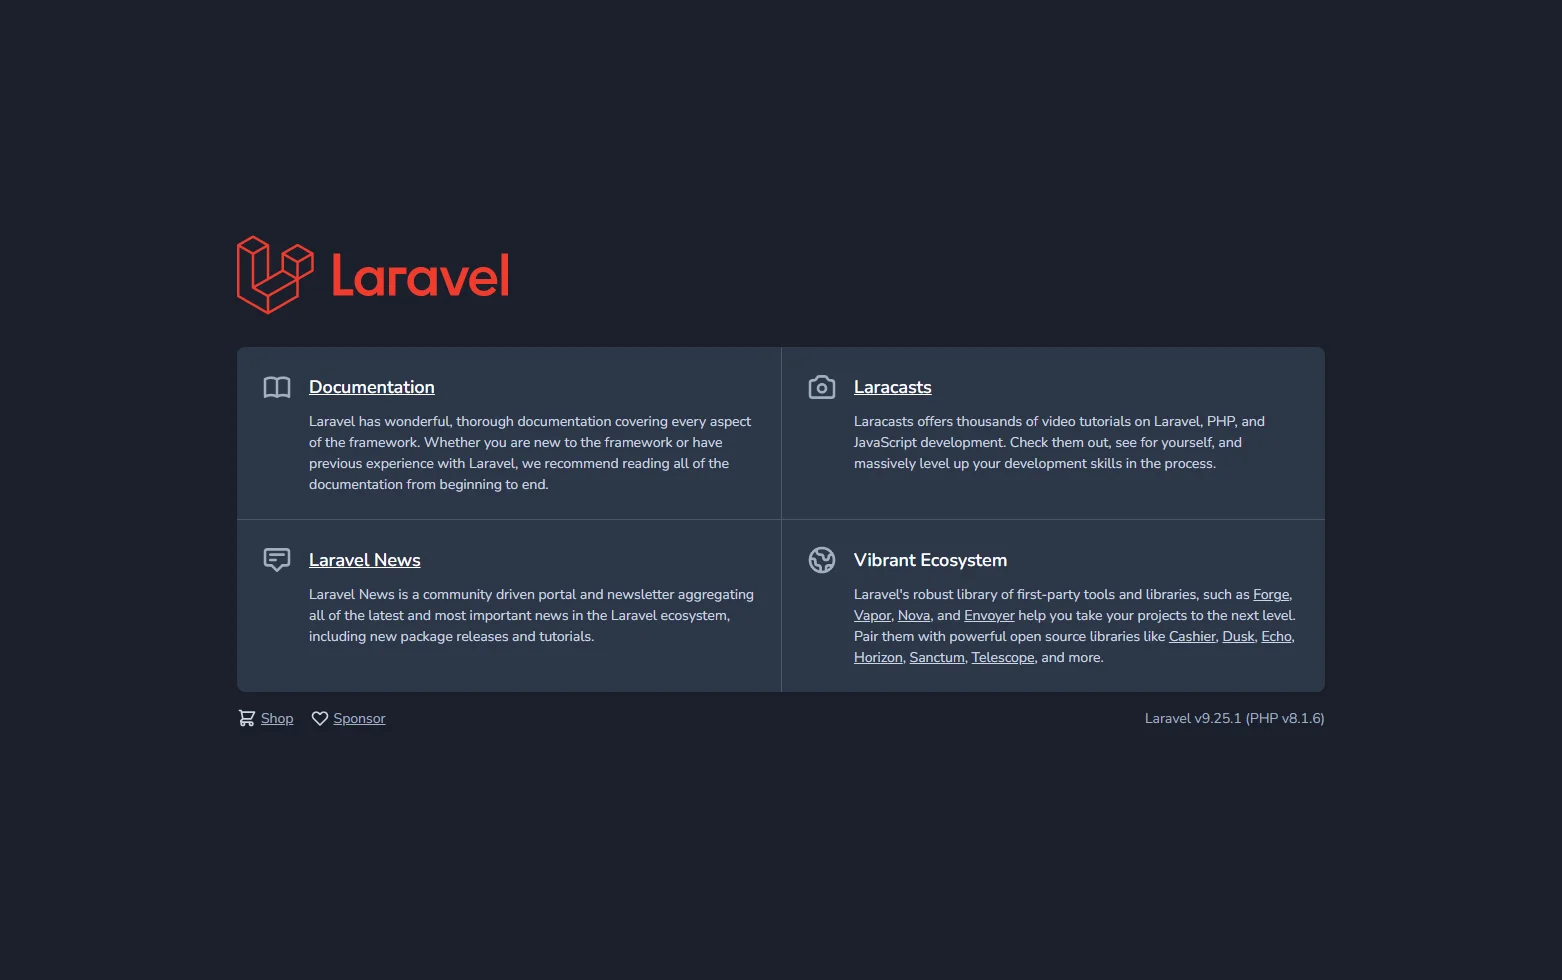
This will start the PHP development server and host the default application at http://127.0.0.1:8000
Visit the URL in your browser and you will get this view.
Configuring Email sending in Laravel
The most important part of this application is to replace the default php mail functionality with Mailgun. Follow the steps below to add Mailgun as the PHP mail driver.
Step 1: Install dependencies for the Laravel application.
Open a new terminal and ensure that you are under the "mailsend" project directory. Add the mailgun and http packages to the project by running the composer tool.
composer require symfony/mailgun-mailer symfony/http-client
This will add the mailgun-mailer and http-client package to the composer.json file. These two packages are required for sending emails and calling the Abstract Email Validation API for validating the email address respectively.
Step 2: Configure Mailgun credentials in the .env file
Open the .env file located under the "mailsend" project directory.
Replace parameters starting with "MAIL_" with the following:
MAIL_DRIVER=mailgun
MAIL_HOST=smtp.mailgun.org
MAIL_PORT=587
MAIL_USERNAME=<mailgun-sandbox-username>
MAIL_PASSWORD=<mailgun-sandbox-password>
MAIL_ENCRYPTION=tls
MAIL_FROM_ADDRESS=support@test.com
MAIL_FROM_NAME=EmailValidation
MAILGUN_DOMAIN=<mailgun-sandbox-domain>
MAILGUN_SECRET=<mailgun-api-key>
Make sure to replace the placeholders (< >) with your actual Mailgun credentials obtained previously.
Step 3: Configure Mailgun as the mail driver for Laravel application
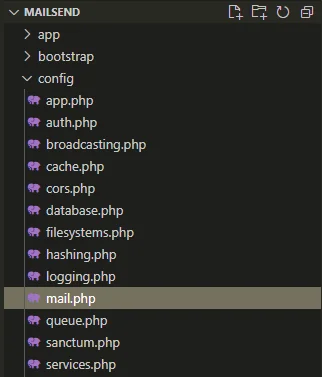
Open the mail.php file inside the config sub-directory.
Replace the entire code with this snippet.
<?php

return [

    /*
    |--------------------------------------------------------------------------
    | Mail Driver
    |--------------------------------------------------------------------------
    |
    | Laravel supports both SMTP and PHP's "mail" function as drivers for the
    | sending of e-mail. You may specify which one you're using throughout
    | your application here. By default, Laravel is setup for SMTP mail.
    |
    | Supported: "smtp", "sendmail", "mailgun", "ses",
    |            "postmark", "log", "array"
    |
    */

    'driver' => env('MAIL_DRIVER', 'mailgun'),

    'host' => env('MAIL_HOST', 'smtp.mailgun.org'),

    'port' => env('MAIL_PORT', 587),

    'from' => [
        'address' => env('MAIL_FROM_ADDRESS', 'support@test.com'),
        'name' => env('MAIL_FROM_NAME', 'EmailValidate'),
    ],

    'encryption' => env('MAIL_ENCRYPTION', 'tls'),

    'username' => env('MAIL_USERNAME'),

    'password' => env('MAIL_PASSWORD'),

    'sendmail' => '/usr/sbin/sendmail -bs',

    'markdown' => [
        'theme' => 'default',
        'paths' => [
            resource_path('views/vendor/mail'),
        ],
    ],

    'log_channel' => env('MAIL_LOG_CHANNEL'),

];
This snippet replaces the default PHP mail configuration with Mailgun-specific parameters referenced from the .env file.
Step 4: Add UI scaffold for sending email
One of the common use cases for sending emails in a web application is user registration. We will emulate a dummy user registration process in this Laravel application.
Fortunately, the Laravel ecosystem provides a lot of scaffoldings for readymade UI components in some of the popular Javascript frameworks such as React and Vue. You can use these components to build a cookie-cutter registration page, instead of writing code to send html mail.
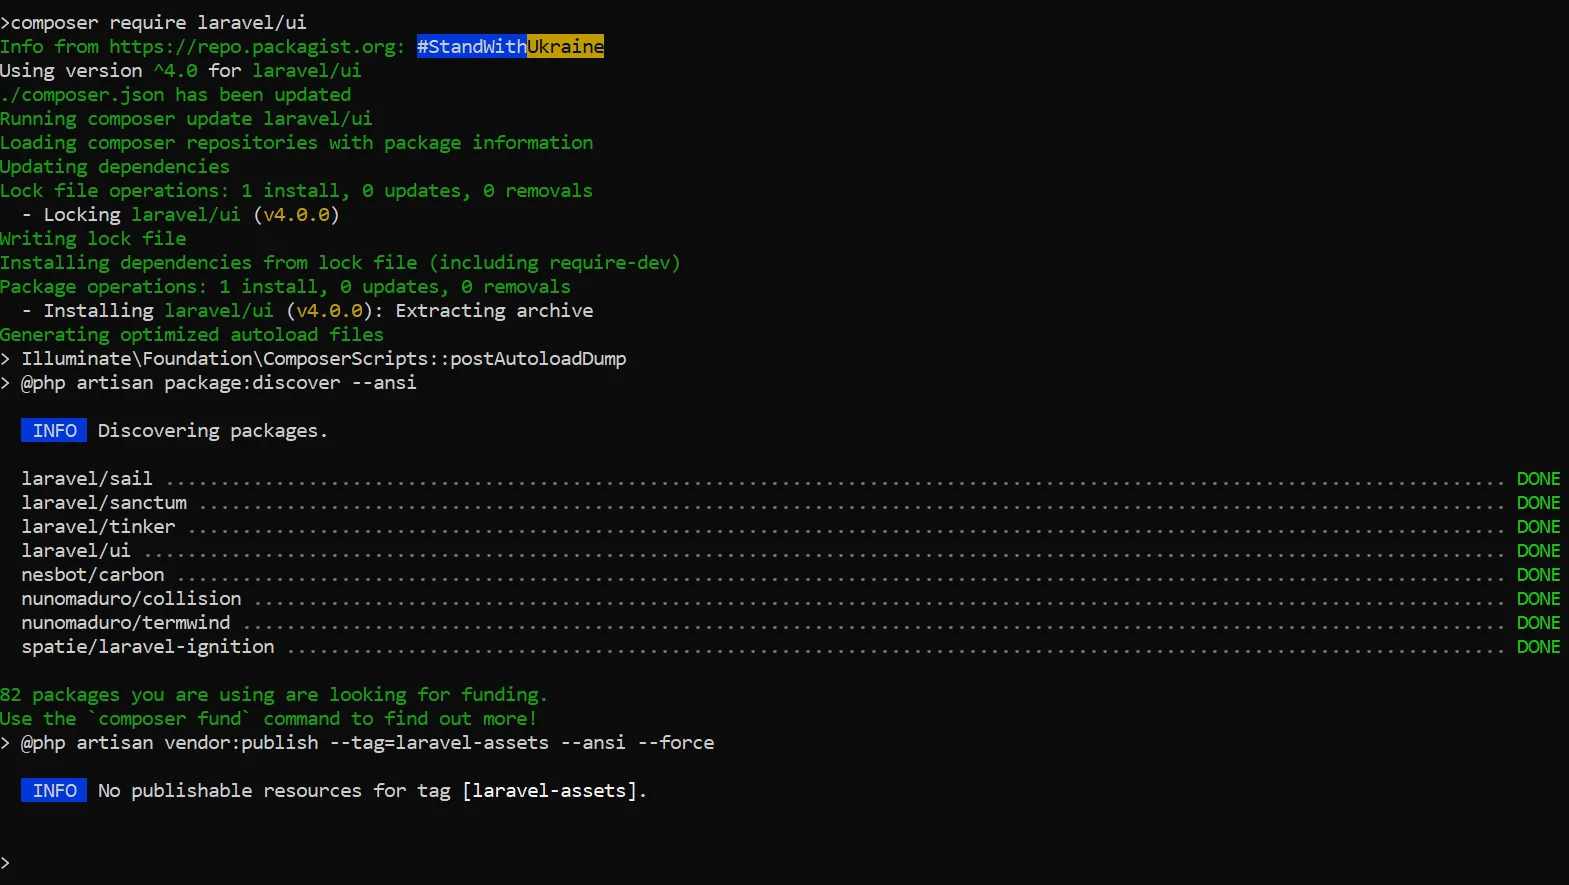
For this, you have to install the Laravel UI package by running this command on a separate terminal.
composer require laravel/ui
Afterward, you need to scaffold the Laravel application with Vue.js auth view by executing these three commands in sequence.
php artisan ui vue --auth

npm install

npm run dev
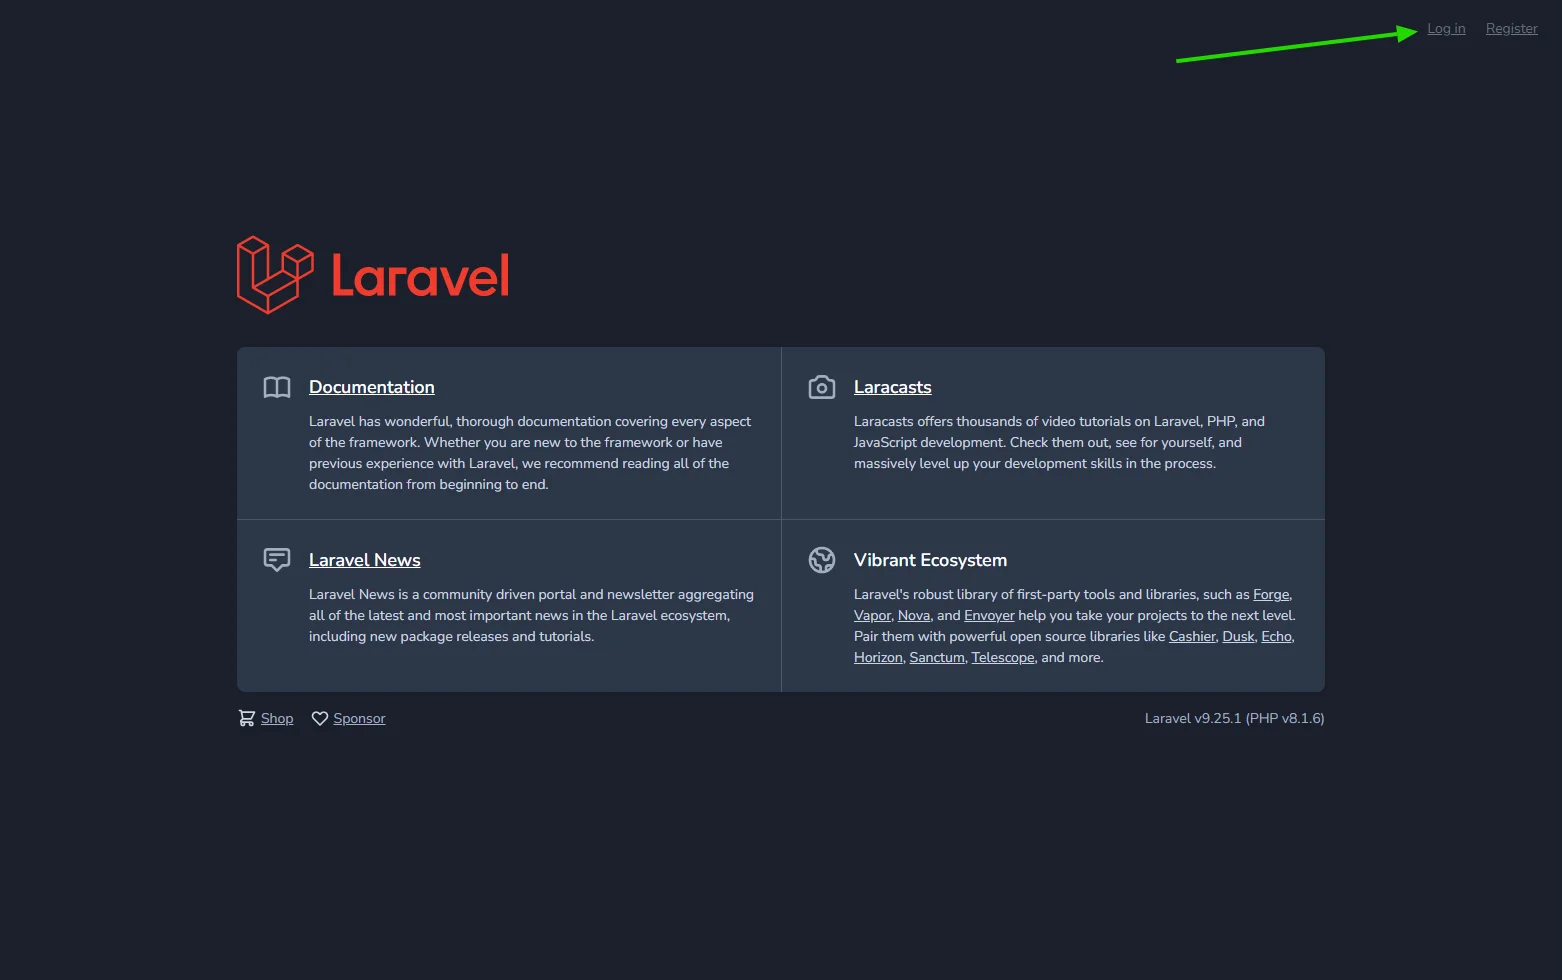
If you now reload the Laravel application ( hosted on the first terminal) on the browser, you will see a new login and register links added to the page.
If you click on the register link, you should get a view like this.

Step 5: Add Laravel notification for initiating email send
At this point, the Laravel application is ready to accept user registration.
However, for sending html email from this UI, you have to add a Laravel notification.
Open another terminal, and add a new notification named 'WelcomeNotification' by executing this command under the "mailsend" project directory.
php artisan make:notification WelcomeNotification
Open the newly created WelcomeNotification.php file.

Replace the code inside the toMail function within WelcomeBotification.php with the snippet below.
return (new MailMessage)
                    ->line('Welcome to Abstract Email Validation.')
                    ->action('Login', url('/login'))
                    ->line('Thank you for using our application!');
Then navigate to app/Http/Controllers/Auth/RegisterController.php.
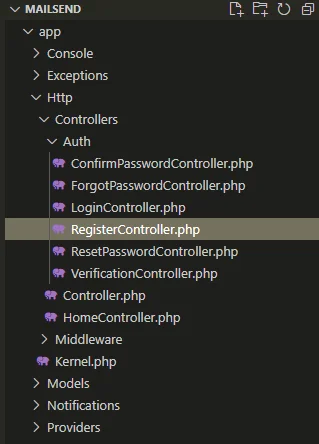
Replace the code inside the create function within RegisterController.php with this snippet.
$user = User::create([
            'name' => $data['name'],
            'email' => $data['email'],
            'password' => Hash::make($data['password']),
        ]);

        $user->notify(new \App\Notifications\WelcomeNotification());

        return $user;
Step 6: Configure MySQL database parameters
Before you can test the registration process, you also need to set up the MySQL database server instance. That's because when a user registers, the application has to save the user details in a database.
For this to work, ensure that your MySQL database server is up and running and you have access to the admin credentials.
For storing user details, you need a designated database. Let's call it 'emailvalidation'. Make sure to create this database within the MySQL server.
Now open the .env file and replace the parameters prefixed with "DB_" with the below snippet.
DB_CONNECTION=mysql
DB_HOST=127.0.0.1
DB_PORT=3306
DB_DATABASE=emailvalidation
DB_USERNAME=root
DB_PASSWORD=<your_db_password>
Ensure that you replace the placeholder <your_db_password> with your actual MySQL database password.
After this, you need to add the table for storing the user data. Earlier, when the auth UI scaffolded was added, Laravel automatically created some default database schema, which is located inside database\migrations. You can migrate this schema to the MySQL database by running this command on the terminal.
php artisan migrate
This will create a few tables within the 'emailvalidation' database. The 'user' table will hold the details for the registered user.
Step 7: Add whitelist emails to the Mailgun sandbox account
If you have reached this point, then your Laravel application is now ready to accept user registration and send a welcome email via Mailgun.
Before you can test it out, there is a requirement from Mailgun that you must keep in mind. Since we are using the Mailgun sandbox account, all email recipients have to be added to the Mailgun authorized recipients lists, otherwise, Mailgun will not let you send an email and the application will throw an error during registration.
You can add a few email addresses to the authorized recipients under the Mailgun dashboard to circumvent this problem.
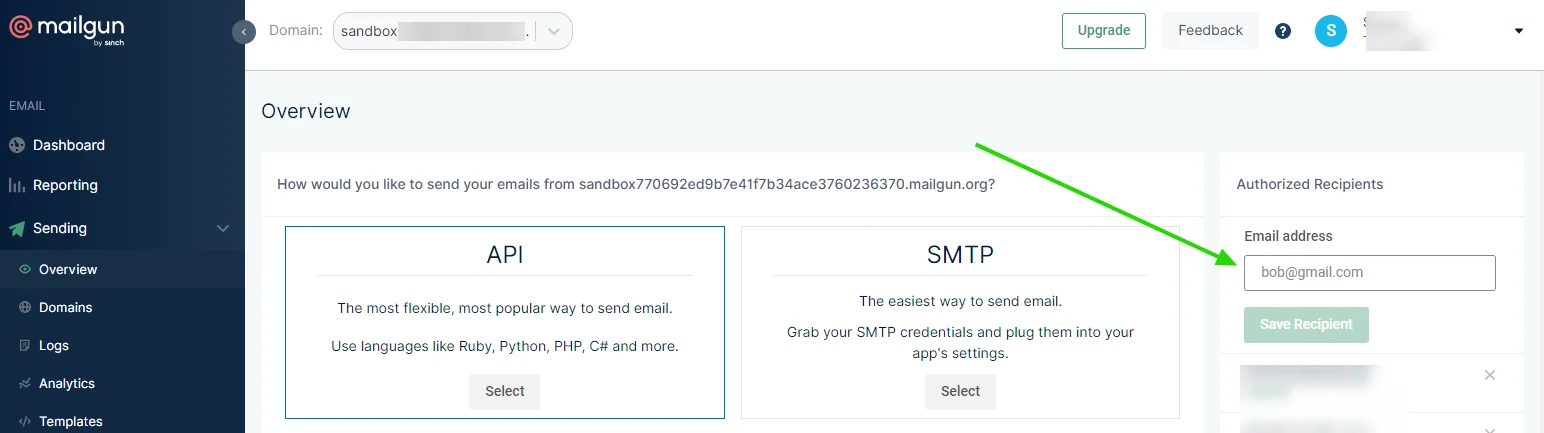
Note that this limitation is only applicable to the Mailgun sandbox domain. If you use an upgraded Mailgun account with a custom domain, this step is not required.
Step 8: Test email sending from the Laravel application
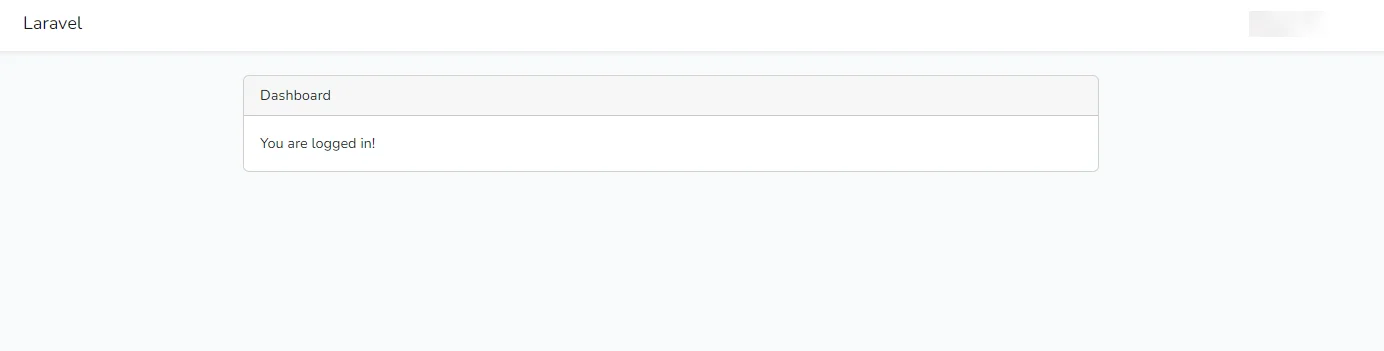
Assuming that you have taken care of the Mailgun requirements in the previous step, and you have access to those email inboxes, it's time now to test the registration process. Fill up the details in the registration form and submit it.
You will get a logged in message.
And you should also get an email as per the parameters added in the WelcomeNotification.php earlier.
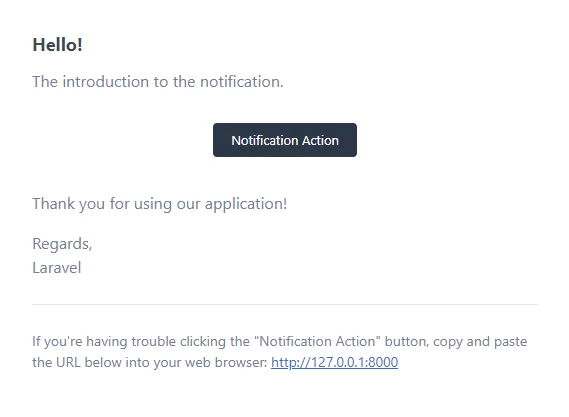
With this step, your Laravel application is now capable of sending emails. As an additional exercise, you can modify the code in WelcomeNotification.php to add multiple recipients, such that administrator of the website also receives a notification whenever a new user registers.
Configuring Email Validation in Laravel Application using the Abstract Email Validation API
So far so good, but how do you ensure that the email addresses provided by the users during registration are legit?
The answer lies in performing email validation. PHP offers regex features to parse and validate email addresses. However, this does not ensure the legitimacy of the email address of the domain.
A better option is to use the Abstract Email Validation API to validate email address in Laravel. That is the only thing left to be integrated into this Laravel application. For this to work, you have to make a few more additions to the Laravel application code as follows.
Step 1: Add a Validation Rule for Email
Laravel allows us to create a custom rule which can be attached to the validator function for checking emails before completing the registration process.
Let's create a rule named CheckEmail by executing the following command on the terminal.
php artisan make:rule CheckEmail
The newly created rule is located at app/Rules.
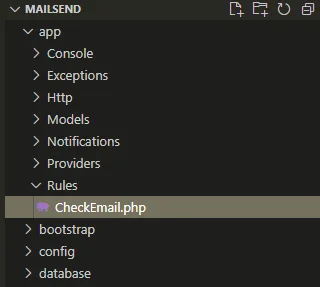
Replace the entire code inside CheckEmail.php with this code snippet.
<?php

namespace App\Rules;

use Illuminate\Contracts\Validation\Rule;
use Illuminate\Support\Facades\Http;

class CheckEmail implements Rule
{
    public function __construct()
    {
        //
    }

    public function passes($attribute, $value)
    {
        $res = Http::get('https://emailvalidation.abstractapi.com/v1/?api_key=<your_abstract_api_key>&email='.$value);
        if ($res->successful()) {
            $data = $res->json();
            if (($data['deliverability'] == 'DELIVERABLE') && $data['is_valid_format']['value'] && $data['is_mx_found']['value'] && ($data['is_disposable_email']['value'] == false)) {
                return true;
            }
           return false;
        }
       return false;
    }

    public function message()
    {
        return 'Abstract Email Validation API Detected Invalid Email';
    }
}
Before saving the file, make sure to update the placeholder <YOUR_ABSTRACT_API_KEY> with the actual API key showing under your Abstract account.
This code will add a validation check to run the email address through Abstract Email Validation API and only pass the validation if the email is deliverable, is in a valid format, is having a valid MX record, and is not disposable. All these criteria are part of the Email Validation API as you have seen earlier.
In case of failure, it returns a message "Abstract Email Validation API Detected Invalid Email".
Step 2: Attach the Rule to Laravel Application Controller
Now for the last bit of code change, you have to replace the validator function within RegisterController.php with the below code snippet.
return Validator::make($data, [
            'name' => ['required', 'string', 'max:255'],
            'email' => ['required', 'string', 'email', 'max:255', 'unique:users', new \App\Rules\CheckEmail],
            'password' => ['required', 'string', 'min:8', 'confirmed'],
        ]);
This step will ensure that the CheckMail rule is always triggered before completing the user registration.
Step 3: Test the rule with Valid and Invalid Email addresses
It is time for the final showdown!!
Perform another user registration with an invalid email address. The new validation rule should kick in and you should see an error message like this.
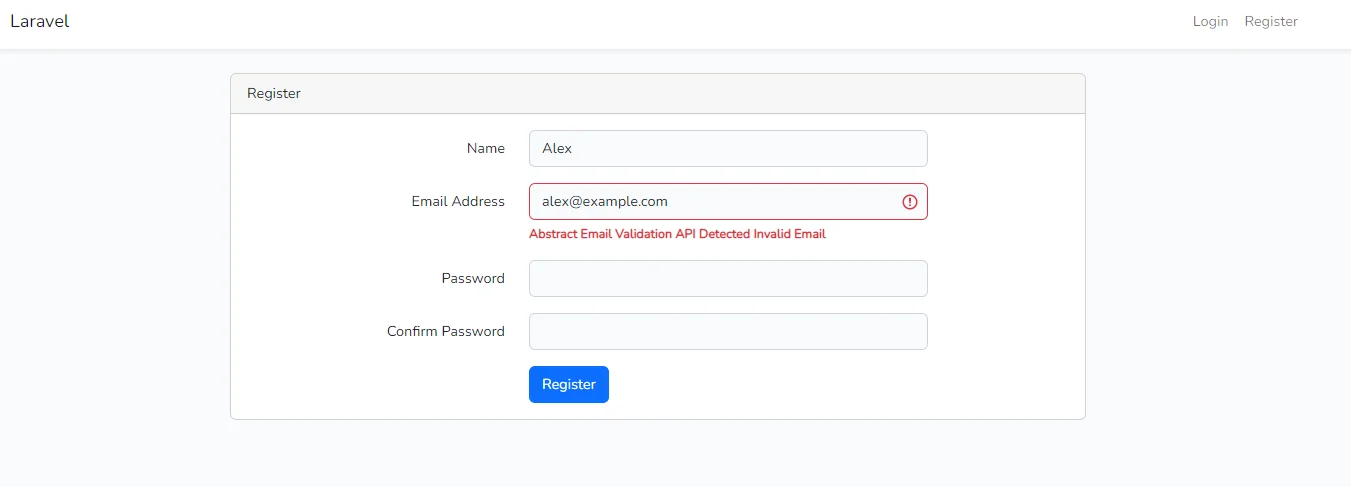
Yes. Abstract Email Validation API is working behind the scenes to ensure that nobody can register with a fake email address.
Try it out with another valid email address. The registration should succeed just like it did earlier.
With this step, you have successfully integrated email validation and forwarding within your sample Laravel application.
FAQ
What is Email Validation?
Email Validation is a process of verifying an email address to ensure that it is deliverable and genuine. Using the Abstract Email Validation API, it is possible to validate any email address for these parameters, which is also indicated by a quality score. Apart from the basic format and reachability checks, this API can also find out whether the email address is disposable or is a role-based email.
What is the Best Way to Send Emails in Laravel?
Laravel allows you to integrate third-party email services such as Mailgun. By including the mail-mailer package within your Laravel application, it is possible to configure your Laravel application to send transactional email messages by leveraging the Mailgun SMTP service.
How Do You Perform Email Validation using PHP?
It is possible to use the default regex facilities of PHP to check the email format. But this is not a foolproof mechanism to validate the legitimacy of the email domain and user. For more advanced validation, it is recommended to use the Abstract Email Validation API which can check for email deliverability and validity of MX records. It can also find out whether the email address belongs to a legit user or if it is just a catch-all or role-based email id. It is easy to integrate Abstract Email Validation API with PHP frameworks like Laravel.
Frequently Asked Questions
Why isn't PHP's built-in email validation enough for a Laravel registration form?
PHP's filter_var() with FILTER_VALIDATE_EMAIL only checks that an address is correctly formatted. It cannot tell you whether the domain accepts mail or whether the address is real. To catch fake, mistyped, or disposable emails before they enter your database, you need to also verify MX records and check deliverability, which is what an API like Abstract Email Validation does.
How do you add a custom email validation rule in Laravel?
Run php artisan make:rule CheckEmail to generate a rule class, then call Abstract's Email Validation API inside its passes() method to check the address's deliverability, format, MX records, and disposable status. Once the rule is defined, pass new \App\Rules\CheckEmail in the validation array for the email field in your RegisterController.
What does Abstract's Email Validation API actually check?
The API returns several signals for each address: whether it has a valid format, whether MX records exist for the domain, whether the address is from a known disposable email provider, and an overall deliverability verdict. Using these together gives you a much more reliable signal than a regex check alone.
How do you send a transactional email in Laravel using Mailgun?
Install the Mailgun transport packages with composer require symfony/mailgun-mailer symfony/http-client, then update your .env file with your Mailgun SMTP credentials and set the mail driver in config/mail.php to mailgun. You can then use Laravel's notification system (for example, generating a WelcomeNotification via php artisan make:notification) to send welcome emails on user registration.
Why are my Mailgun test emails not arriving during development?
Mailgun sandbox accounts restrict delivery to whitelisted recipient addresses only. If you are testing with an email that hasn't been added to the Mailgun sandbox authorized recipients list, the message will be silently blocked. Upgrading to a paid Mailgun account with a verified custom domain removes this restriction.
When should I validate an email address versus just checking its format?
Format checks (regex or filter_var) are fast but only confirm the string looks like an email address. Full validation (checking MX records and deliverability via an API) is worth doing at registration or any point where an undeliverable address would cost you money or degrade your sender reputation. For high-volume or transactional sending, catching bad addresses before they are stored is significantly cheaper than bounced emails.
