

What Is Django Geolocation?
Django geolocation refers to the process of identifying the geographic position of users interacting with your Django web application. This is typically achieved through one of three methods:
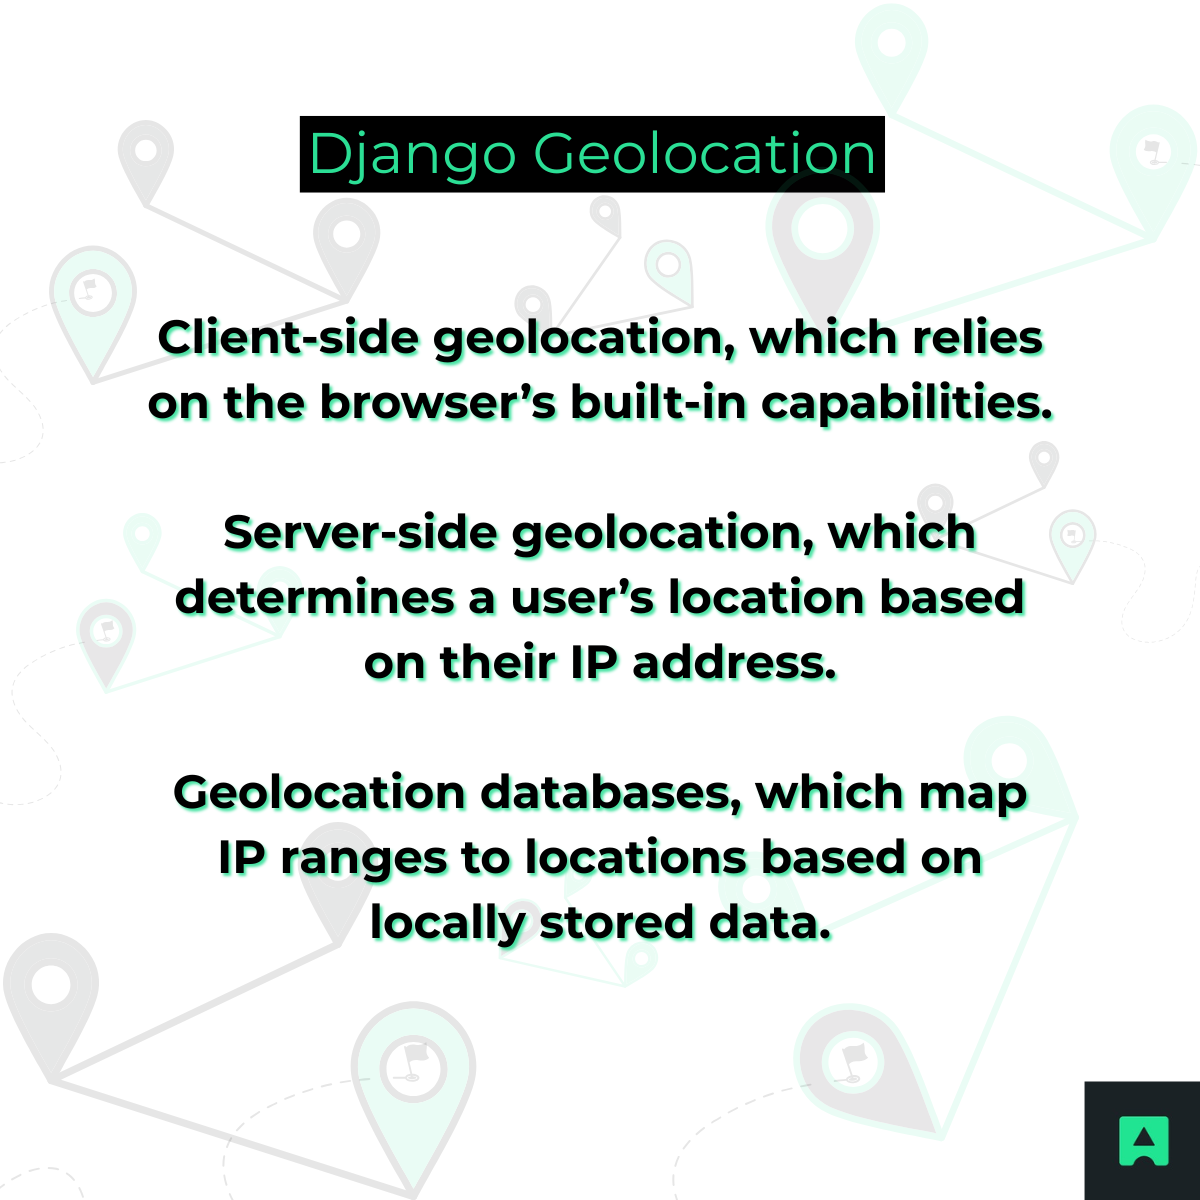
- Client-side geolocation, which relies on the browser’s built-in capabilities.
- Server-side geolocation, which determines a user’s location based on their IP address.
- Geolocation databases, which map IP ranges to locations based on locally stored data.
In this article, we’ll walk through the implementation of these techniques, explain their strengths and limitations, and show you how to seamlessly integrate them into your Django app.
Methods for Implementing Django Geolocation
Before diving into the code, it’s important to understand the various ways you can gather geolocation data in Django applications. Each method comes with unique benefits and trade-offs, and combining multiple techniques often yields the best results.
1. Client-Side Geolocation (Browser API)
This approach utilizes the navigator.geolocation interface available in most modern browsers to request a user’s current location.
Pros:
- Delivers highly accurate coordinates (especially with GPS-enabled devices).
- Directly obtained from the user’s device.
Cons:
- Requires explicit user consent.
- Limited or unavailable in older browsers or on corporate networks.
- Vulnerable to manipulation via browser developer tools.
2. Server-Side Geolocation (IP-Based)
Here, the user’s IP address is used to determine their approximate location via an external API.
Pros:
- No need for user permission.
- Works even if JavaScript is disabled or the browser geolocation is denied.
- Ideal for background tasks and server-side logic.
Cons:
- Less precise than device-based coordinates.
- IP addresses can be masked using VPNs or proxies.
3. Geolocation Databases
Offline databases such as MaxMind’s GeoLite can be integrated into Django to map IP addresses to geographic data.
Pros:
- Functions without external API calls.
- May offer privacy advantages for sensitive applications.
Cons:
- Needs regular updates to stay current.
- More setup and maintenance required.
- May lack real-time accuracy.
Tip: Many developers combine client-side and server-side approaches to achieve both precision and reliability.
Implementing Client-Side Geolocation in Django
Let’s start by integrating browser-based geolocation into a Django app. The idea is to request the user’s location using JavaScript and send that data to a Django view for further processing.
Step 1: Create a Django View to Receive Geolocation Data
# views.py
from django.http import JsonResponse
def store_location(request):
if request.method == 'POST':
latitude = request.POST.get('latitude')
longitude = request.POST.get('longitude')
# Save to database or use as needed
return JsonResponse({'status': 'success'})
return JsonResponse({'status': 'invalid request'}, status=400)
Step 2: Add a URL Pattern
# urls.py
from django.urls import path
from . import views
urlpatterns = [
path('save-location/', views.store_location, name='save_location'),
]
Step 3: Create a Template with JavaScript for Geolocation
<!-- templates/location.html -->
<!DOCTYPE html>
<html lang="en">
<head>
<title>Get User Location</title>
</head>
<body>
<button onclick="getLocation()">Share My Location</button>
<script>
function getLocation() {
if (!navigator.geolocation) {
alert('Geolocation is not supported by your browser.');
return;
}
navigator.geolocation.getCurrentPosition(sendLocation, showError);
}
function sendLocation(position) {
const csrfToken = '{{ csrf_token }}';
fetch('/save-location/', {
method: 'POST',
headers: {
'X-CSRFToken': csrfToken,
'Content-Type': 'application/x-www-form-urlencoded'
},
body: `latitude=${position.coords.latitude}&longitude=${position.coords.longitude}`
})
.then(response => response.json())
.then(data => console.log(data));
}
function showError(error) {
console.error('Error retrieving location:', error.message);
}
</script>
</body>
</html>
Take note: This client-side method ensures precise location tracking—but remember, it depends entirely on user cooperation.
Implementing Server-Side Geolocation with AbstractAPI
For situations where browser data isn’t available or a more passive approach is preferred, AbstractAPI’s IP Geolocation API offers a straightforward, high-performance solution.
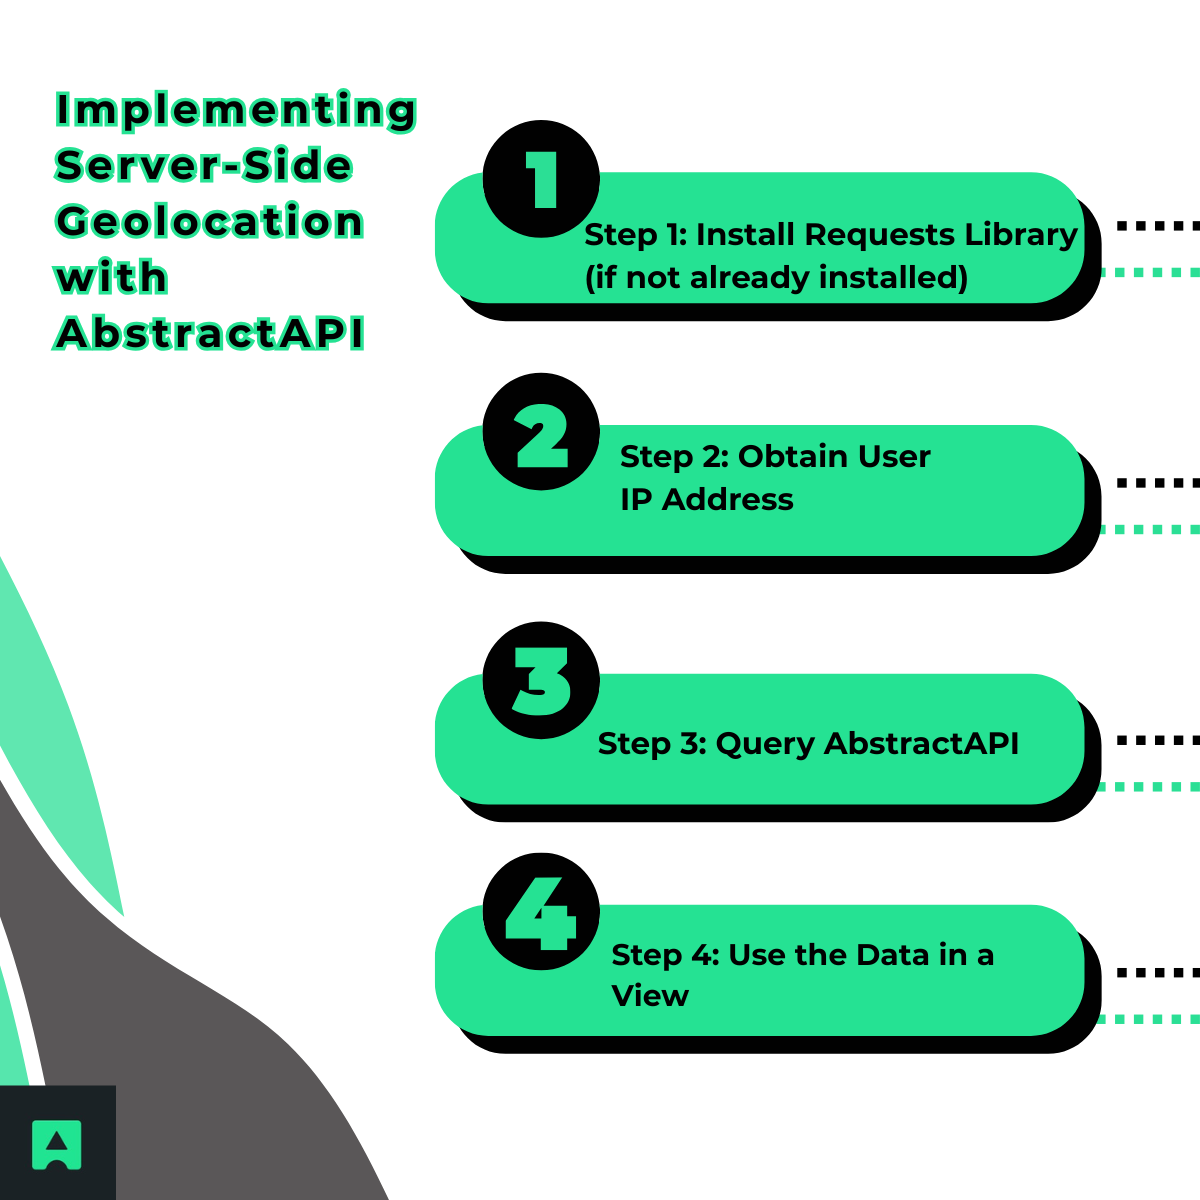
Step 1: Install Requests Library (if not already installed)
pip install requests
Step 2: Obtain User IP Address
# utils.py
def get_client_ip(request):
x_forwarded = request.META.get('HTTP_X_FORWARDED_FOR')
if x_forwarded:
ip = x_forwarded.split(',')[0]
else:
ip = request.META.get('REMOTE_ADDR')
return ip
Step 3: Query AbstractAPI
# views.py
import requests
def get_geolocation_data(ip_address):
api_key = 'your_abstractapi_key_here'
url = f'https://ipgeolocation.abstractapi.com/v1/?api_key={api_key}&ip_address={ip_address}'
response = requests.get(url)
if response.status_code == 200:
data = response.json()
return {
'city': data.get('city'),
'region': data.get('region'),
'country': data.get('country'),
'latitude': data.get('latitude'),
'longitude': data.get('longitude'),
}
return None
Step 4: Use the Data in a View
def location_from_ip(request):
user_ip = get_client_ip(request)
location_data = get_geolocation_data(user_ip)
if location_data:
# Store or personalize based on location_data
return JsonResponse({'location': location_data})
return JsonResponse({'error': 'Location not found'}, status=404)
Why Use AbstractAPI?
AbstractAPI’s IP Geolocation API is a fast, lightweight, and developer-friendly solution for adding server-side geolocation to your Django app. It runs entirely in the background—no user permission or browser support needed—making it ideal when you want a seamless geolocation experience.
With just a simple API call, you can retrieve accurate location data (like city, country, and coordinates) based on a user’s IP address. It’s perfect for:
- Region-Based Content Delivery – Show localized content, language, or currency automatically.
- Suspicious Activity Detection – Flag login attempts from high-risk or unusual regions.
- Regional Analytics – Understand where your users are coming from to drive smarter decisions.
With easy setup, clear documentation, and a generous free tier, AbstractAPI is a great fit for both prototypes and production-ready Django apps.
Combining Client-Side and Server-Side Geolocation: Best Practices
To maximize both accuracy and reliability, it’s best to implement a hybrid geolocation strategy that leverages the strengths of both client-side and server-side methods. Here's how to do it effectively:
1. Prioritize Client-Side Geolocation
Start by using the browser’s built-in navigator.geolocation API to request precise location data from the user. This method often provides highly accurate coordinates, especially on mobile devices with GPS support.
2. Fallback to Server-Side Geolocation with AbstractAPI
If the user denies permission, or if the browser doesn’t support geolocation, gracefully fall back to server-side detection using AbstractAPI’s IP Geolocation API. This ensures you can still retrieve a reasonable approximation of the user’s location without interrupting their experience.
3. Use AbstractAPI for Backend Workflows
Even when client-side geolocation is available, AbstractAPI is still highly useful on the backend—for tasks such as logging user locations, personalizing content on the server, detecting anomalies, or performing analytics based on geographic trends.
Example: Hybrid Geolocation Flow
Here’s how you can implement this two-tiered geolocation approach:
<!-- In your Django template -->
<script>
function getLocation() {
if (navigator.geolocation) {
navigator.geolocation.getCurrentPosition(
function(position) {
// Send precise client-side coordinates to the server
fetch('/save-location/', {
method: 'POST',
headers: {
'Content-Type': 'application/x-www-form-urlencoded',
'X-CSRFToken': '{{ csrf_token }}'
},
body: `latitude=${position.coords.latitude}&longitude=${position.coords.longitude}`
});
},
function(error) {
// On error, fallback to IP-based location
fetch('/location-from-ip/')
.then(response => response.json())
.then(data => {
console.log('Fallback location (IP-based):', data.location);
});
}
);
} else {
// Browser doesn't support geolocation – fallback immediately
fetch('/location-from-ip/')
.then(response => response.json())
.then(data => {
console.log('Fallback location (IP-based):', data.location);
});
}
}
// Trigger location retrieval on page load or user action
window.onload = getLocation;
</script>
This approach ensures your Django application always has access to meaningful location data—whether through high-precision client coordinates or a reliable IP-based fallback—while maintaining a smooth user experience.
Handling Errors and Privacy Considerations in Django Geolocation
When implementing geolocation in your Django application, it’s essential to account for potential errors and user privacy from the outset. A robust geolocation system isn't just about collecting location data—it’s about doing so responsibly, ethically, and in a way that ensures your application remains stable and trustworthy under all conditions.
1. User Denies Geolocation Permission
Browsers require explicit consent from users before accessing their physical location via the Geolocation API. If the user declines, the browser will return an error, and your app should be ready to handle it gracefully.
Best Practice:
- Display a clear message explaining the benefits of sharing their location (e.g., improved personalization or local content), but allow them to continue using the app without penalty. Always provide fallback behavior using IP-based detection so the app still functions meaningfully.
function handleGeolocationError(error) {
if (error.code === error.PERMISSION_DENIED) {
console.warn('User denied location access. Falling back to IP-based geolocation.');
fallbackToIPGeolocation();
}
}
2. Browser Doesn’t Support Geolocation
Not all environments support the navigator.geolocation API—especially older browsers or devices with restricted permissions (such as some corporate networks or embedded systems).
Best Practice:
- Check for feature availability using feature detection and skip directly to an alternative method like AbstractAPI if it’s not supported.
if (!navigator.geolocation) {
console.log('Geolocation is not supported by this browser.');
fallbackToIPGeolocation();
}
3. API Errors and Network Failures
Even reliable services like AbstractAPI can occasionally return errors due to network issues, quota limits, or incorrect API keys. These situations should be handled proactively to prevent crashes or broken functionality.
Best Practice:
- Wrap your API calls in try/except blocks (or .catch() in JavaScript), log the issue for debugging, and display fallback content or a helpful message to the user when appropriate.
try:
response = requests.get(api_url)
response.raise_for_status()
data = response.json()
except requests.RequestException as e:
logger.error(f"Geolocation API error: {e}")
data = None
4. Data Privacy and Compliance
Collecting and storing geolocation data comes with serious privacy responsibilities. Depending on your users' regions, you may be subject to data protection laws like the GDPR (in the EU), CCPA (in California), or others.
Best Practices:
- Inform users about what data you collect, why you're collecting it, and how it will be used.
- Obtain explicit consent if required—especially for client-side tracking.
- Limit storage duration of sensitive geolocation data, and avoid unnecessary retention.
- Use secure transmission (HTTPS) and storage practices to protect geolocation information.
- Provide an option to opt out of location-based features when possible.
- Example (in your privacy policy or modal):
“We use your location to improve your experience by showing relevant content. Your data is never shared with third parties and is stored securely in accordance with applicable privacy regulations.”
Take note! By planning for technical errors and taking user privacy seriously, you’ll not only build a more resilient Django application—you’ll also earn greater trust from your users. Thoughtful geolocation design goes hand-in-hand with ethical development.
Using Geolocation Databases
Tools like MaxMind’s GeoLite2 enable you to build an internal geolocation system by downloading a local IP-to-location database and querying it from within your Django application. This approach gives you full control over the data pipeline and eliminates the need for external API requests.
Benefits:
- Fully self-hosted and customizable.
- No reliance on third-party APIs or network availability.
- Useful for environments with strict data sovereignty or compliance requirements.
Limitations:
- Requires regular updates to maintain accuracy, as IP-to-location mappings frequently change.
- Setup and maintenance are more involved compared to using hosted APIs.
- May not provide the same real-time accuracy or ease of integration.
Alternative:
- If you're looking for a simpler, plug-and-play solution, AbstractAPI offers a powerful alternative—delivering reliable geolocation data with no infrastructure overhead or update burden.
Conclusion: Bring Your Django App to Life with Geolocation
Integrating geolocation into your Django application doesn’t have to be complicated. With several implementation options available, you can choose the approach that best fits your needs—whether you're prioritizing precision, performance, or privacy.
To recap:

- Use client-side geolocation for highly accurate, user-granted location data.
- Use server-side IP-based geolocation for consistent fallback and backend workflows.
- Consider geolocation databases for offline access or fully self-contained solutions.
For server-side tasks, AbstractAPI’s IP Geolocation API stands out as a reliable, developer-friendly option. It offers accurate data, easy integration, and minimal maintenance—making it ideal for production-ready Django apps.
Ready to enhance your app? Start implementing geolocation today and unlock new ways to personalize, protect, and improve the user experience in your Django projects.
