


Get Started With Django Form Validation
First, we'll create a folder to hold our new Django project. Next, we'll spin up a virtual environment in that folder, then install Django and our other dependencies inside that virtual environment. Next, we'll create a new Django app and build our form.
Create a New Directory for the Django Project
Create a folder to hold your virtual environment and the Django project. Some people keep all their virtual environments in a single folder, separate from the actual projects, but this makes it difficult to remember which environment was for which project. It's easier to simply keep the environment and the project together in the same directory.
$ mkdir django-form-validationSpin Up a Virtual Environment
Before we install Django and other dependencies, we need to create a virtual environment.
What Is a Virtual Environment?
A virtual environment keeps all your Python code and dependencies separate from other Python versions and dependencies on your computer. You can spin up a new virtual environment for every Python project you start to avoid polluting your computer's global scope with packages and different Python installations.

You can run multiple different versions of Python inside virtual environments without running into problems. You may want to use Python3 for one project and Python for a different project. Keeping these projects in their own virtual environments means the versions and all the packages remain separate.
Navigate to your new directory and create a new virtual environment.
$ cd django-form-validation
$ python3 -m venv venv
Let's break down the second command:
python3
This is the version of Python we're using for this project. You can use whichever Python version you like to create a virtual environment. If you prefer to use Python, spin up the environment using python instead of python3.
-m venv
The -m argument means module. We could also write --module. This command tells Python3 to run the venv module.
This is the name of the directory that will hold the virtual environment data. You can call it whatever you want. Most people go with venv because it's easy to recognize as a virtual environment.
Before we can use the virtual environment, we need to activate it. Do that with the following command
$ source venv/bin/activateThis will tell the current project to use the Python and Pip versions inside the virtual environment, rather than the ones installed globally on the computer. The following indicator will appear in your terminal.
$ (venv) This means that you are now using the virtual environment. Now we can install Django and start building our form.
Install Django
Install Django using Pip (the Python package manager.) The following command will install the latest version of Django by default.
$ pip install djangoYou can check the version using Pip list, and lock the version using Pip freeze.
Create a New Django Project
Now, we can use the django-admin command line utility to create a new Django app. Make sure you are still inside the project directory that you originally created for this project.
$ django-admin startproject DjangoFormValidation
This will create a new Django project inside your top-level directory. Give the project the same name as the project folder. Open the project in your favorite code editor or IDE (PyCharm is a good one) to start building.
Create a New Django App
A Django project is made up of many "apps." You might have an app to handle backend email sending, and an app to render your website's blog. In this tutorial, we'll create an app for a signup form.
Navigate into your Django project and create a form app.
$ cd DjangoFormValidation
$ python3 manage.py startapp signup
This will create a new app called "signup" in your Django project.
Install the App in Settings
In order for apps and dependencies to work, they need to be registered with the Django project. Open the settings.py file in your editor and add the new signup app to the INSTALLED_APPS.
# Application definition

INSTALLED_APPS = [
    'django.contrib.admin',
    'django.contrib.auth',
    'django.contrib.contenttypes',
    'django.contrib.sessions',
    'django.contrib.messages',
    'django.contrib.staticfiles',
    # custom apps
    'signup'
]
Create a Form Models.py File
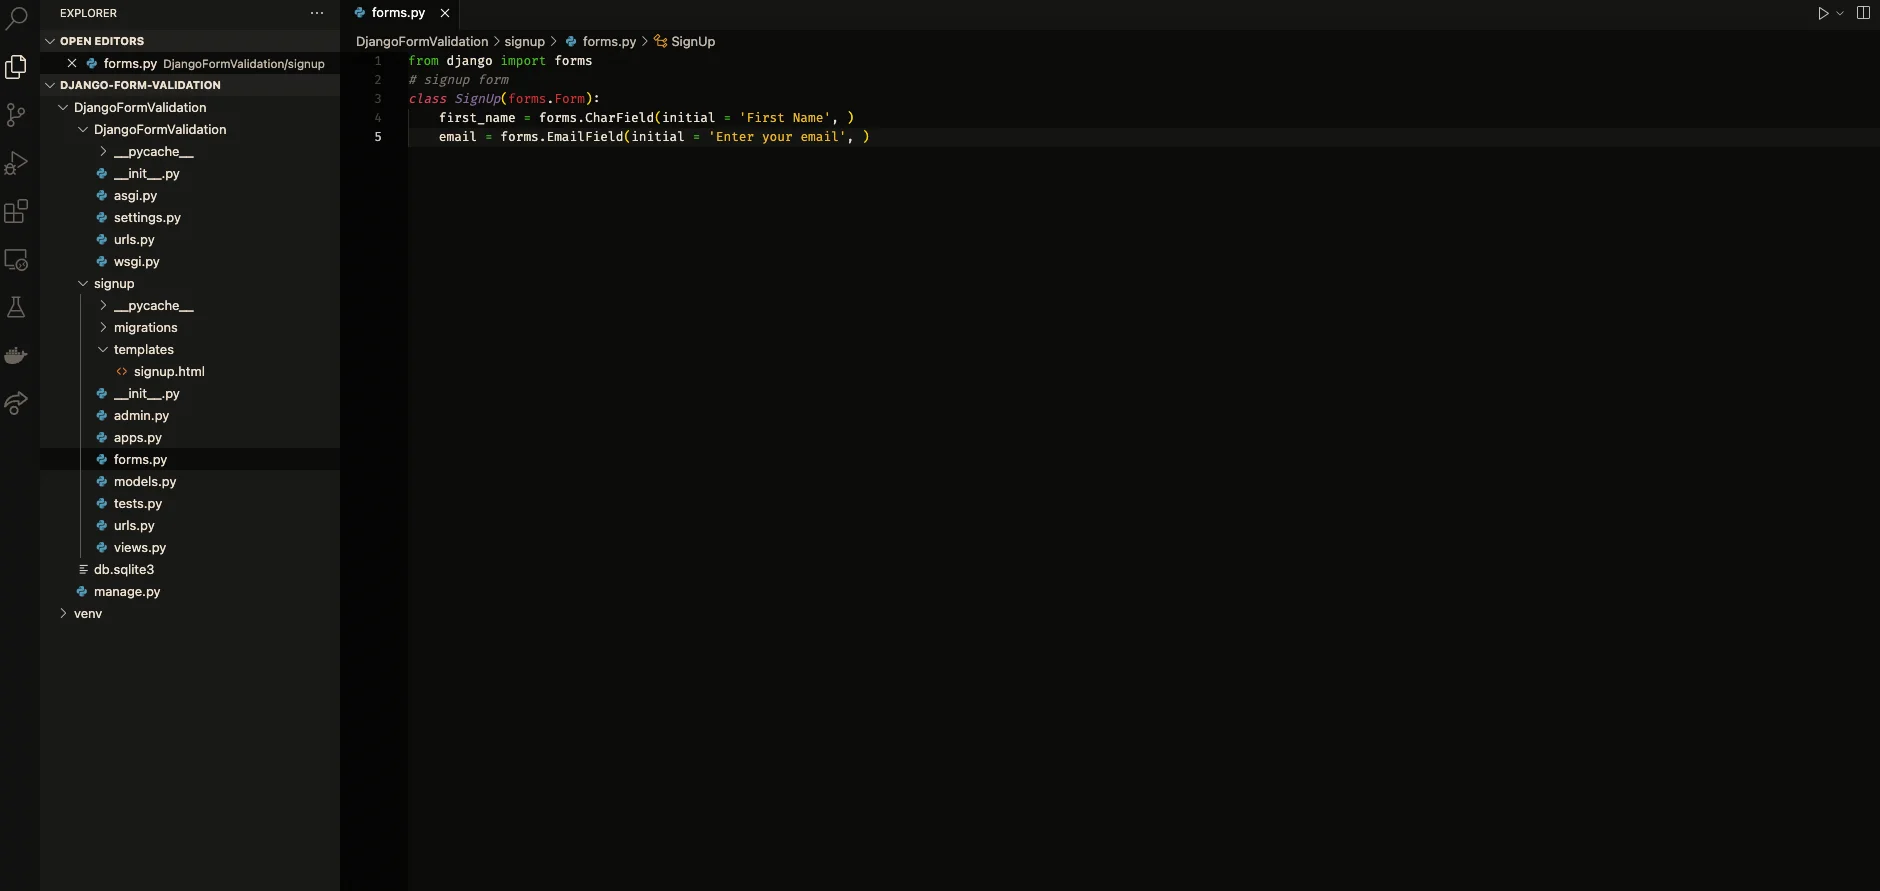
Inside your signup app, create a new file called forms.py. This is where you'll define the model logic for your form. We'll use the provided Django forms model class as a base, and build our own custom signup form from it.
from django import forms
# signup form
class SignUp(forms.Form):
    first_name = forms.CharField(initial = 'First Name', )
    email = forms.EmailField(initial = 'Enter your email', )
As you can see, the Django forms class gives us a lot of useful stuff. We can define a name input field as a CharField that accepts characters, and define our email input as an EmailField. This will be useful later when we want to do email validation.
Create a Form Views.py File
Django is a model-view-template, or model-view-controller architecture. That means that there is a layer that handles form data, a layer that handles rendering logic, and a layer that renders the HTML template. In the last step, we created a form model class. Now we need a form view class.
Find the views.py file inside your signup app. Add the following code to create your form view.
from django. shortcuts import render
from . import forms
# signup form view

def signupform(request):
    form = forms.SignUp()
    if request.method == 'POST':
        form = forms.SignUp(request.POST)
        html = 'Thanks for your submission'
    else:
        html = 'Welcome'
    return render(request, 'signup.html', {'html': html, 'form': form})
Here, we're importing the forms model we just created. We create a form instance and return a render function that allow a user to send a request to the form and render some responses to that request.
The form takes two types of requests: GET and POST. The GET request is what is sent the first time the user requests the form from the server (i.e, when the page loads.) The POST request is what is sent when the user inputs information into the form and submits it.
Add the Form URLs to the App
Before the app can render any of our form data, we need to create a URL for the form. This URL will be where the app renders the form. There is a urls.py file inside the main Django app. We will need to create our own urls.py file inside the signup app, add the URL for the form and then register this URL in the urls.py file in the main app.
First, create the urls.py file inside the signup app. Add the following code to it.
from django. urls import path
from .views import *

#signup urls
urlpatterns = [
path('', signupform, name = 'signup form'),
]
We're telling the signup app to render our new signupform view at the root path of the signup app. Next, we need to register the signup app with the main app and give the signup app its own URL. Open the urls. py file in the main Django app and add the new URL to your urlspattern list.
from django. contrib import admin
from django.urls import path, include

urlpatterns = [
    path('admin/', admin.site.urls),
    path('signup/', include('signup.urls'))
]
This tells the main Django app to render the signup app and all the URLs that are associated with that app at the path "signup/".
Create a Form HTML Template
We have our model and our view files written, and we have told Django where to render our form. Now we just need to tell it what to render. Create a new directory in your signup app called templates. This is where we'll keep our HTML file that will hold our form template.
Inside the templates directory, create a file called signup.html. Into it, we'll put the following code.
Signup Form
{{ html }}
This will render an HTML template that contains our form, rendered as a table, and a submit button that is linked to our signup form.
It also contains a CSRF token. CSRF tokens are very important for security. They validate the user's session with the server and prevent bots and other bad actors from spamming your form and otherwise causing problems.
Now we can check out our form in the browser. Run the project with the following command and then navigate to localhost:8000/signup to see your new form.
$
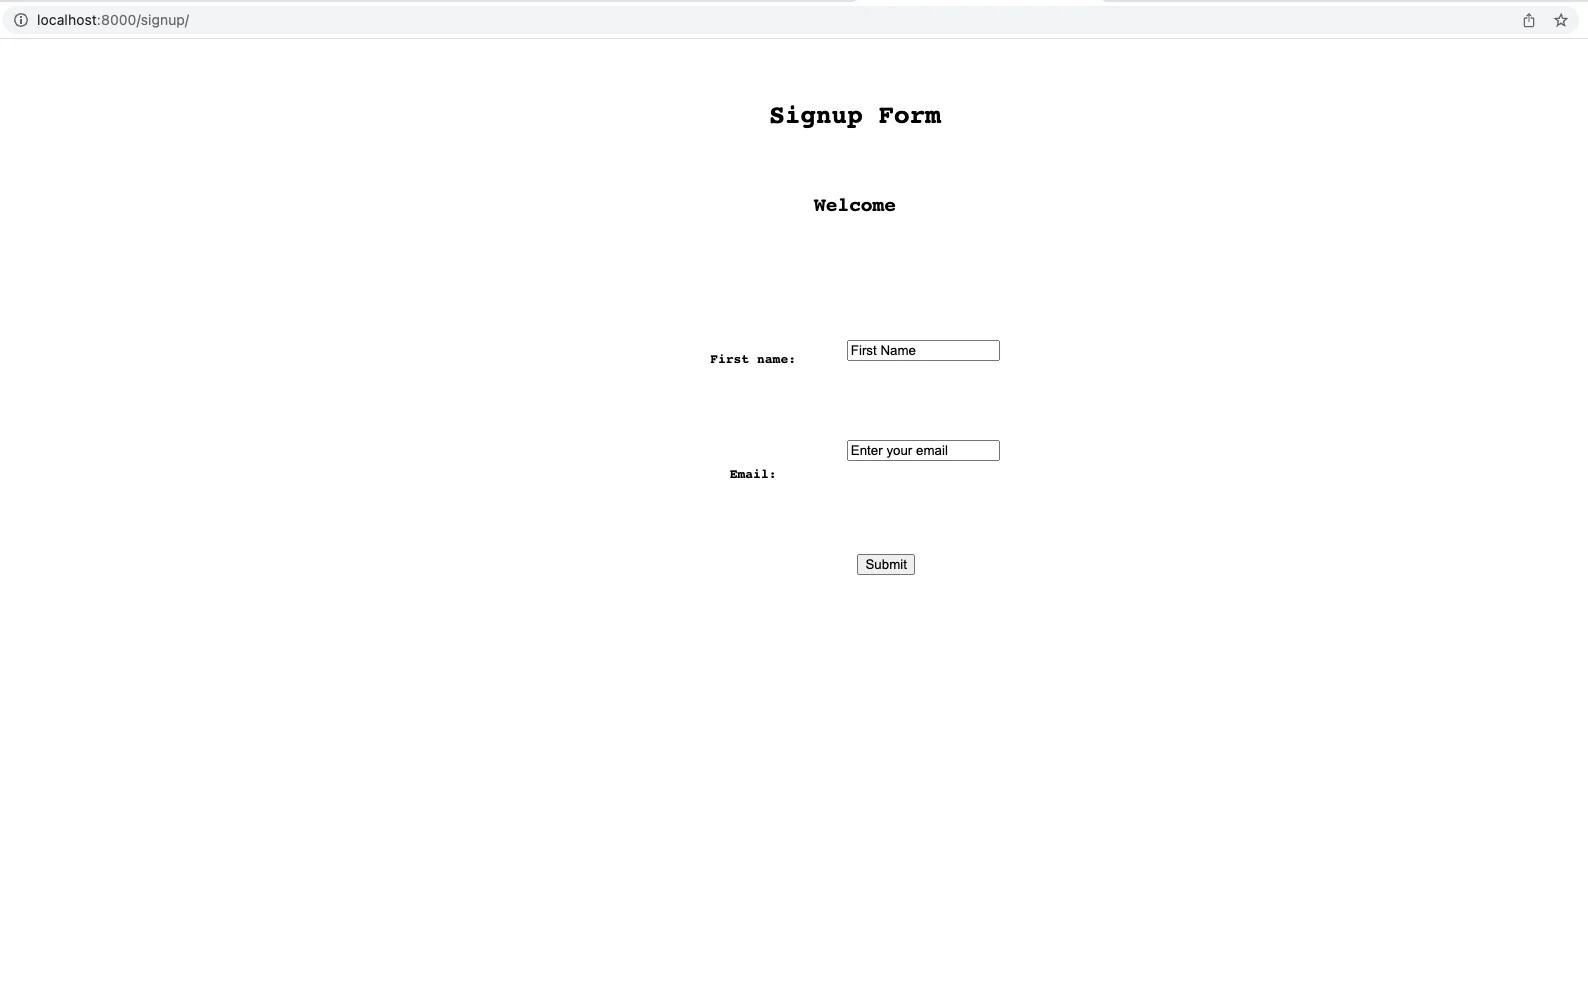
Nice! We're rendering our signup form. Now it's time to add some field validation.
Django Form Validation
There are a few ways to do Django form validation. You can either use the Django out-of-the-box is_valid() method, the out-of-the-box validators attributes, or you can provide your own custom validation function.
Let's first look at the is_valid function.
Validate Complete Form Data With is_valid
The is_valid() method can be called on a completed form to validate all the data in that form against Python datatypes. Since the form is made of provided Python classes like CharField and EmailField, Django can perform basic validation against these datatypes to check that they are formatted as expected.
Add the is_valid() call to your form instance inside your views. py file to validate the form before sending the POST request.
from django. shortcuts import render
from . import forms
# signup form view
def signupform(request):
form = forms.SignUp()
if request.method == 'POST':
if form.is_valid():
form = forms.SignUp(request.POST)
html = 'Thanks for your submission'
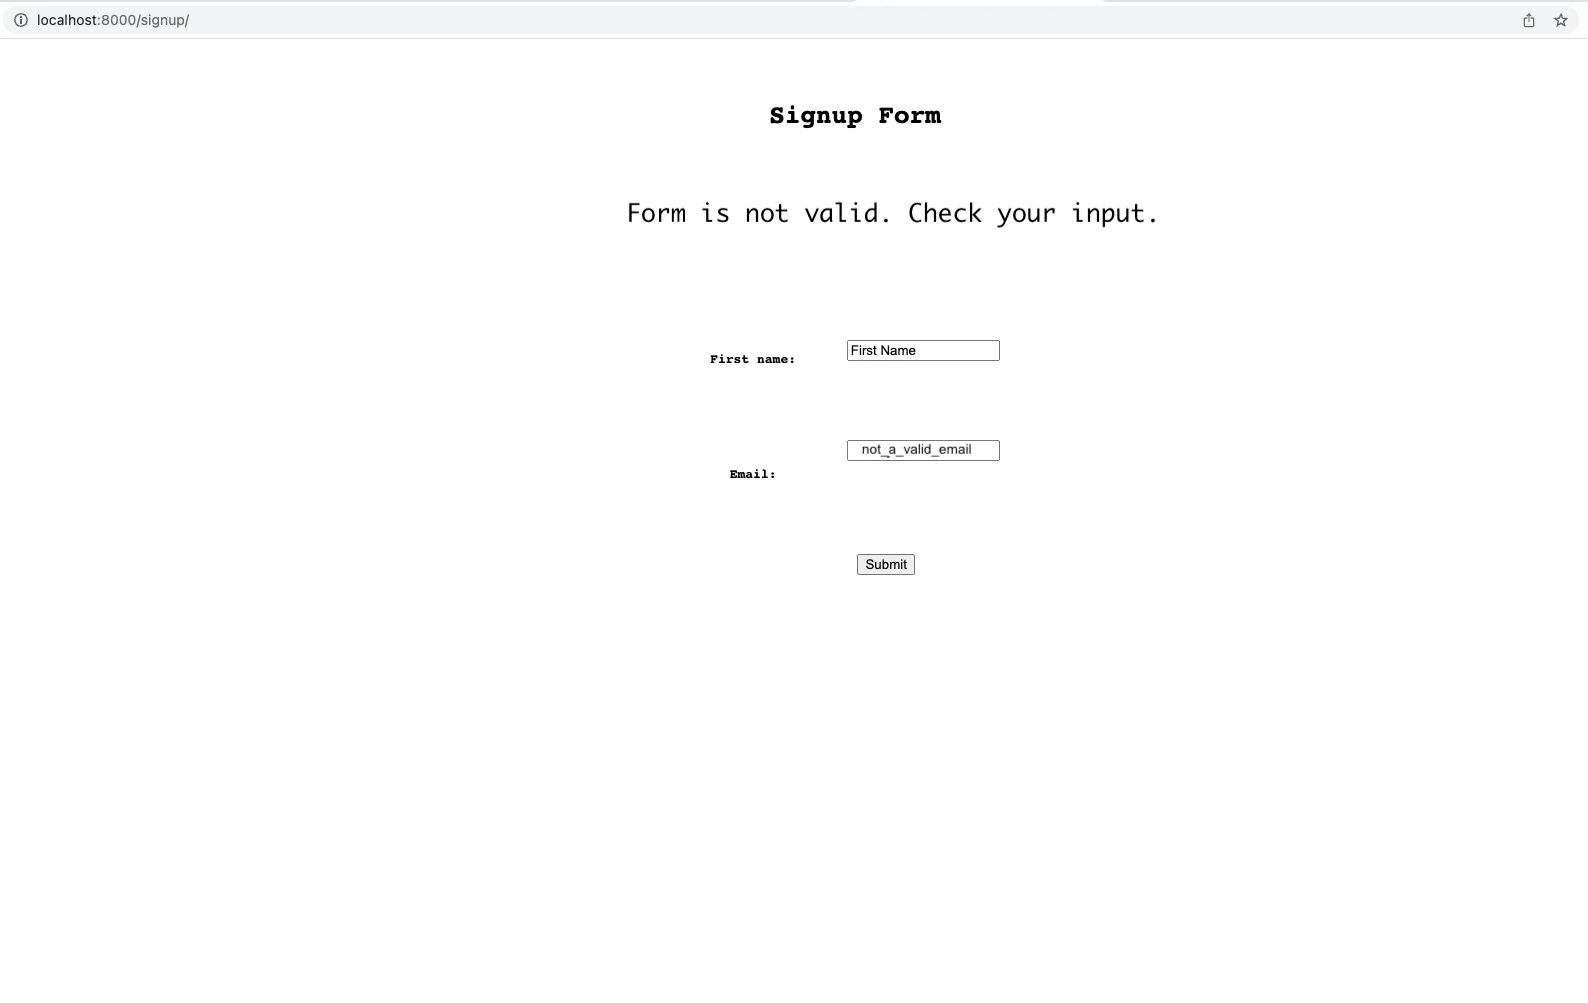
else:
html = 'Form is not valid. Check your input."
else:
html = 'Welcome'
return render(request, 'signup.html', {'html': html, 'form': form})
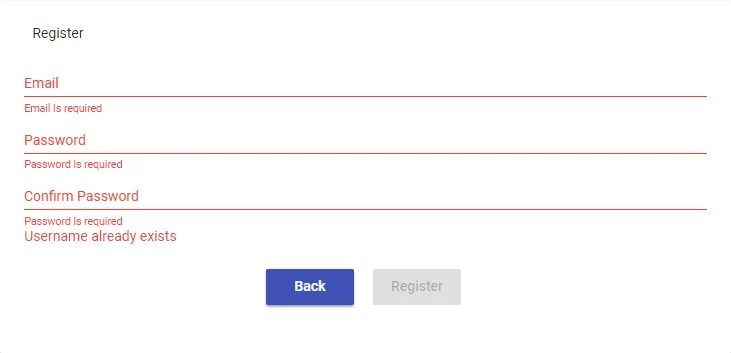
If you input an invalid email address and try to submit the form, the HTML message will render.
Validate Form Field Data With Validators
If you'd rather validate one form field at a time, you can do Django form validation using validators. Validators are attributes that exist on HTML5 forms such as required, minlength, etc. There are also some provided validators in the Django core library.
Let's add some validators to our form fields inside the model file.
from django import forms
from django.core import validators

# signup form

class SignUp(forms.Form):
    first_name = forms.CharField(initial = 'First Name', required=True)
    email = forms.EmailField(initial = 'Enter your email', required=True, validators=[validators.EmailValidator(message="Invalid Email")])
Here, we've made the first_name field and the email field required using the required attribute. We've also added the EmailValidator to the email field, and passed it an error message that should be displayed if the user provides an invalid email address.
Validate Form Field Data With Custom Validators
The validators attribute also allows us to define our own custom validations. Rather than passing a generic Django form validation method to the validators array, we can define our own function and pass that instead.
Let's create an email validation function that uses the AbstractAPI Free Email Validator to validate an email before we submit our form data.
Acquire an API Key
In order to use the API, you'll need an API key to make requests to the endpoint. Go to the AbstractAPI Free Email Validation API homepage and click "Get Started."

If you've never used AbstractAPI before, you'll need to sign up with an email address and password. Don't worry - it's free. Once you're signed in, you'll find the API's dashboard, where you'll see your API key.
Send a Validation Request to the API
Use the Python requests module to send a request to the API. You'll need your API key and the AbstractAPI URL, which you can find on your API dashboard.
api_key = 'YOUR_API_KEY';

api_url = 'https://emailvalidation.abstractapi.com/v1/?api_key=' + api_key
Inside your views. py file, write a function called validate_email that accepts an email as an argument and sends it to the API. For now, we'll just print the response.
import requests

api_key = 'YOUR_API_KEY';
api_url = 'https://emailvalidation.abstractapi.com/v1/?api_key=' + api_key

validate_email(email):

    response = requests.get(api_url + "&email=email")
    print(response.content)
Examine the API Response
Call the function using the Django shell. Pass it a test email, and take a look at what you get back. It should look something like this.
{

  "email": "email@domain.com",
  "autocorrect": "",
  "deliverability": "DELIVERABLE",
  "quality_score": "0.80",
  "is_valid_format": {
    "value": true,
    "text": "TRUE"
  },
  "is_free_email": {
    "value": false,
    "text": "FALSE"
  },
  "is_disposable_email": {
    "value": false,
    "text": "FALSE"
  },
  "is_role_email": {
    "value": false,
    "text": "FALSE"
  },
  "is_catchall_email": {
    "value": true,
    "text": "TRUE"
  },
  "is_mx_found": {
    "value": true,
    "text": "TRUE"
  },
  "is_smtp_valid": {
    "value": true,
    "text": "TRUE"
  }
}
There are many fields we can use to determine if the email is valid or not. Let's use all these fields to determine the validity of an email address. We'll write a function that looks at the fields and returns True if the email is valid, and False if not.
is_valid_email(data):
  if data.is_valid_format.value && is_mx_found && is_smtp_valid:
    if not is_catchall_email && not is_role_email && not is_free_email:
	return true
  return false
Now, let's add the is_valid_email call as a step in our validate_email function.
validate_email(email):
    response = requests.get(api_url + "&email=email")
    is_valid = is_valid_email(response.content)
    if not is_valid:
	raise forms.ValidationError("Not a valid email")
Finally, we'll pass the validate_email function as a validator to the validators array on the email field in our models file.
from django import forms
from django.core import validators
import requests
# signup form

api_key = 'YOUR_API_KEY';
api_url = 'https://emailvalidation.abstractapi.com/v1/?api_key=' + api_key

is_valid_email(data):
  if data.is_valid_format.value && is_mx_found && is_smtp_valid:
    if not is_catchall_email && not is_role_email && not is_free_email:
	return true
  return false

validate_email(email):
    response = requests.get(api_url + "&email=email")
    is_valid = is_valid_email(response.content)
    if not is_valid:
	raise forms.ValidationError("Not a valid email")

class SignUp(forms.Form):
    first_name = forms.CharField(initial = 'First Name', required=True)
    email = forms.EmailField(initial = 'Enter your email', required=True, validators=[validate_email])
Now, when you input an invalid email into the signup form in the browser, the validator function will send a request to the API, examine the response, and raise a validation error if the email is not valid.
Conclusion
In this article, we looked at Django form validation using a few different methods. First, we learned how to set up a virtual environment and create a new Django app. Then, we looked at how to build a form in Django, and how to validate that form using the is_valid() method, using the validators attributes, and using our own custom validation function.
FAQs
How Do I Check if a Form is Valid In Django?
The easiest way to do Django form validation is to use the is_valid method provided by the Django form module. This method can be called on a completed form that uses Python datatypes for its inputs. Django will validate the complete form against those datatypes and will raise a validation error if any are found to be invalid.
What Is Form Field Validation?
Form validation is the process of checking user input to make sure that input is correctly formatted and doesn't contain any malicious data. Form validation is a necessary step in collecting user data. It protects your server and database from attacks by bad actors, and also ensures that the data you get from your users is good and usable.
How Do You Validate a Form in HTML?
HTML5 form fields contain attributes that can be used to perform validation for basic use cases. These attributes include required, minLength, maxLength, and the use of input type to tell the input field what format to expect.
Frequently Asked Questions
What is Django form validation and why does it matter?
Django form validation is the process of checking user-submitted data against defined rules before your application processes or stores it. It protects your server from malicious or malformed input and ensures the data your app works with is accurate and usable. Django runs validation automatically when you call is_valid() on a submitted form.
How does Django validate email fields in a form?
Django provides a built-in EmailField that automatically applies EmailValidator to any input submitted for that field. When is_valid() is called, Django checks that the value matches the expected email format and returns a validation error if it does not. You can attach additional validators to the field using its validators attribute.
What is the difference between built-in validators and custom validator functions in Django?
Built-in validators like EmailValidator check format and syntax: they confirm the value looks like an email address but cannot tell you whether the address actually exists. Custom validator functions let you go further, for example by calling an external API like Abstract to check whether the mailbox is real and deliverable. You attach a custom validator by passing it to the validators list on a form field.
How do you add a custom email validator to a Django form?
Define a function that accepts a value and raises ValidationError if the check fails, then pass it in the validators list when declaring the field, for example: email = forms.EmailField(validators=[validate_email]). Django calls this function automatically during form validation. For API-based checks, the validator function makes the HTTP request and raises an error if the API signals the address is invalid.
What is a CSRF token and why is it required in Django forms?
A CSRF (Cross-Site Request Forgery) token is a secret value Django embeds in every form to confirm that a POST submission came from your own site and not from a malicious third party. You include it in your HTML template with the {% csrf_token %} tag. Django will reject form submissions that are missing or have an invalid token, which is an important layer of security for any public-facing form.
When should I validate email addresses with an external API instead of just Django's built-in EmailField?
Django's EmailField only checks email format; it cannot detect disposable addresses, catch typos in the domain, or confirm the mailbox exists. If deliverability matters (for example, sign-up flows, mailing lists, or transactional email), adding an API-based validation step catches bad addresses before they enter your system. Abstract's Email Validation endpoint can be wired into a custom Django validator function to perform this check at form submission time.
